Overview
Performing the same action on your data over and over again is a time sink. Using a loop for your data makes this process more efficient. A loop is a repeating process that's based on a condition. This might be an API call, a set number of iterations, or another action.
The While Loop is one of the Simple Loop snippets. A while loop is controlled by a condition you set. Unlike a do while loop, it verifies the condition before the action. For example, if you have a list of submissions in real time, the loop can detect when the submissions stop, and then end the loop.

Similar Loops
There are many loop templates that serve different purposes. Here are the loops compared:
For Loop: Processes data based on the number of data rows.
While Loop: Processes data based on a data condition. This loop confirms the condition is true before running the action.
Do While Loop: Processes data based on a data condition. This loop confirms the condition is true after running the action.
Batch Loop: Processes arrays based on either the number of data rows or condition.
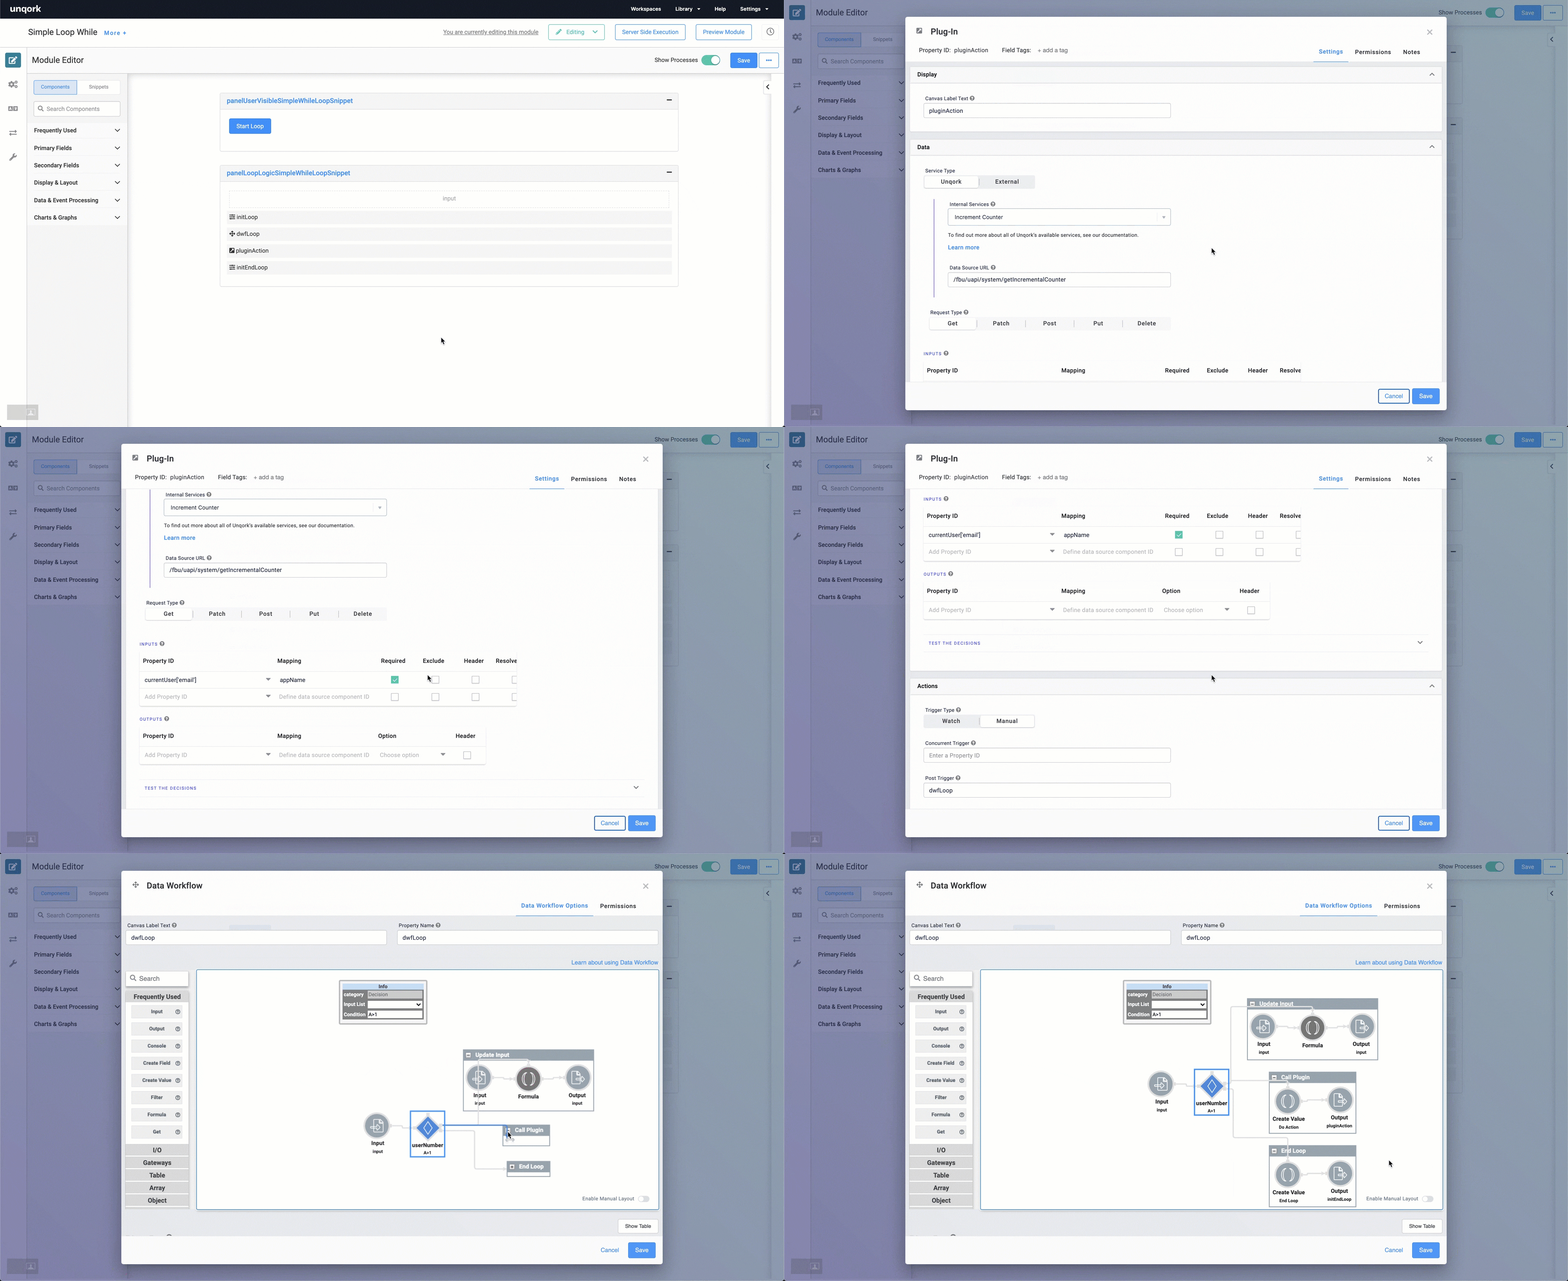
Your snippet doesn't show anything in Express View except the Start Loop button. Because the loop happens behind the scenes, you only see activity in the DevTools Console.
Here's how the snippet looks in Express View, with a sneak peek at the DevTools Console:

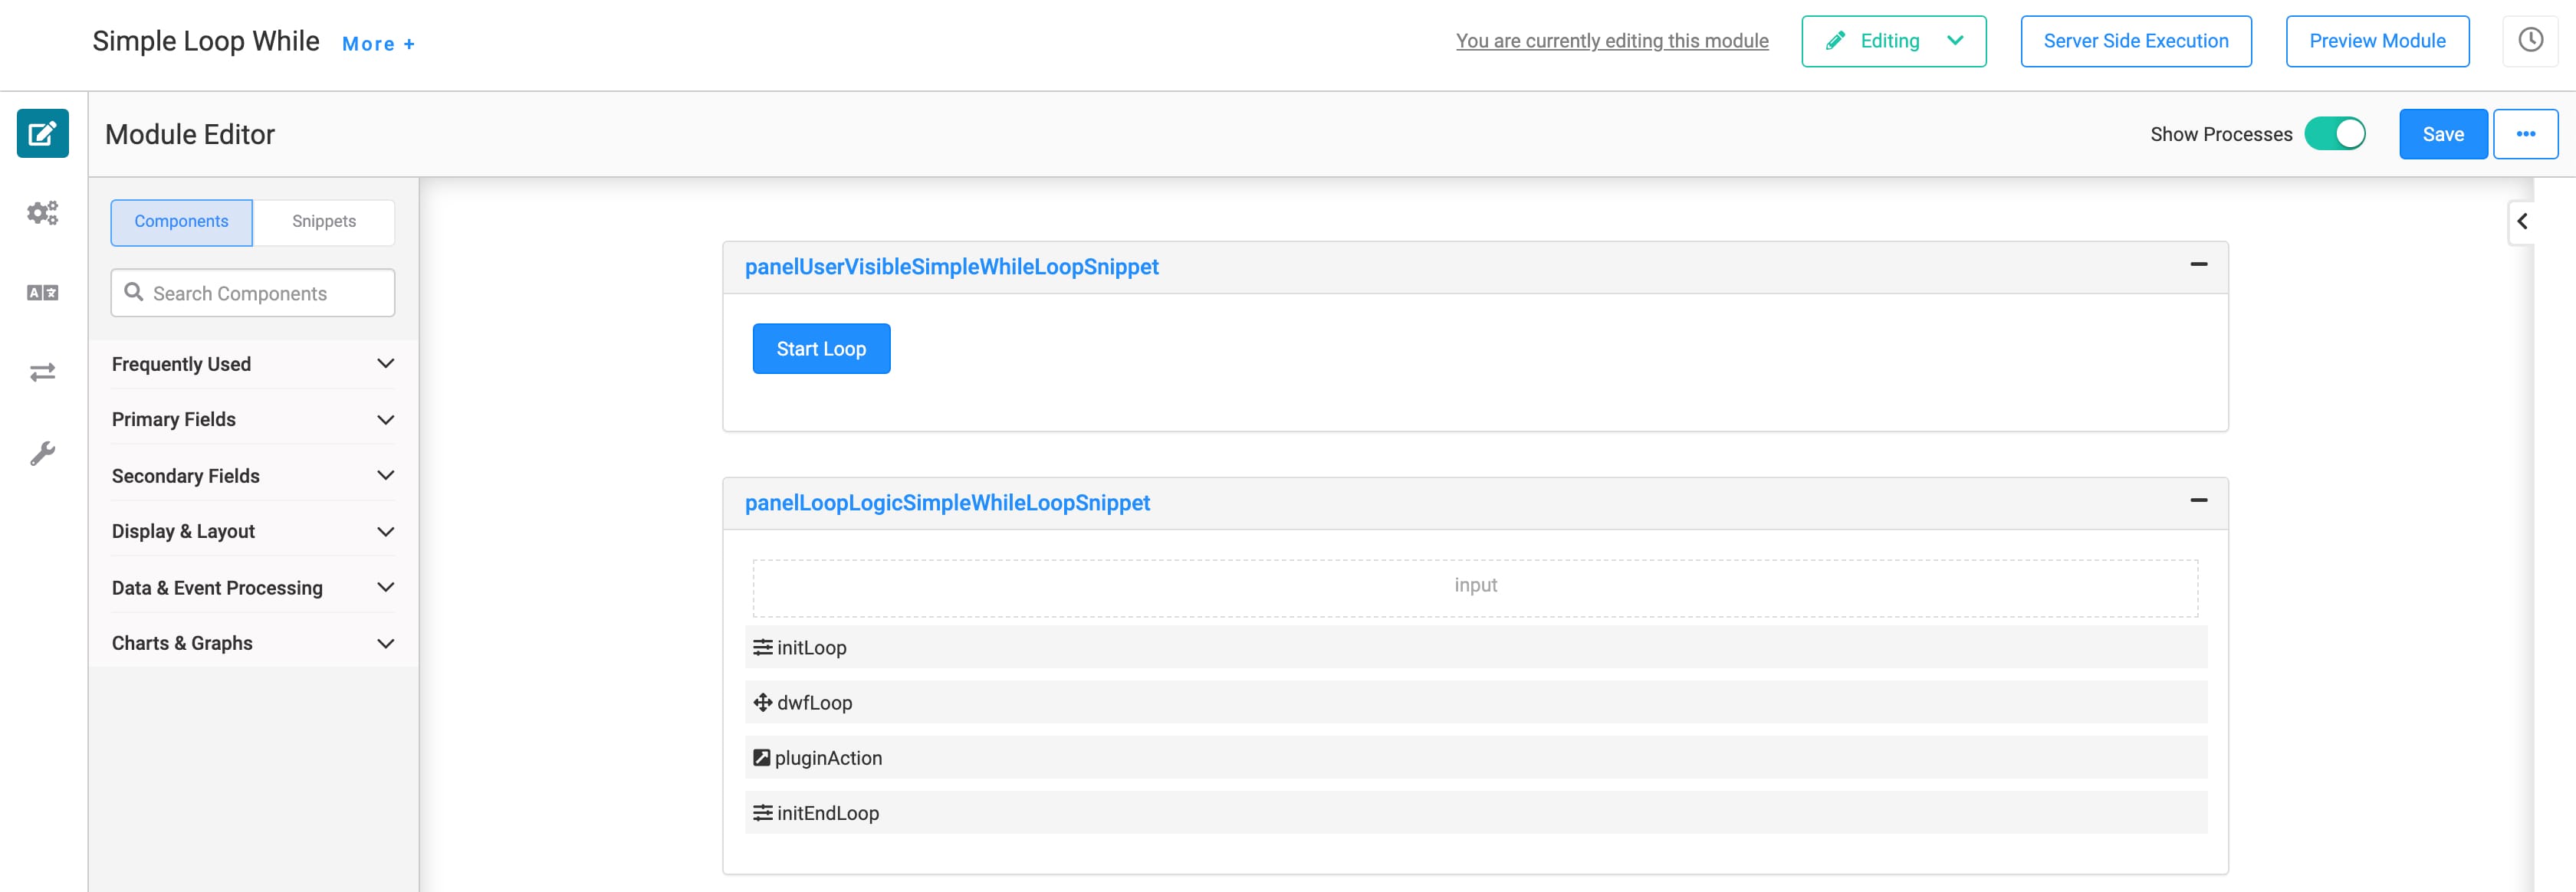
And here's how the snippet looks in the Module Builder:

Adding the Snippet
To add the Simple For Loop snippet to your module:
In the left sidebar of the Module Builder, click Snippets.
Enter While Loop in the search bar.
Drag and drop the While Loop snippet onto your canvas.
Save your module.
How the Snippet Works
Like other loops, this snippet relies heavily on the Data Workflow component. In Express View, the only component you see is the Start Loop button. This triggers the initializer to begin your Data Workflow.
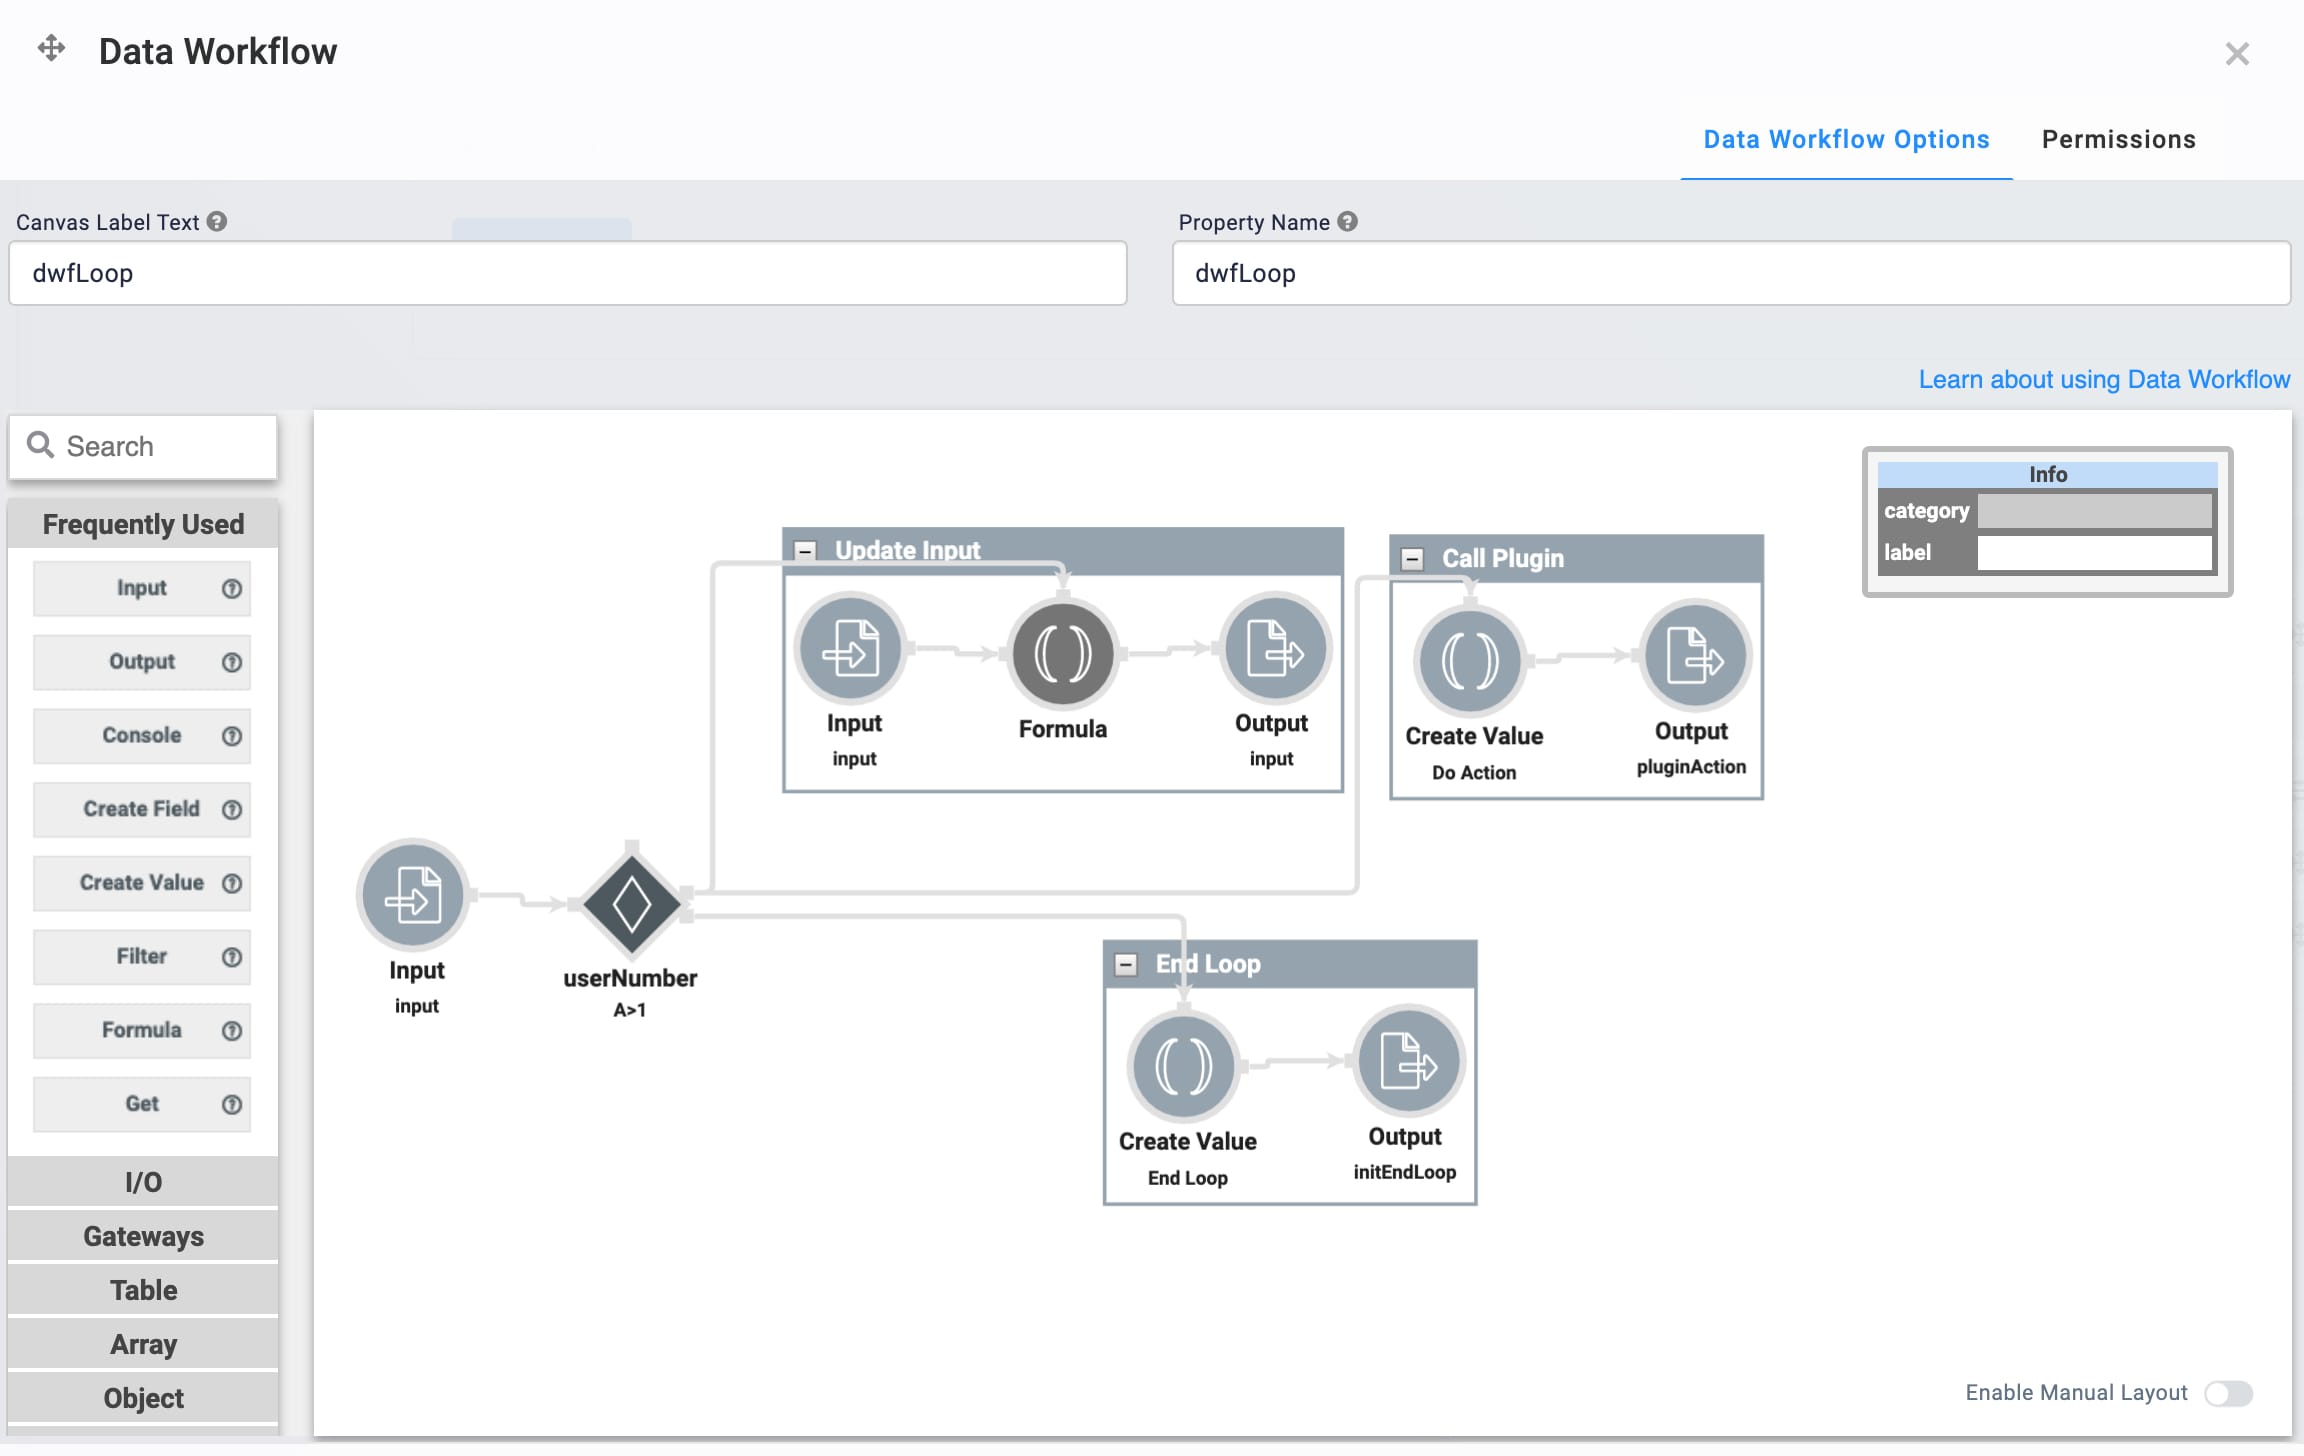
The Data Workflow uses your data from the input Hidden component to perform these actions:
userNumber: Looks at the data (stored in the input Hidden component).
Update Input: Observes the condition that starts the loop.
Call Plugin: Calls the pluginAction Plug-In component for the action you want to take with your data.
End Loop: Ends the loop when the condition stops being met.

Once complete, the initEndLoop Initializer component stops the workflow.
Configuring the Snippet
Out of the box, the While Loop snippet has the basic logic components ready to go. All you need to do is connect your data and adjust the pluginAction component.
Let's say you're capturing email addresses of people who enrolled with your company, and you want to send them a welcome email using SendGrid. Here's how it works.
This example uses the SendGrid service. To learn more, search SendGrid Single Email Module Integration Template in our In-Product Help.
Add a Data Table Component
This example uses a Data Table to get input information. To get started, enter the email addresses in the Data Table. These act as the condition that starts your loop.
Hover over the exampleArrayToProcess Data Table component.
A 5-button toolbar displays above the component on hover-over.
Click the
.jpg) (Settings) button to open the Configuration window.
(Settings) button to open the Configuration window.Enter dtInputData in the Label and Property Name fields.
In the table, enter:
id
name
email
1
Bruce
bruce@wayneenterprises.com
2
Clark
clark@dailybugle.com
3
Wally
wally@yahoo.com
.jpg)
Click Save.
Update the Plug-In Component
The automatic email information goes in the pluginAction Plug-In. This example uses SendGrid to get the email information.
Hover over the exampleArrayToProcess Data Table component.
A 5-button toolbar displays above the component on hover-over.
Click the
.jpg) (Settings) button to open the Configuration window.
(Settings) button to open the Configuration window.Select External as the Service Type.
Select SendGrid from the External Services drop-down.
Enter mail/send at the end of the Data Source URL.
Select Post as the Request Type.
In the Inputs table, enter:
Property ID
Mapping
currentRow['email']
personalizations[0].to[0].email
'This is a test email.'
content[0].value
hiddenFromEmail
from.email
'Hello Subject'
subject
'text/html'
content[0].type
If the Required boxes are selected, clear all Required checkboxes.
.jpg)
Click Save.
When you click Start Loop in Express View, everyone in your Data Table receives an email. In the DevTools Console, you'll see the rows of data:
.jpg)
Removing the Snippet
If you find you no longer need the For Loop feature in your module, you can remove it. To remove the While Loop snippet:
In the Module Builder, hover over the panelSimpleForLoopSnippet Panel component.
A 5-button toolbar displays above the component on hover-over.
Using the toolbar, click the
.jpg) (Remove) button.
(Remove) button.Save your module.