Append Operator
Overview
The Append operator lets you combine values from two different fields. But, the Append operator does not add the values as the Aggregate operator does. Instead, the Append operator combines your values as one value. Suppose you want to create a unique username from a first name and last name. If you enter the first name of Willow and last name of Kusko in separate fields, the Append operator combines the values as WillowKusko.
The Append operator is not limited to input fields. It also lets you append data tables. Let's say you collected names and birth dates in two different parts of your application. You can use the Append operator to combine them.
Similar Data Workflow Operators
The Append operator is like the Extend and Aggregate operators. Here are the operators compared:
-
Append operator: Combines strings A string is an object that represents a sequence of characters. Strings typically hold data represented in text form. or arrays An array is a type of object that stores one or more data types. Data types supported in arrays include numbers, strings, and objects. together. It appends strings using concatenation and appends two arrays into one.
-
Extend operator: Combines two objects An object is a type of data structure that represents a single, self-contained entity that acts as a container for the characteristics of that entity. into a single object. The Extend operator is typically used with Group Input operators to create objects with more than six fields.
-
Aggregate operator: Performs calculations on two or more numbers. This operator supports the Sum By, Count By, Mean By, Max By, and Min By operations.
About the Info Window
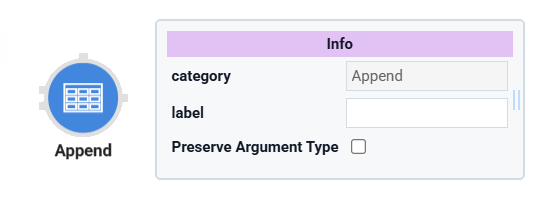
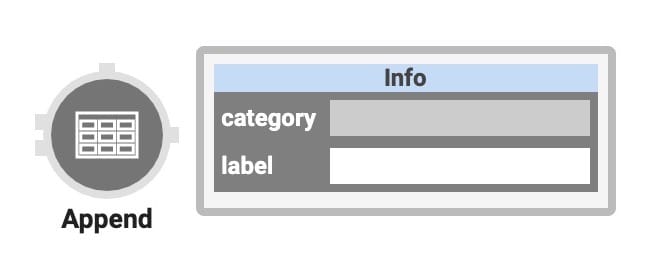
Here's a breakdown of each setting in the Append operator's Info window:
|
Setting |
Description |
|---|---|
|
Category |
Grayed out and non-adjustable setting indicating the operation type. |
|
Label |
Sets the label for your operator, displaying below the operator on your Data Workflow canvas. This field is optional, but set a label if you use more than one of the same operator type. A label helps you identify your operators without opening any Info windows. |
|
Preserve Argument Type |
When selected, this setting ensures the argument data type is respected when the operator executes. |
Adding an Append Operator
In this example, you'll configure a Data Workflow and Append operator to combine two values. First, you'll configure Text Field components to serve as your inputs. Then, you'll use a Data Workflow to append the values.
Configure the Text Field Components
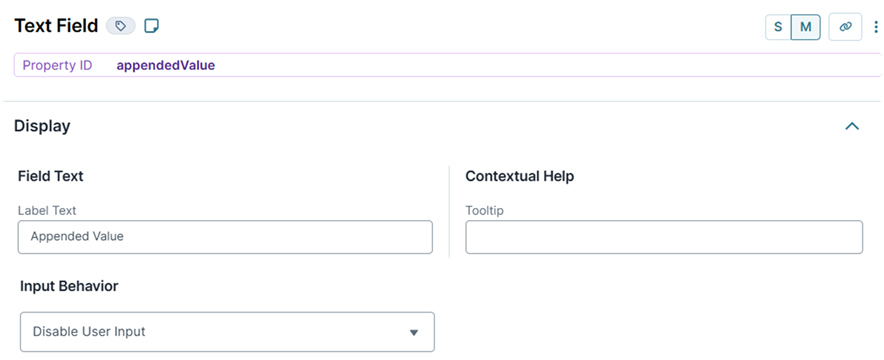
Configure two Text Field components to serve as your input fields. Then, configure a third to serve as the output for your Data Workflow.
| 1. | In the Module Builder, drag and drop three Text Field components onto your canvas. |
|
|
Property ID |
Label Text |
|---|---|---|
|
1 |
firstString |
First String |
|
2 |
secondString |
Second String |
|
3 |
appendedValue |
Appended Value |
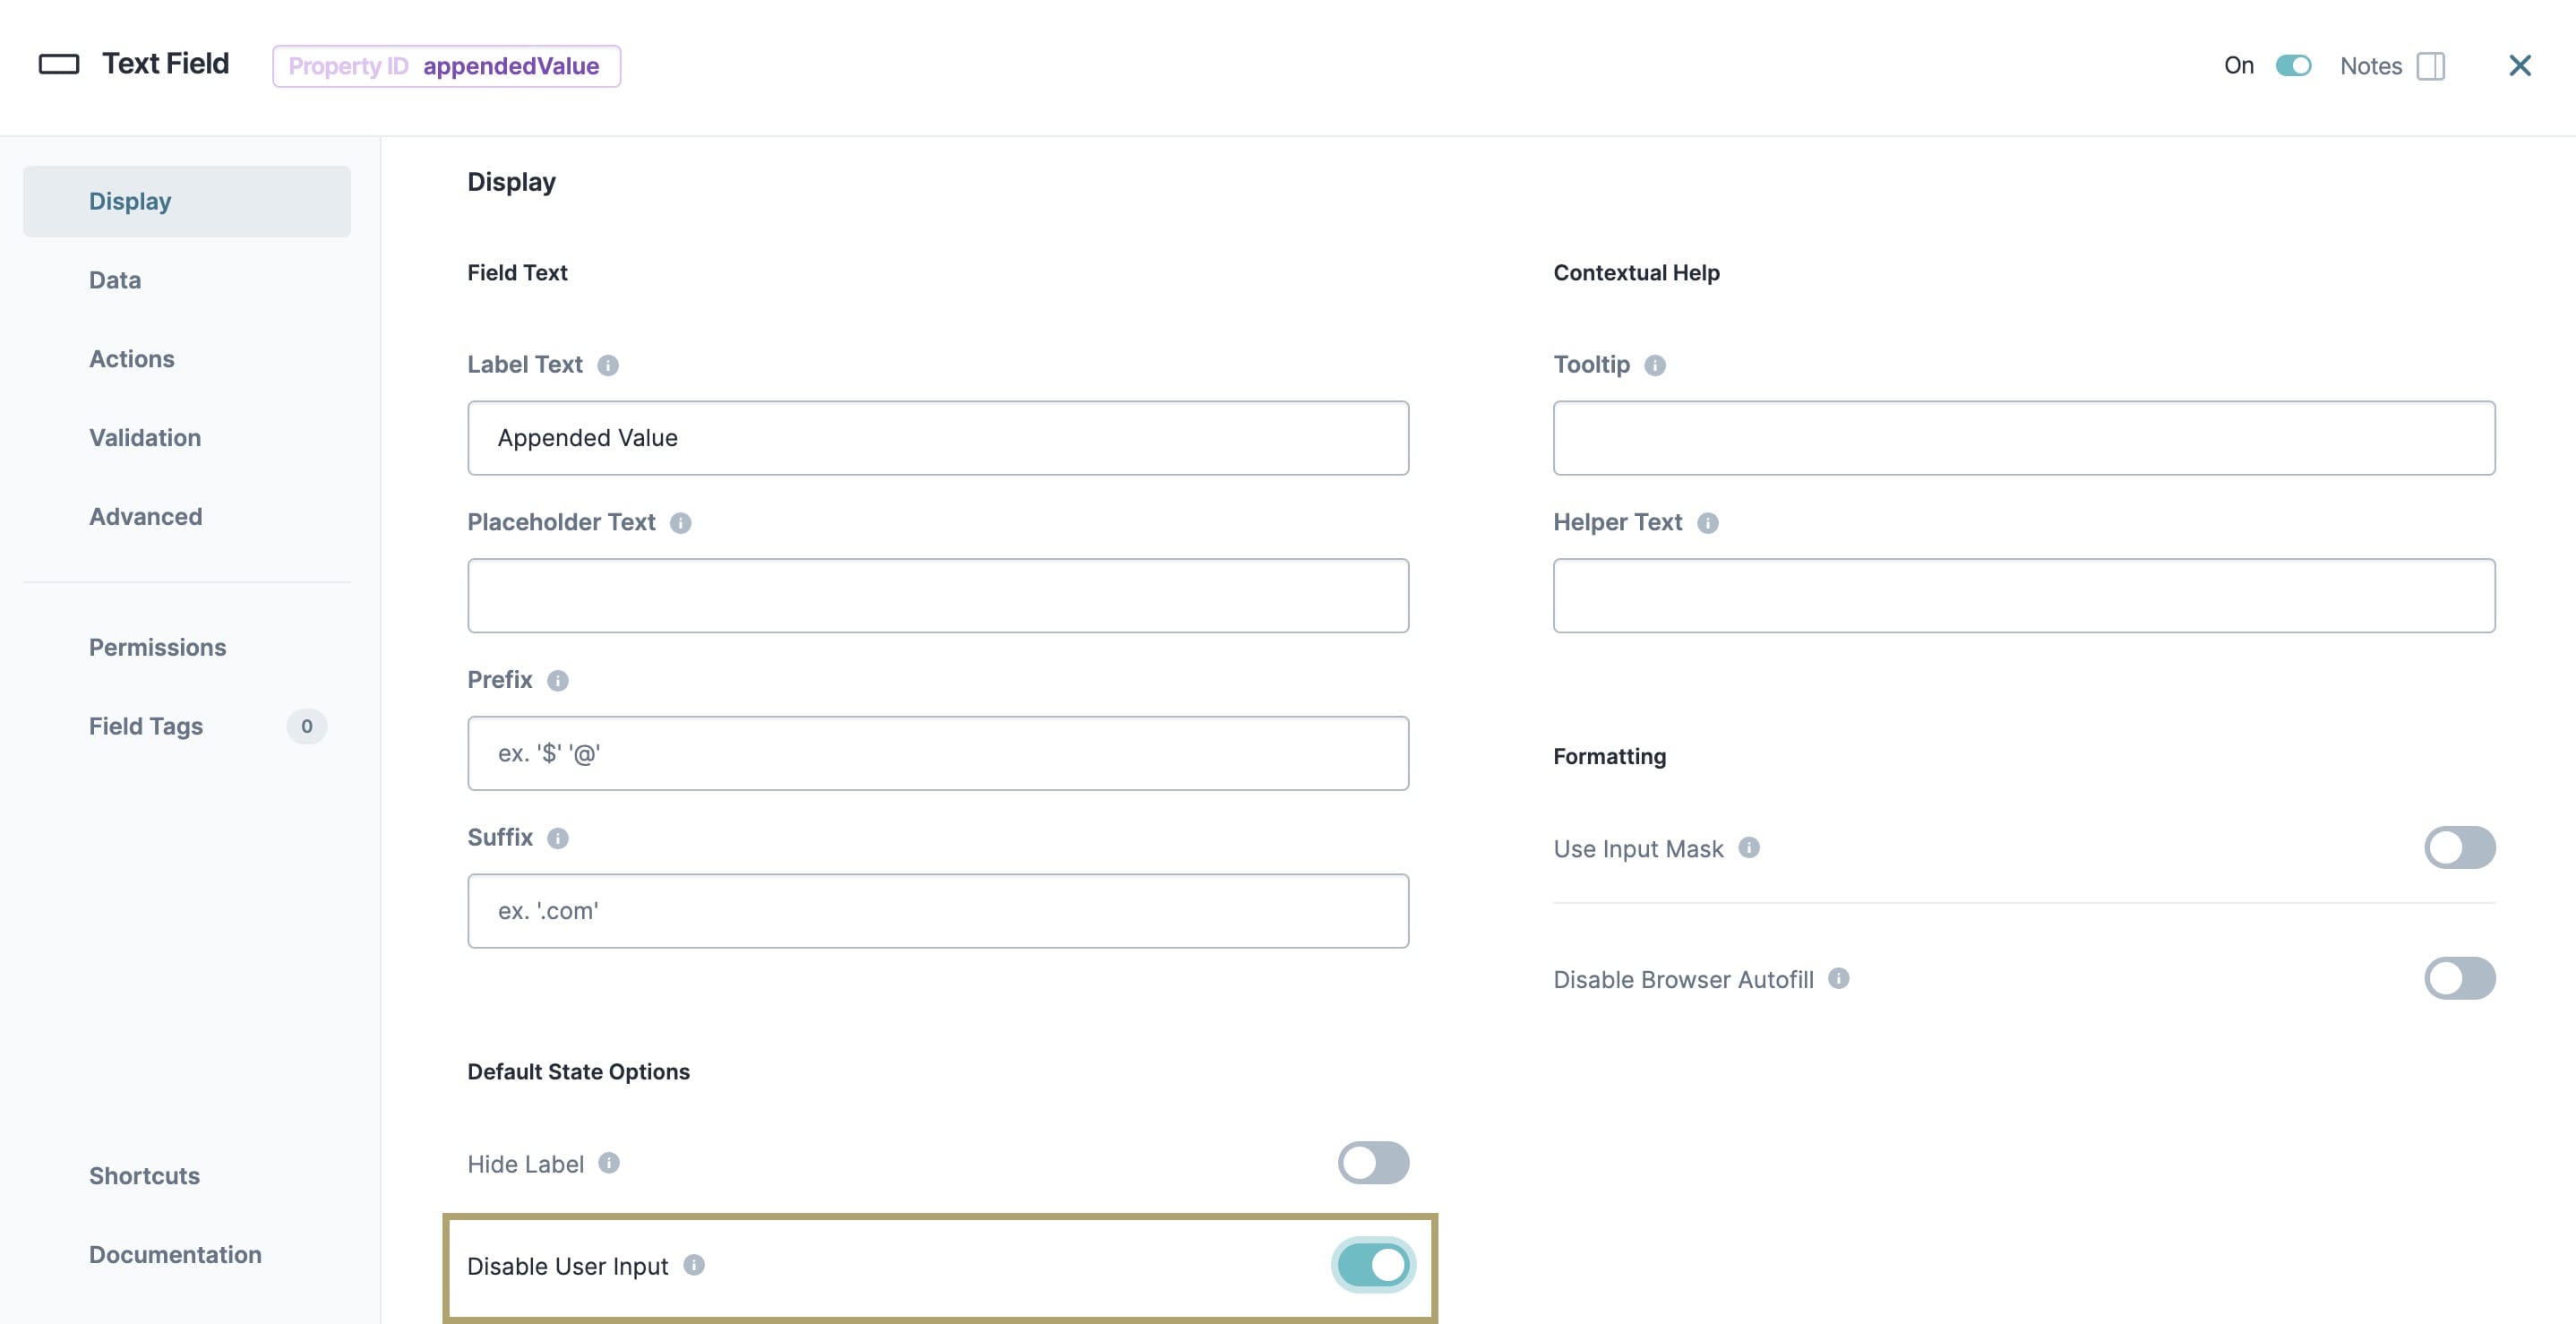
| 3. | In the appendedValue Text Field component, from the Input Behavior drop-down, select Disable User Input. |
| 4. | Save Component each component as you add it. |
Configure the Data Workflow Component
Next, configure a Data Workflow component with two Input operators are used to bring data from the input Text Field components into the Data Workflow. Then, you'll configure an Append operator to combine the values and pass the result to an Output operator.
| 1. | Drag and drop a Data Workflow component onto your canvas, placing it above your appendedValue Text Field component. |
| 3. | Set the Trigger Type Deteremines how the component triggers. as |
Configure the First Input Operator
| 1. | Drag and drop an Input operator onto your Data Workflow canvas. |
| 2. | Configure the operator's Info window as follows: |
| Info | |
|---|---|
|
Category |
Input |
|
Component |
firstString |
|
Required |
Yes |
|
Source |
Default |
Configure the Second Input Operator
| 1. | Drag and drop another Input operator onto your Data Workflow canvas. |
| 2. | Configure the operator's Info window as follows: |
| Info | |
|---|---|
|
Category |
Input |
|
Component |
secondString |
|
Required |
Yes |
|
Source |
Default |
Configure the Append Operator
| 1. | Drag and drop an Append operator onto your Data Workflow canvas. |
| 2. | Configure the operator's Info window as follows: |
| Info | |
|---|---|
|
Category |
Append |
|
Label |
Append Strings |
| 3. | Connect the output port (right) of the firstString Input operator to the upper input port (left) of the Append StringsAppend operator. |
| 4. | Connect the output port (right) of the secondString Input operator to the lower input port (left) of the Append StringsAppend operator. |
Configure the Output Operator
| 1. | Drag and drop an Output operator onto your Data Workflow canvas. |
| 2. | Configure the operator's Info window as follows: |
| Info | |
|---|---|
|
Category |
Output |
|
Component |
appendedValue |
|
Action |
value |
| 3. | Connect the output port (right) of the Append StringsAppend operator to the input port (left) of the appendedValueOutput operator. |
| 4. | Click Save Component. |
| 5. | Save your module. |
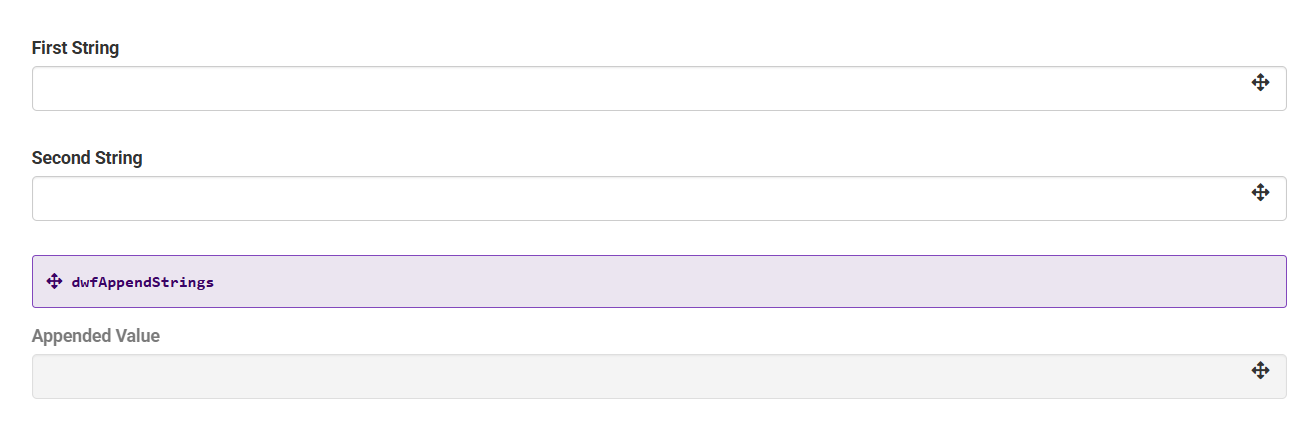
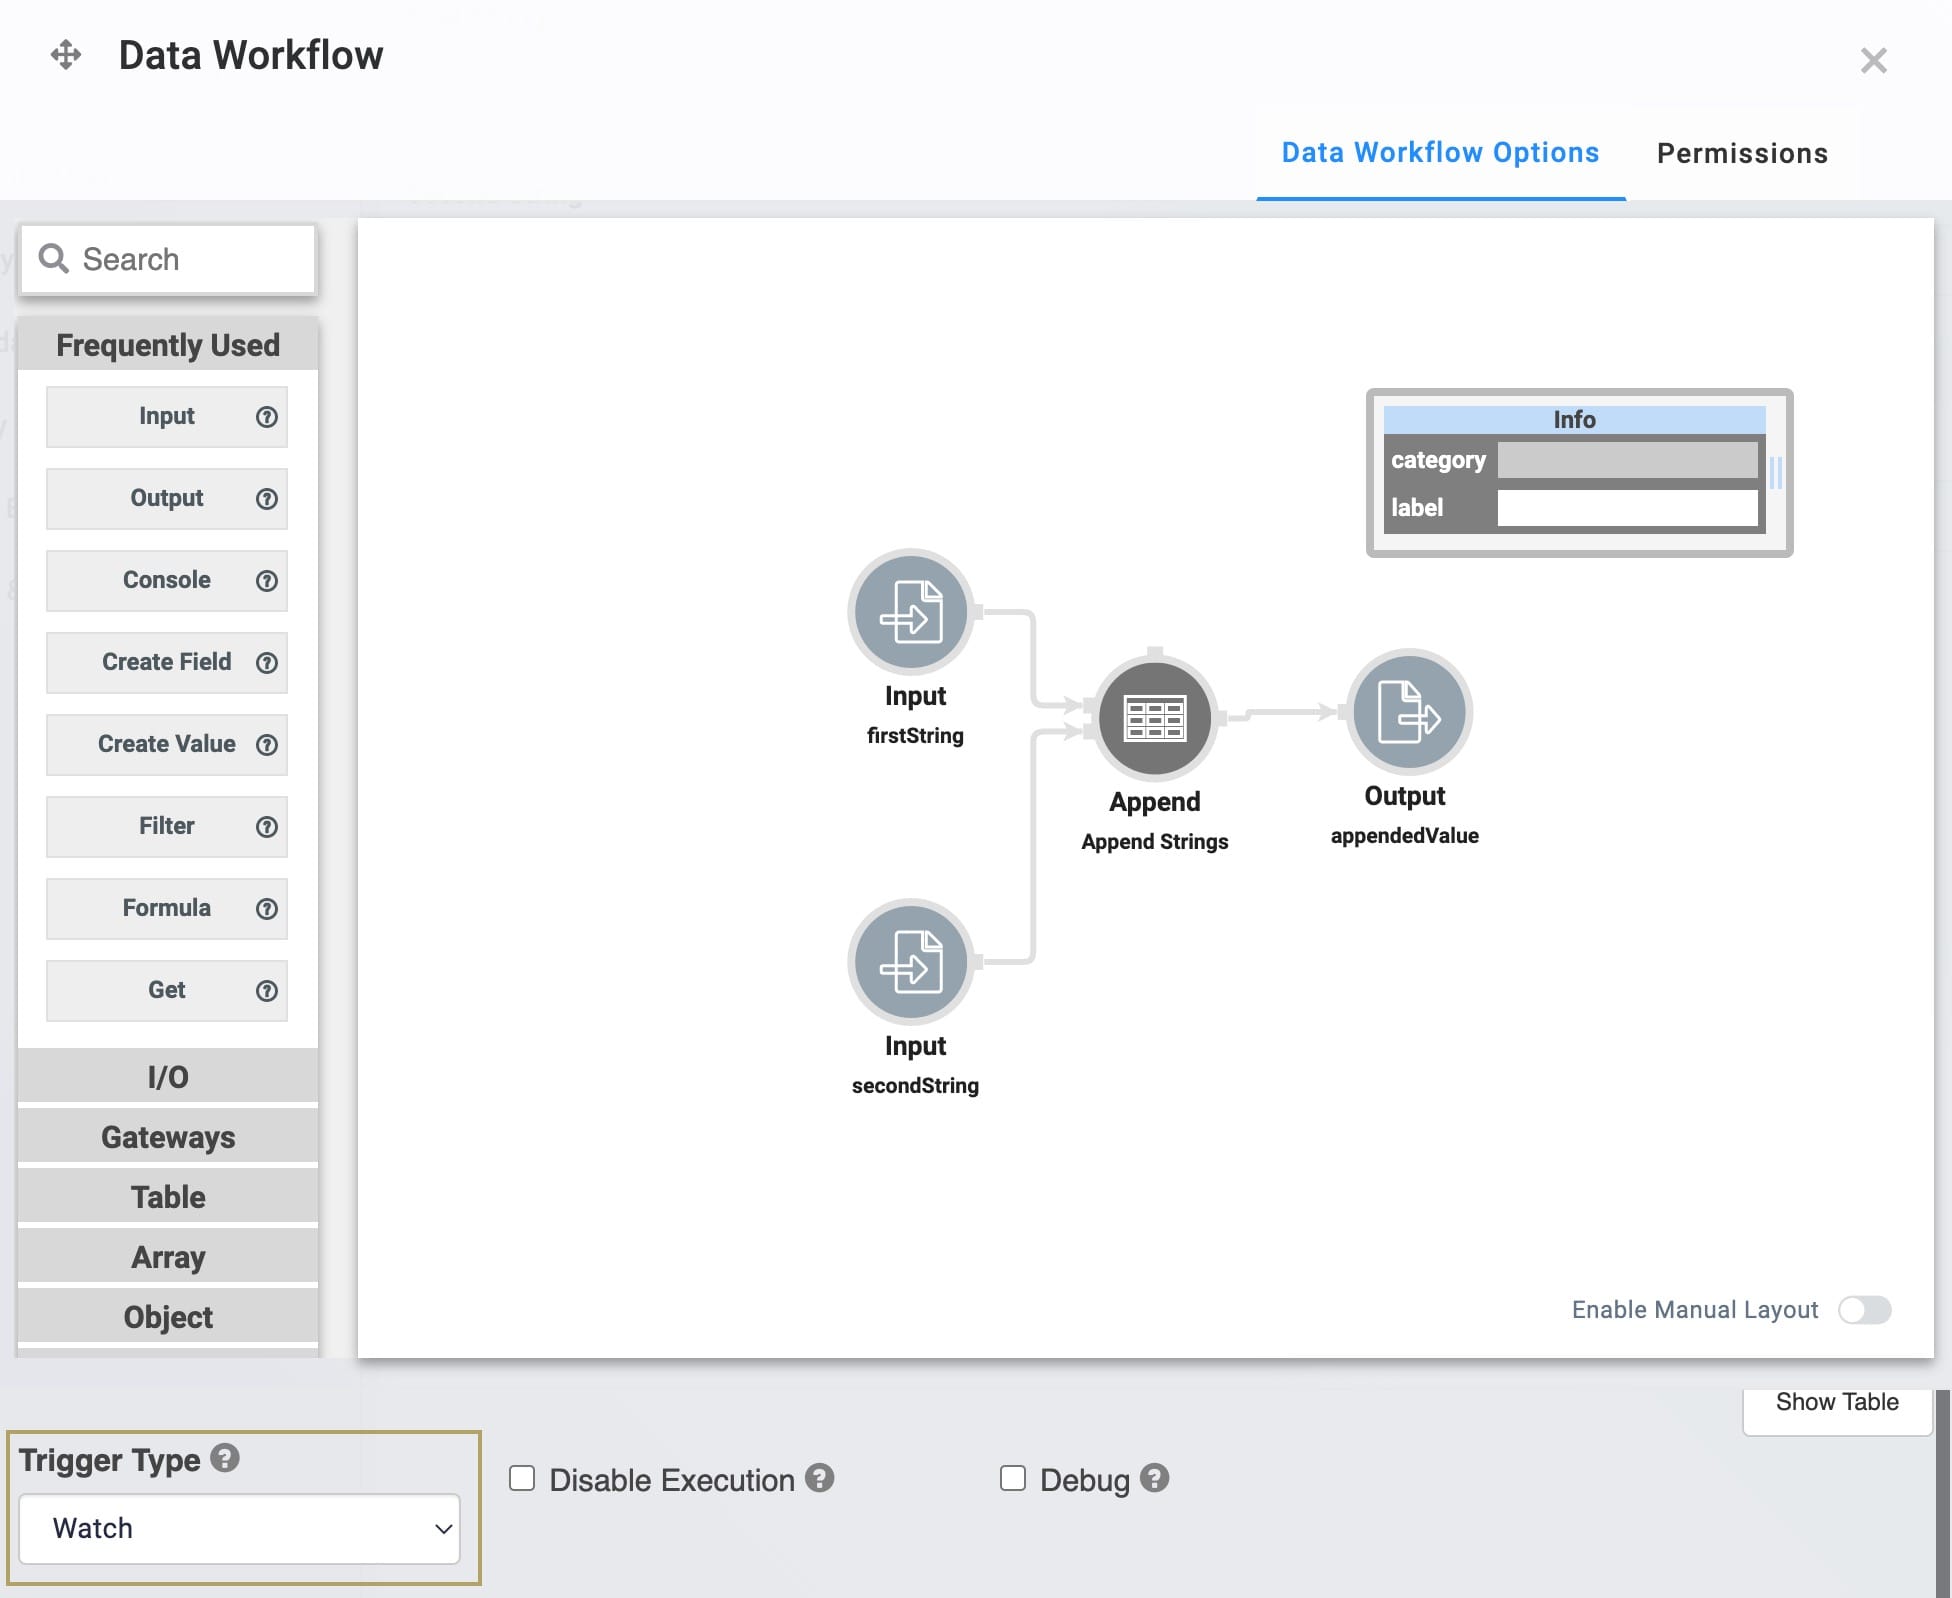
Here's how the completed Data Workflow looks:

Here's how the completed example looks in the Module Builder:
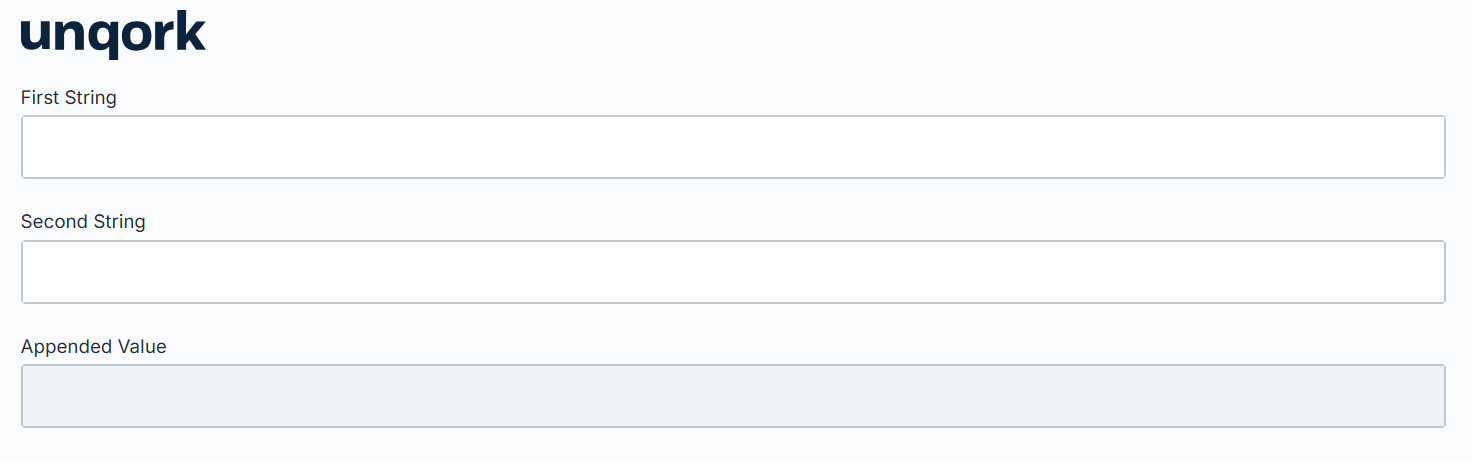
Preview your module in Express View Express View is how your end-user views your application. Express View also lets you preview your applications to test your configuration and view the styling. This is also the view your end-users will see when interacting with your application. After configuring a module, click Preview in the Module Builder to interact with the module in Express View. and enter values into your Text Field components. As you enter your values, you can view them combining in the Appended Value field.
Overview
The Append operator lets you combine values from two different fields. But, the Append operator does not add the values as the Aggregate operator does. Instead, the Append operator combines your values as one value. Suppose you want to create a unique username from a first name and last name. If you enter the first name of Willow and last name of Kusko in separate fields, the Append operator combines the values as WillowKusko.
The Append operator is not limited to input fields. It also lets you append data tables. Let's say you collected names and birth dates in two different parts of your application. You can use the Append operator to combine them.
Similar Data Workflow Operators
The Append operator is like the Extend and Aggregate operators. Here are the operators compared:
-
Append operator: Combines strings A string is an object that represents a sequence of characters. Strings typically hold data represented in text form. or arrays An array is a type of object that stores one or more data types. Data types supported in arrays include numbers, strings, and objects. together. It appends strings using concatenation and appends two arrays into one.
-
Extend operator: Combines two objects An object is a type of data structure that represents a single, self-contained entity that acts as a container for the characteristics of that entity. into a single object. The Extend operator is typically used with Group Input operators to create objects with more than six fields.
-
Aggregate operator: Performs calculations on two or more numbers. This operator supports the Sum By, Count By, Mean By, Max By, and Min By operations.
About the Info Window
And here's a breakdown of each setting in the Append operator's Info window:
|
Setting |
Description |
|---|---|
|
Category |
Grayed out and non-adjustable setting indicating the operation type. |
|
Label |
Sets the label for your operator, displaying below the operator on your Data Workflow canvas. This field is optional, but set a label if you use more than one of the same operator type. A label helps you identify your operators without opening any Info windows. |
|
Preserve Argument Type |
When selected, this setting ensures the argument data type is respected when the operator executes. |
Adding an Append Operator
In this example, you'll configure a Data Workflow and Append operator to combine two values. First, you'll configure Text Field components to serve as your inputs. Then, you'll use a Data Workflow to append the values.
Configure the Text Field Components
Configure two Text Field components to serve as your input fields. Then, configure a third to serve as the output for your Data Workflow.
| 1. | Drag and drop three Text Field components onto your canvas. |
|
Property ID |
Label Text |
|---|---|
|
firstString |
First String |
|
secondString |
Second String |
|
appendedValue |
Appended Value |
| 3. | In the appendedValue Text Field component, set the Disable User Input toggle to (ON) |
| 4. | Save & Close each component as you add it. |
Configure the Data Workflow Component
Next, configure a Data Workflow component with two Input operators are used to bring data from the input Text Field components into the Data Workflow. Then, you'll configure an Append operator to combine the values and pass the result to an Output operator.
| 1. | Drag and drop a Data Workflow component onto your canvas, placing it above your appendedValue Text Field component. |
| 2. | In the Canvas Label Text and Property Name fields, enter dwfAppendStrings. |
| 3. | From the Trigger Type drop-down, select Watch. |
Configure the First Input Operator
| 1. | Drag and drop an Input operator onto your Data Workflow canvas. |
| 2. | Configure the operator's Info window as follows: |
|
Setting |
Value |
|---|---|
|
Category |
Input |
|
Component |
firstString |
|
Required |
Yes |
|
Source |
Default |
Configure the Second Input Operator
| 1. | Drag and drop another Input operator onto your Data Workflow canvas. |
| 2. | Configure the operator's Info window as follows: |
|
Setting |
Value |
|---|---|
|
Category |
Input |
|
Component |
secondString |
|
Required |
Yes |
|
Source |
Default |
Configure the Append Operator
| 1. | Drag and drop an Append operator onto your Data Workflow canvas. |
| 2. | Configure the operator's Info window as follows: |
|
Setting |
Value |
|---|---|
|
Category |
Append |
|
Label |
Append Strings |
| 3. | Connect the output port (right) of the firstString Input operator to the upper input port (left) of the Append StringsAppend operator. |
| 4. | Connect the output port (right) of the secondString Input operator to the lower input port (left) of the Append StringsAppend operator. |
Configure the Output Operator
| 1. | Drag and drop an Output operator onto your Data Workflow canvas. |
| 2. | Configure the operator's Info window as follows: |
|
Setting |
Value |
|---|---|
|
Category |
Output |
|
Component |
appendedValue |
|
Action |
value |
| 3. | Connect the output port (right) of the Append StringsAppend operator to the input port (left) of the appendedValueOutput operator. |
| 4. | Click Save. |
| 5. | Save your module. |
Here's how the completed example looks in the Module Builder:
Preview your module in Express View Express View is how your end-user views your application. Express View also lets you preview your applications to test your configuration and view the styling. This is also the view your end-users will see when interacting with your application. After configuring a module, click Preview in the Module Builder to interact with the module in Express View. and enter values into your Text Field components. As you enter your values, you can view them combine in your Appended Value field.
