Overview
A header module displays at the top of an application in Express View. In a header module, you might display a logo, insert a CTA, navigational elements, search fields, or other features. Headers exist in a separate module, which you connect to your application in the App Details settings.
Header module RBAC is defined by the RBAC of the embedded components.
Creating a Header Module
Headers are FE front-end modules assigned to the Header Module drop-down in Application settings.
To create and assign a header module at the Application level:
Navigate to your application.
Click + Create New.
Select Module.
In the Module Name field, enter a name for your header module. The Module-Path field autopopulates.
To make it easier to locate your header later, begin your module name with Header. For example, Header: Acme Corp.
From the Module Type drop-down select FE Front-End.
Header Modules are a front-end element, an application might experience unintended consequences when setting the Module Type to API or Other.
Click Create.
From here, open the module and customize your header. Here are the following supported components:
Primary Fields: All components.
Secondary Fields: Button and Hidden components.
Display & Layout: Columns, Field Group, HTML Element, and Panel components.
Data & Event Processing: Data Workflow, Decisions, Initializer, and Plug-In components.
Avoid naming components with common values. Header and footer modules cannot have components with the same Property ID. Otherwise, neither display in Express View. It's a best practice to differentiate components with a descriptive name—for example, dwHeaderOutput.
Connecting a Header Module to an Application
Now that you have a header module, connect it to your application.
To connect a header at the Application level:
Navigate to the application that contains your header module.
At the top of the page, click
···(options).Select Settings.
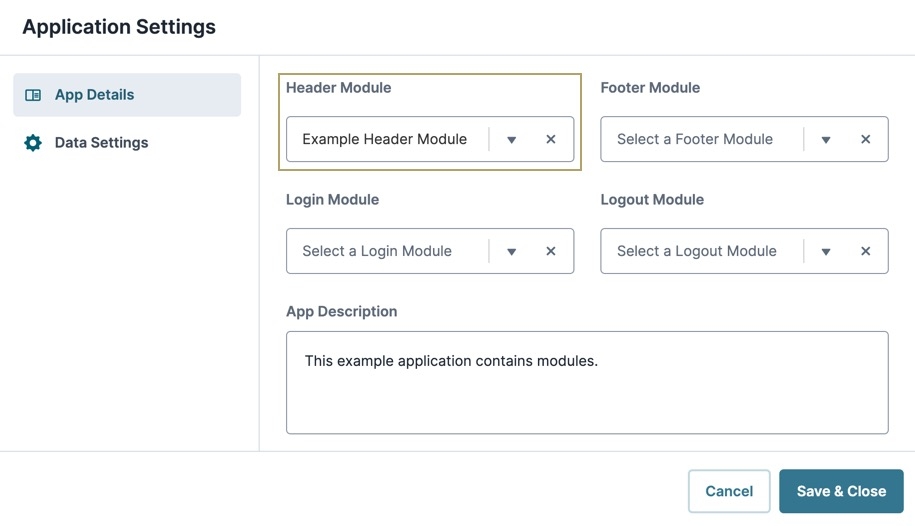
From the Header Module drop-down, enter or select the header module.
Click Save & Close.
Previewing a Header Module
It's important to note that all modules you plan to have navigate to using your header module must exist in the same application. Otherwise, you'll receive a 403 error.
To preview the header module at the Application level:
Navigate to the application that contains your header module.
At the top of the page, click
···(options).Select Preview. The application displays on a new page with the header module present at the top.
To successfully preview your header module, you must preview it at the Application level. Otherwise, you must manipulate the browser URL to consider any redirects. The URL looks like the following: https://www.{your-environment}.io/app/{appPath}#/display/{{moduleId}}/{{submissionId}}/{{moduleId}}.
Disconnecting a Header Module
If you decide you do not want a header in your application anymore, you can remove it.
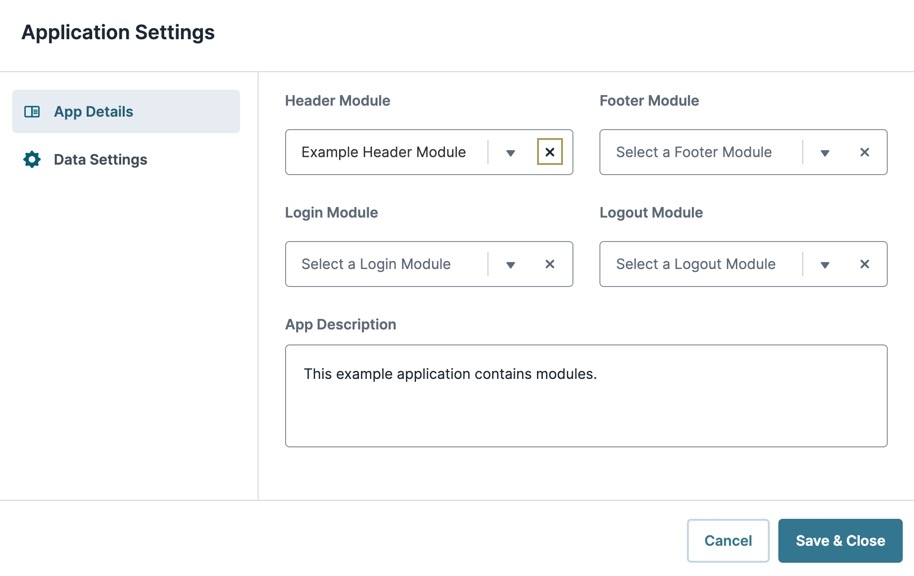
To disconnect a header at the Application level:
Overview
A header module displays at the top of an application in Express View. In a header module, you might display a logo, insert a CTA, navigational elements, search fields, or other features. Headers exist in a separate module, which you connect to your application in the App Details settings.
Header module RBAC is defined by the RBAC of the embedded components.
Creating a Header Module
You'll need to create a header module before connecting it to your application. The best way to achieve this task is to add your header module to the Library. After adding your module to the Library, you can share it with all other applications in your environment.
If you plan to create a header, be mindful when naming components. Both the header and footer modules cannot have components with the same Property ID. Otherwise, neither display in Express View. It's a best practice to differentiate components with a descriptive name—for example, dwHeaderOutput.
At the top right of the Unqork Designer Platform, click the Library drop-down.
Select Library Elements.
Click + Create New.
In the Module Name field, enter a name for your header module.
To make it easier to locate your header later, begin your module name with Header. For example, Header: Acme Corp.
Click Create.
From here, open the module and customize your header. Here are the following supported components:
Primary Fields: All components.
Secondary Fields: Button and Hidden components.
Display & Layout: Columns, Field Group, HTML Element, and Panel components.
Data & Event Processing: Data Workflow, Decisions, Initializer, and Plug-In components.
Connecting a Header Module to an Application
Now that you have a header, connect it to your application.
To connect a header module to your application:
Navigate to your workspace and locate your application tile.
Click the ellipsis (···) button.
Select
.png) Settings.
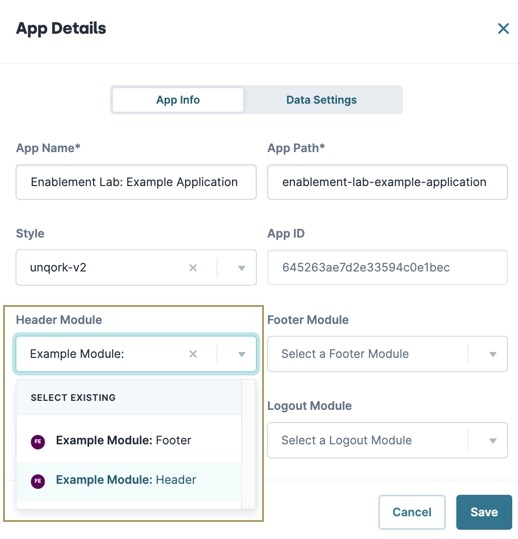
Settings.From the Header Module drop-down, enter or select a header module.
Click Save.
Previewing a Header Module
It's important to note that all modules you plan to have navigate to using your header module must exist in the same application. Otherwise, you'll receive a 403 error. The following image shows you how to preview a module at the application level:
To successfully preview your header module, you must preview it at the Application level. Otherwise, you must manipulate the browser URL to consider any redirects. The URL looks like the following: https://www.{your-environment}.io/app/{appPath}#/display/{moduleId}/{submissionId}/{moduleId}.
Disconnecting a Header Module
If you decide you do not want a header in your application anymore, you can remove it.
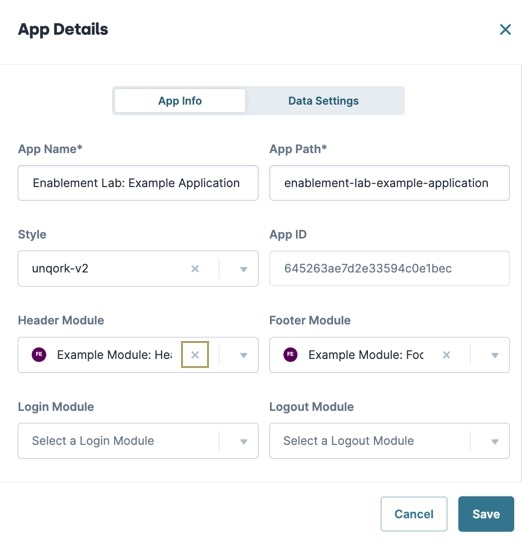
To remove a header module from an application:

.jpg)


.jpg)
