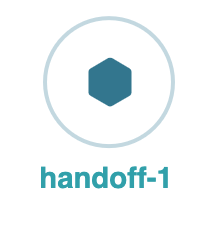
The Handoff node acts as an ending point for a workflow. Once a workflow reaches the Handoff node, it transfers to another workflow. The Handoff node also controls submission data transferred to the next workflow.
You'll find the Handoff node in the list of nodes to the left of the Workflow Builder.
Similar Nodes
The Handoff node has similar functionality to the End node. However, they each serve a different purpose:
Handoff node: Connects the end of a workflow to another workflow. Handoff nodes can transfer the current submission data to the new workflow, or end it at the Handoff node.
End node: Ends a workflow, or redirects to a module or URL.
Settings Menu Description
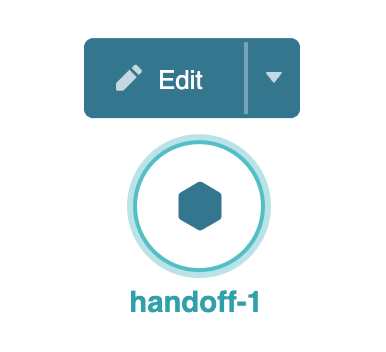
Let's explore the node's Settings Menu. This menu displays as a blue menu bar, either above or below the node, when you select the node itself. This node has these Settings Menu options:
Setting | Description |
|---|---|
Edit | Takes you to the Edit Handoff Event window, where you can configure related settings. |
Open | This setting is enabled after you've set a hand-off location for the node. After setting this location, you'll click Open to access your connected workflow. That way, your existing workflow stays open, and your handoff workflow displays in a new tab. |
Delete | Removes the node from the workflow. |
Edit Handoff Event Window Description
Clicking the Edit button displays the Edit Handoff Event window with the following settings:
Setting | Description |
|---|---|
Label | Sets the name of your node. By default, the Label displays as handoff-1. The label you enter here is optional and displays below the node on the Workflow canvas. Define your labels by associating them with the role of the node. |
Continue Current Submission | When the toggle is By default, Continue Current Submission is set to |
Choose Workflow To Hand Off To | Defines which workflow your current workflow connects to after the handoff. |
X (Close) | Closes the Edit Handoff Event window, returning your focus to the pool. |
Adding a Handoff Node
For this use case, create two workflows. The first navigates end-users through an Account Selection workflow. The second workflow navigates end-users through an Account Information workflow. You’ll use a Handoff node to transfer end-users from one workflow to the other.
This example assumes that you've set up your modules in advance and have new workflows ready.
Configure the First Workflow
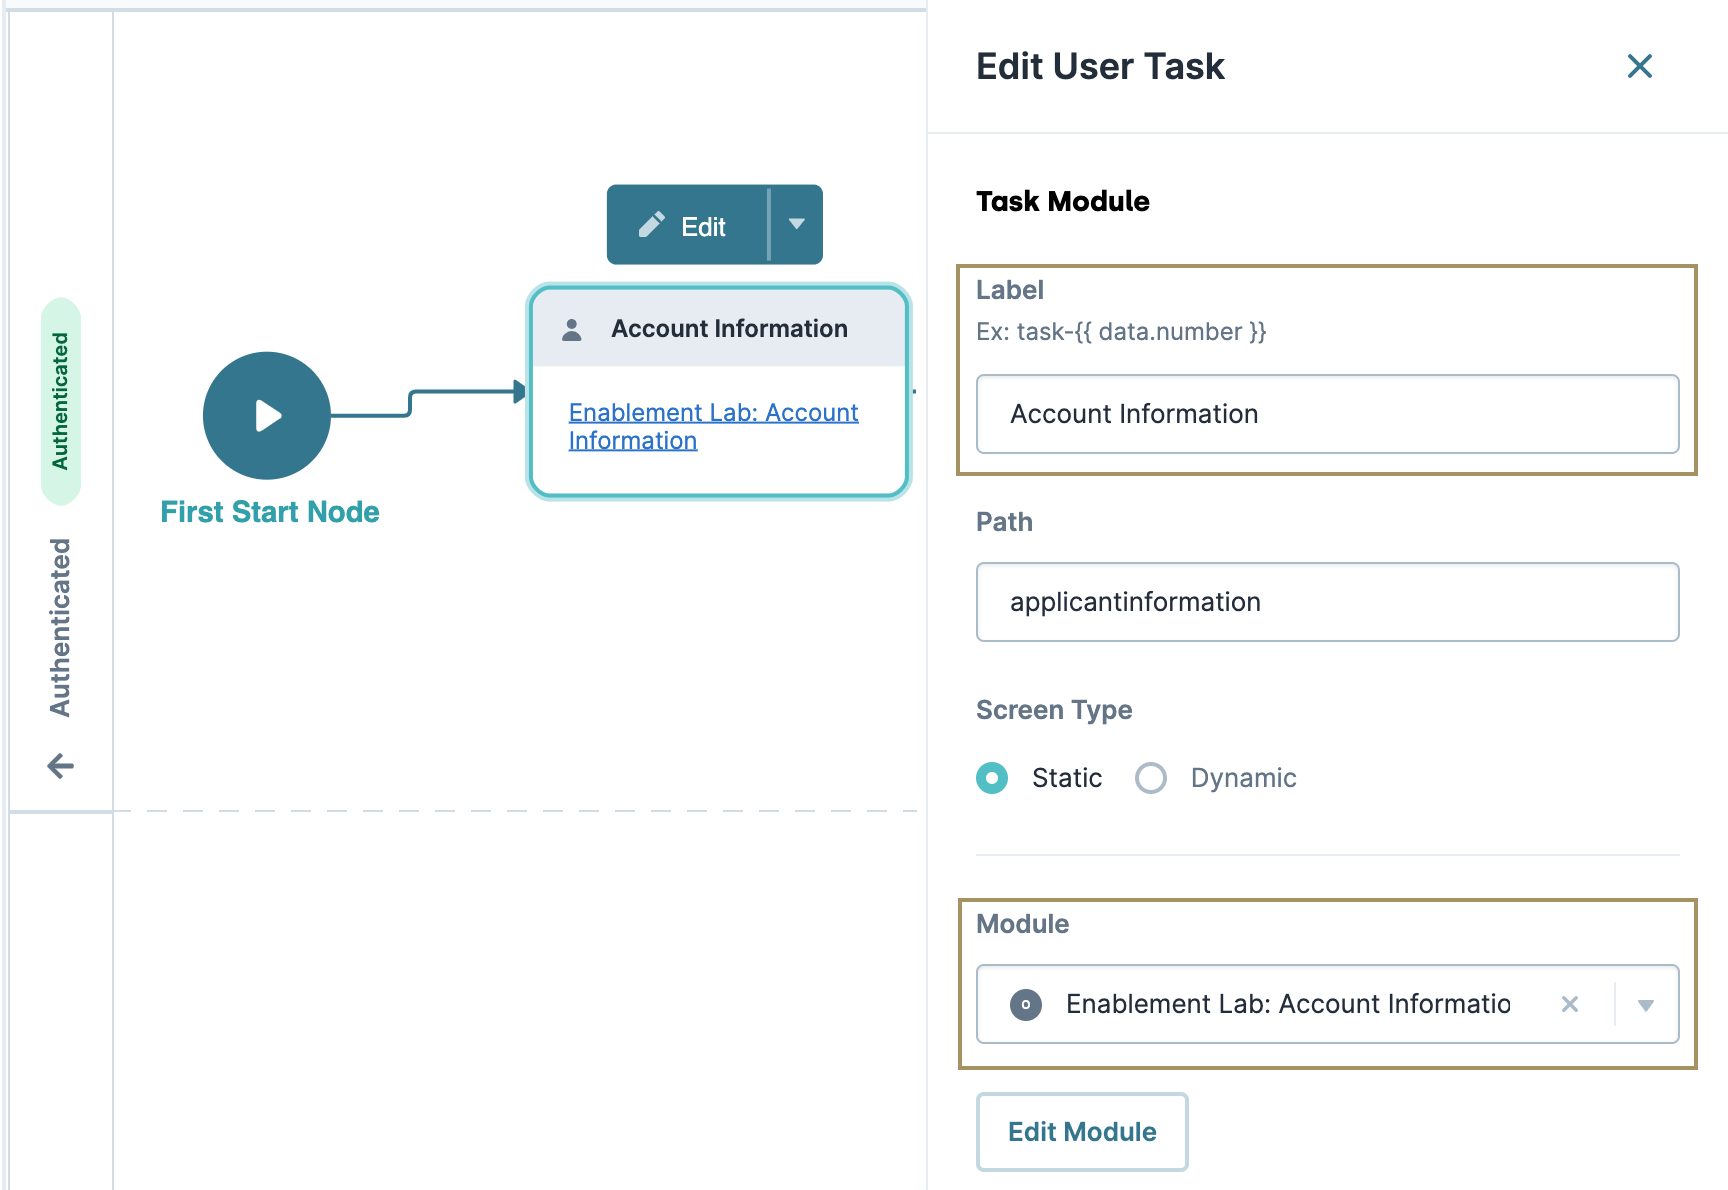
In this workflow, a Task node calls an Account Information module, where end-user submit their data. Then the Handoff node passes the end-user from the current workflow to the next one.
Configure the Start Node
Select the Start node.
Click Edit.
In the Label field, enter First Start Node.
Click
X(Close).
Configure the Task Node
Drag and drop a Task node into the Authenticated swimlane.
Click Edit.
In the Label field, enter
Account Information.From the Module drop-down, enter or select
Enablement Lab: Account Information. This module stores the general account information related to individual accounts.Click X (Close).
Connect the output port (right) of the Start node to the input port (left) of the Task node.
Configure the Handoff Node
Drag and drop a Handoff node into the Authenticated swimlane.
Click Edit.
In the Label field, enter
Handoff to Acc Select.Click X (Close).
Connect the output port (right) of the Task node to the input port (left) of the Handoff node.
Click Save….
Click Save.
You'll connect the Handoff node to the next workflow at a later stage.
Your first workflow looks like the following: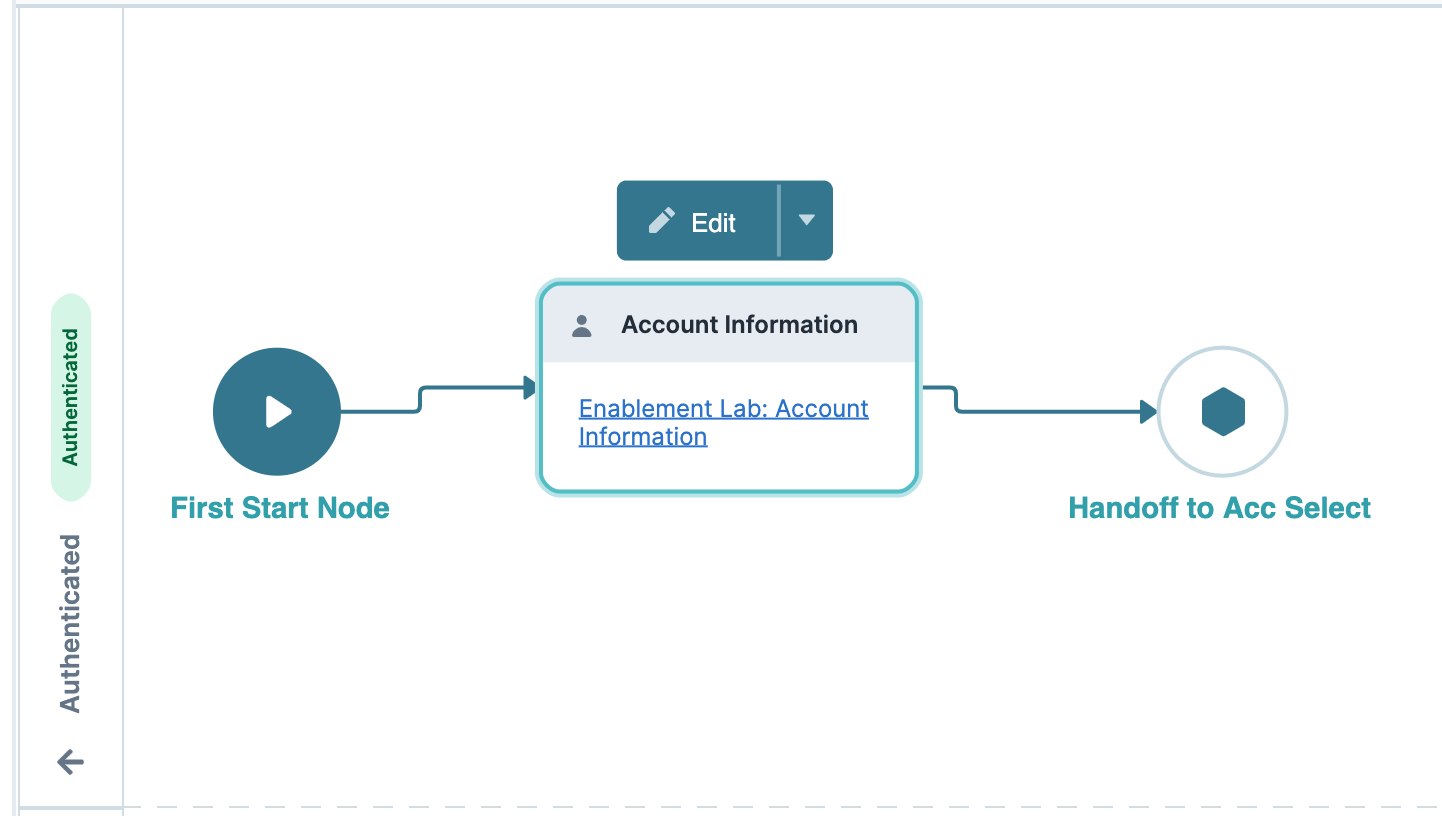
Configure the Second Workflow
The second workflow begins with the end-user submitting their account choice in the Account Selection module. Then, they're directed to one of two paths. They'll either complete their application for a 401K account or for an IRA account.
Configure the Start Node
Select your Start node.
Click Edit.
In the Label field, enter
Main Start Node.Click X (Close).
Configure the Task Nodes
Add three Task nodes to your workflow. The first Task node connects to the Account Selection module. The other two Task nodes capture information about the different account types.
Drag and drop three Task nodes into the Authenticated swimlane.
Select the first Task node and click Edit.
In the Label field, enter
Account Selection. The Path field updates with a new path based on theLabel fieldvalue.From the Module drop-down, enter or select
Enablement Lab: Account Selection Module.Click X (Close).
Repeat this process for the other Task nodes using the following information:
#
Label
Module
1
401K
Enablement Lab: 401K Account Module
2
IRA
Enablement Lab: IRA Account Module
Connect the output port (right) of the Start node to the input port (left) of the
Account SelectionTask node.
You'll connect the remaining Task nodes at a later stage.
Configure the Exclusive Gateway Node
An Exclusive Gateway node uses logic to split your end-user's journey into two or more paths. You can think of an Exclusive Gateway node as a workflow's version of the Decisions component. Much like you can use the Decisions component to set if/then rules, you can use Gateway nodes to set if/then journeys.
Drag and drop a Exclusive Gateway node into the Authenticated swimlane.
Connect the output port (right) of the
Account SelectionTask node to the input port (left) of the Exclusive Gateway node.
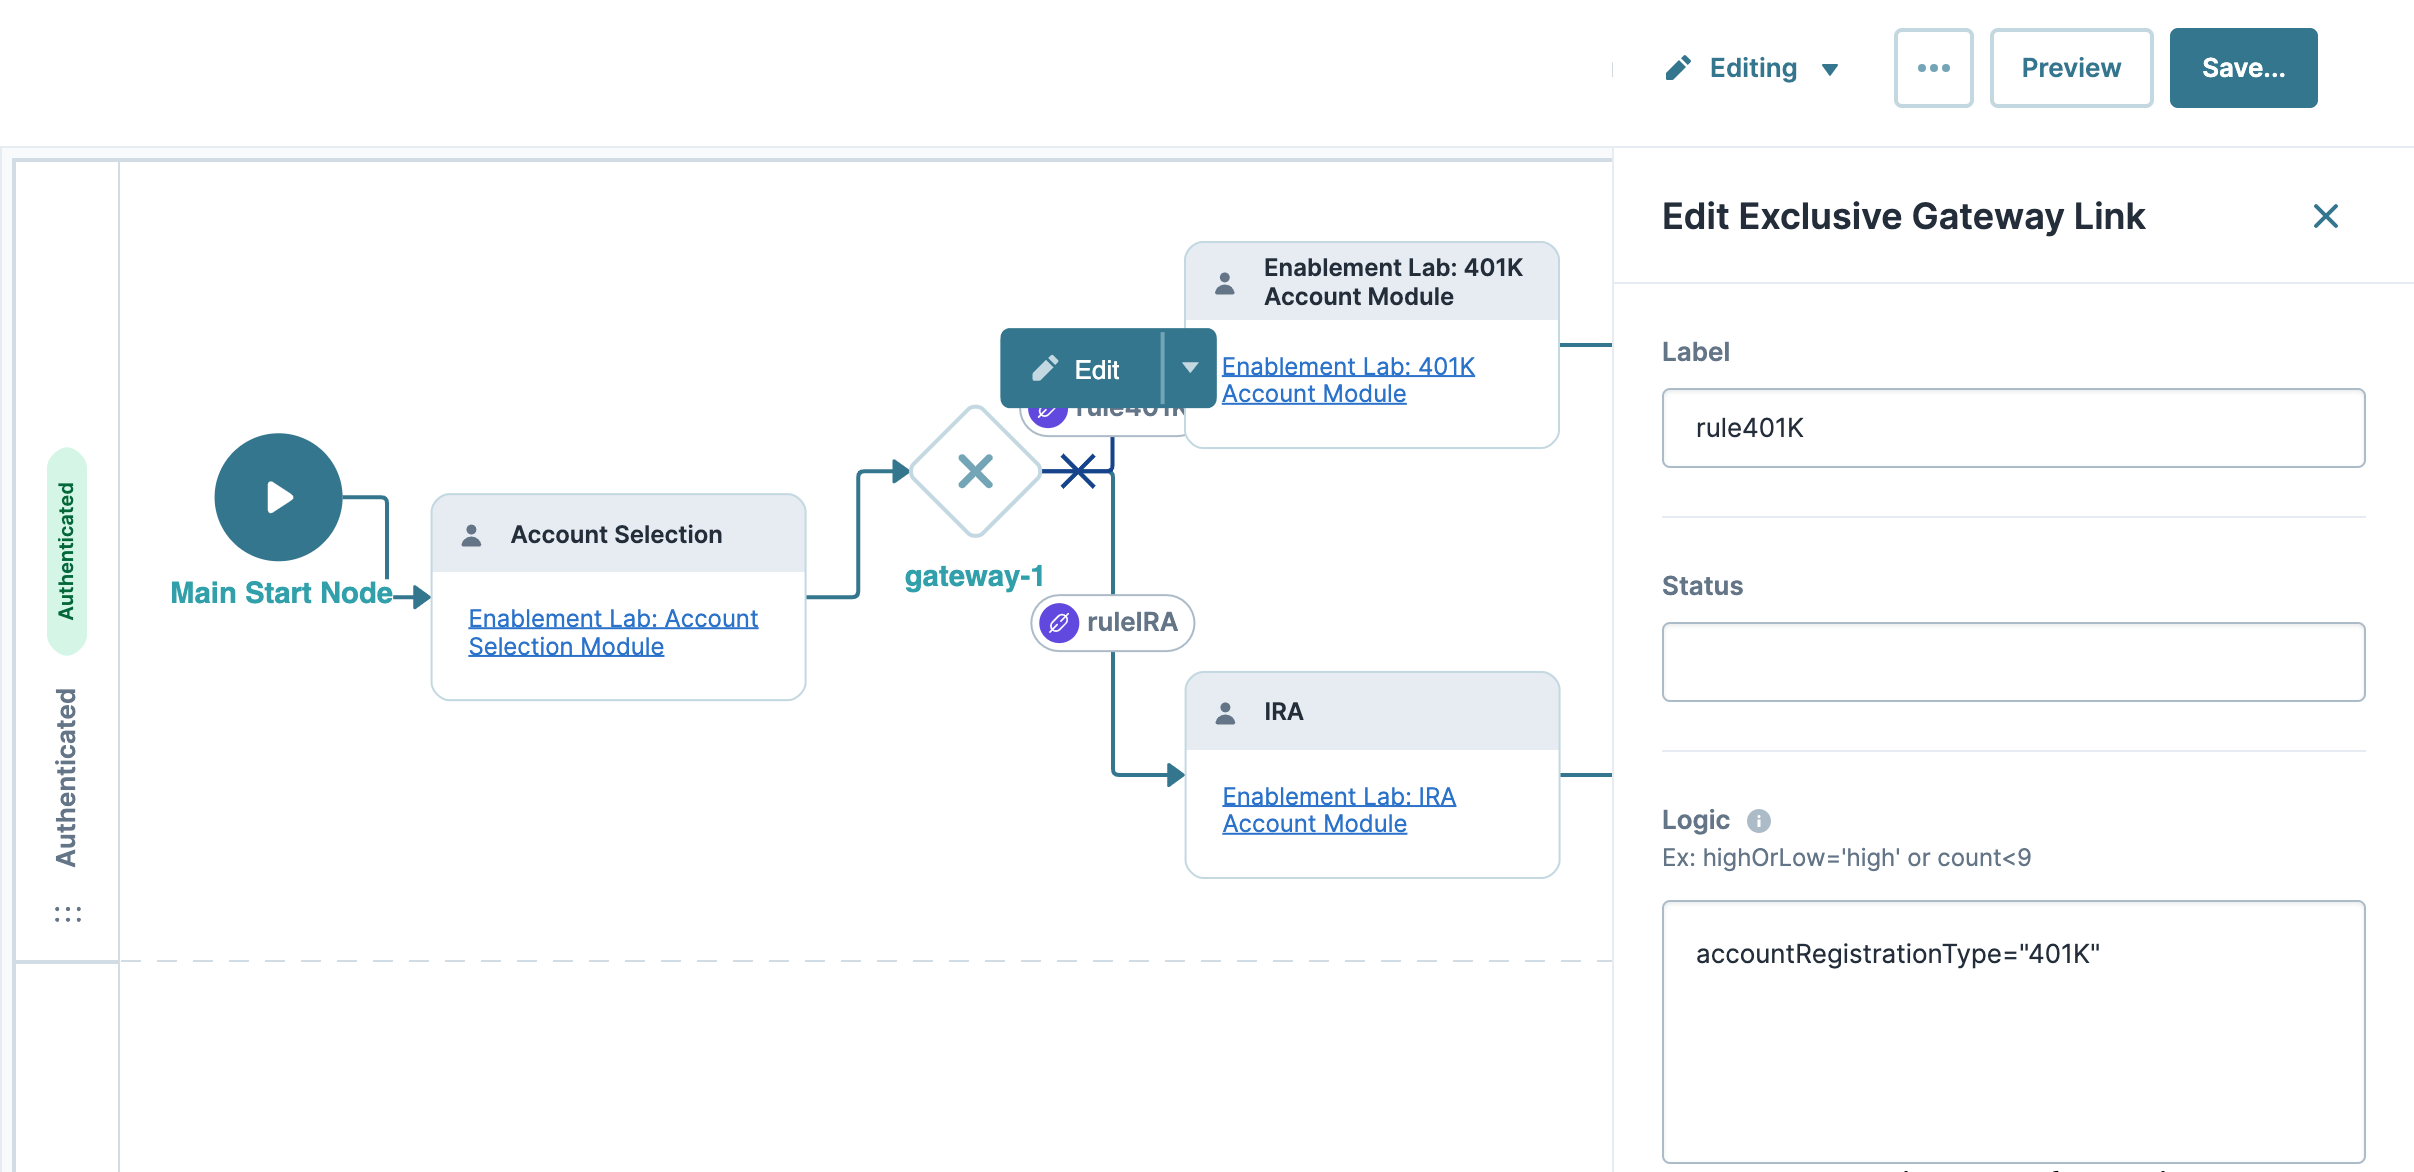
Configure the Exclusive Gateway Links
Connect the output port (right) of the Exclusive Gateway node to the input port (left) of the
401KTask node.Click Edit.
In the Label field, enter
rule401K.In the Logic field, enter
accountRegistrationType="401K". When selecting401Kin the Account Selection module, this logic sends your end-user to the 401K Registration process.Click X (Close).
Connect the output port (right) of the Exclusive Gateway node to the input port (left) of the
IRATask node.Click Edit.
In the Label field, enter
ruleIRA.In the Logic field, enter
accountRegistrationType="IRA". By selectingIRAin the Account Selection module, this logic sends your end-user to the IRA Registration process.Click X (Close).
Configure the End Nodes
Add two End nodes as termination points for your workflow.
Drag and drop two End nodes into the Authenticated swimlane.
Connect the output port (right) of the
401KTask node to the input port (left) of theend-1End node.Connect the output port (right) of the
IRATask node to the input port (left) of theend-2End node.Click Save….
Click Save.
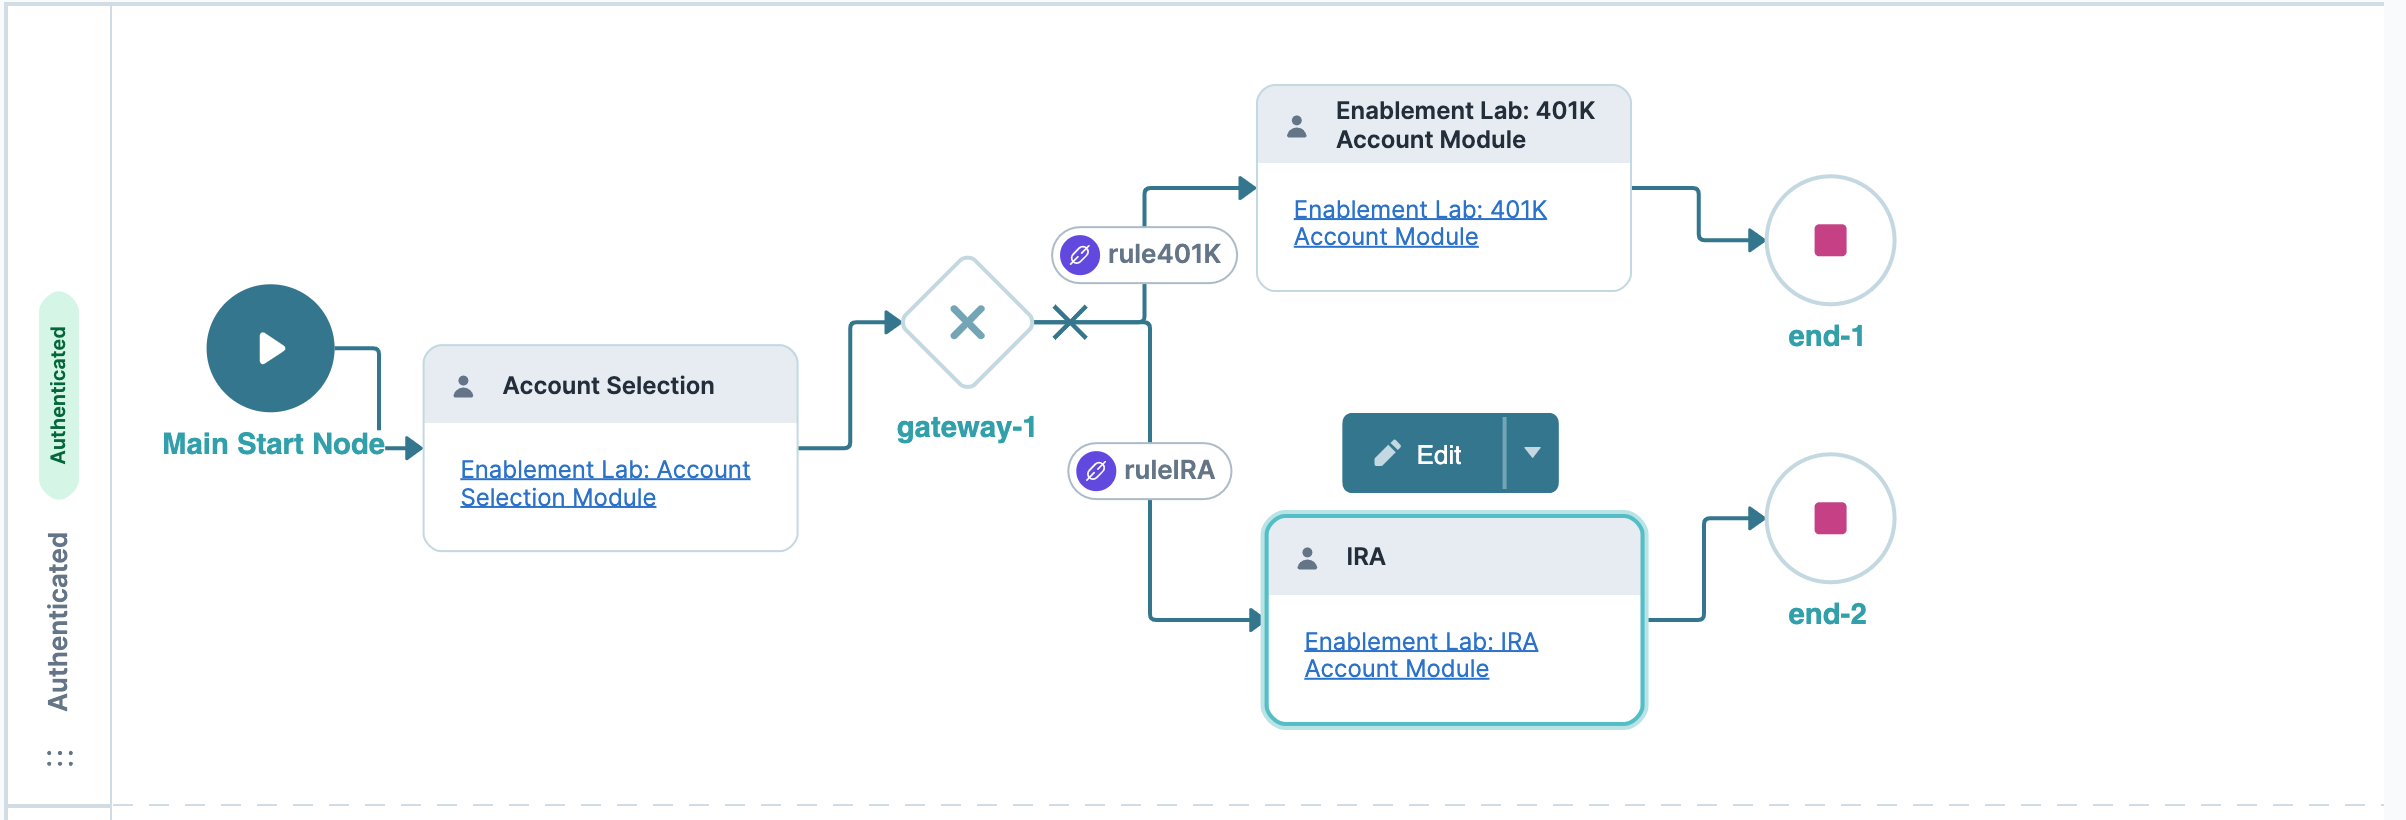
Your second workflow looks like the following when completed:
Configure the First Workflow's Handoff Node
Return to your first workflow and connect it to the second workflow using the Handoff node.
Return to the first Workflow and select the Handoff node.
Click Edit.
From the Choose Workflow to Hand Off To drop-down, enter or
select the name of your second workflow.From the Choose Node to Start From drop-down, select Main Start Node.
Click X (Close).
Click Save….
Click Save.
