The Start node signifies the beginning of your workflow. It gets activated by events, like end-users accessing the page or a transition from another workflow. By default, new workflows include a Start node in the Authenticated swimlane. While workflows may include multiple Start, Signal Start, or Timer Start nodes, at least one of these three is necessary for the proper functionality of the workflows.
You'll find the Start node in the list of nodes on the left of the Workflow Builder.
Similar Workflow Start Nodes
While the names are similar, the Start node differs from the Signal Start node and Timer Start node. Here are the nodes compared:
Start node: Starts a workflow when triggered by an event.
Signal Start node: Starts a workflow when an event occurs, like module saves and application promotions.
Timer Start node: Automates the start of a workflow according to a schedule.
Settings Menu Description
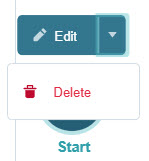
Let's explore the node's Settings Menu. This menu displays as a blue menu bar, either above or below the node, when you select the node itself. This node has these Settings Menu options:
Setting | Description |
|---|---|
Edit | Takes you to the Edit Start window, where you can configure related settings. |
Delete | Removes the node from the workflow. |
Edit Start Event Window Description
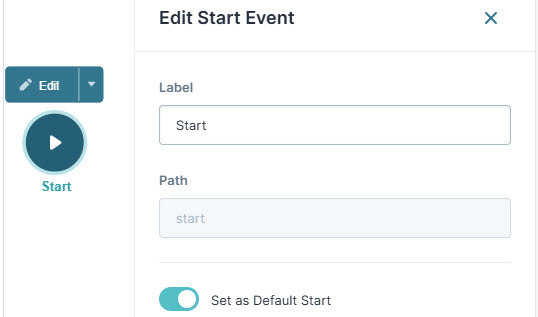
Click the Edit button to display the Edit User Task settings window.
Setting | Description |
|---|---|
Label | Sets the name of the node. By default, the Label displays as Define labels by associating them with the role of the node. |
Path | The path of the node. By default, the Path displays as A path is a unique identifier that other components can reference. The Start node path is set automatically and isn't editable. |
Set as Default Start | You can have many Start nodes in a single workflow. But workflows can only have one Default Start node. Setting the Set as Default Start toggle to ON sets the node as the primary starting point in a workflow. In a new workflow with a single Start node, the Set as Default Start toggle is set to ON by default. For each additional Start node you add, the Set as Default Start toggle is set to OFF. To change the Default Start node, adjust the node's Set as Default Start toggles as needed. |
Close | Closes the Edit Start Event window, returning your focus to the pool. |
Adding a Start Node
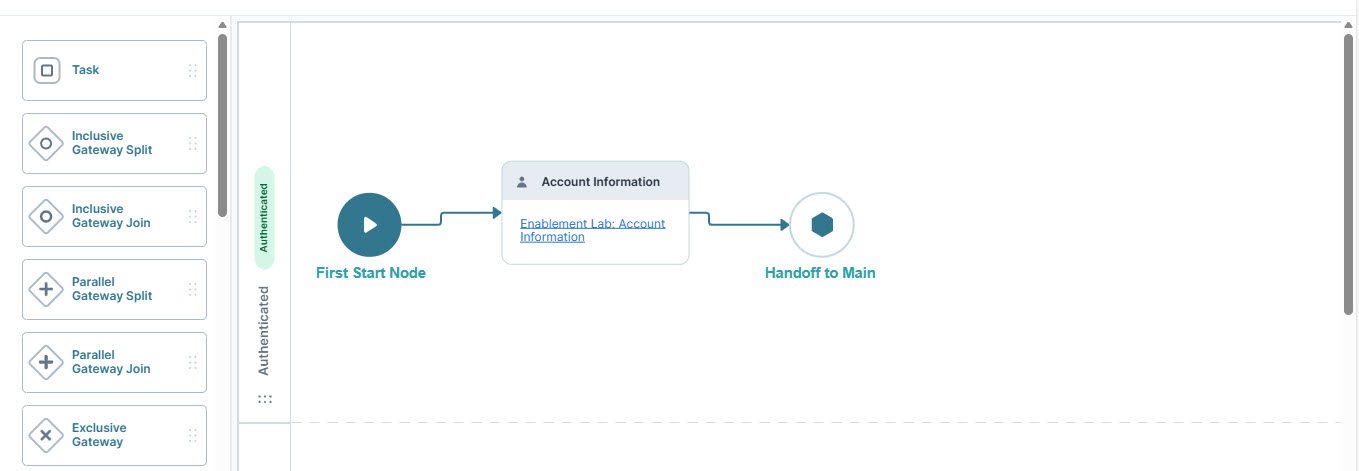
This example outlines a workflow that includes a Start, Task, and Handoff node. The Task node calls an Account Information module. Using this module, the end-user (an account applicant) can submit their data before handoff to the next step.
This demonstration is for illustrative purposes only and cannot be replicated in the Training environment due to module RBAC limitations.
These instructions assume you have a new workflow open, saved, and with a title.
Configure the Start Node
Select the Start node.
Click Edit.
In the Label field, enter
First Start Node.Click X (Close).
Configure the Task Node
Drag and drop a Task node in the Authenticated swimlane.
Click Edit.
In the Label field, enter
Account Information.From the Module drop-down, create or select
Enablement Lab: Account Information.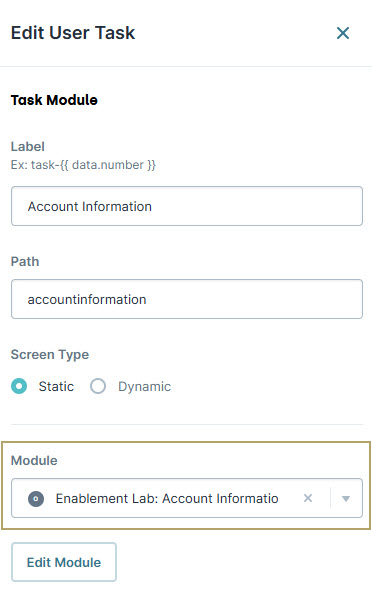
Click X (Close).
Connect the output port (right) of the
First Start NodeStart node to the input port (left) of theAccount InformationTask node.
Configure the Handoff Node
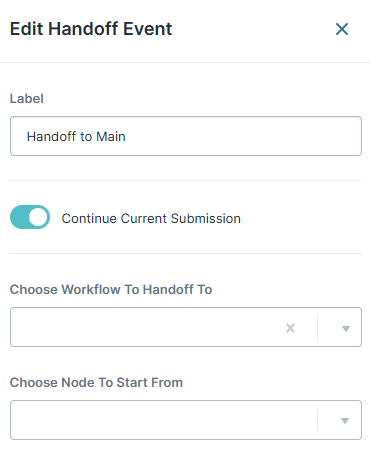
Next, set up the Handoff node that transitions the end-user to another workflow. In this example, use the Handoff node as a placeholder for practice purposes.
Drag and drop a Handoff node in the Authenticated swimlane.
Click Edit.
In the Label field, enter
Handoff to Main.From the Workflow To Handoff To drop-down, choose a workflow.
If you do not have a workflow for the handoff, skip this step. Note that an error occurs when trying to save or preview the workflow.
From the Choose Node to Start From drop-down, select a node. Doing os sets where the end-user begins in the next workflow.
Click X (Close).
Connect the output port (right) of the
Account InformationTask node to the input port (left) of theHandoff to MainHandoff node.Click Save....
Click Save.
This is how the workflow looks when completed: