 The Sub-Process node acts as a container for Task nodes in a workflow. While a workflow's navigation is linear, a Sub-Process node offers a non-linear flow to tasks in a workflow. In a Sub-Process, your end-user can complete their tasks in any order and freely navigate between them. The Sub-Process node must have two Task nodes to work correctly.
Sub-Process nodes also support the Conditional Event node. You can use logic to take your end-user to different parts of your workflow based on their data. Only Task and Conditional Event nodes can be placed in a Sub-Process node.
You'll find the Sub-Process node in the list of nodes to the left of the Workflow Builder.
Settings Menu Description
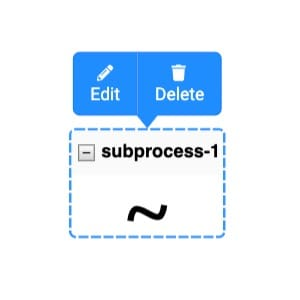
Let's explore the node's Settings Menu. This menu displays as a blue menu bar, either above or below the node, when you select the node itself. This node has these Settings Menu options:
Setting | Description |
|---|---|
Edit | Takes you to the Edit Sub-Process window, where you can configure related settings. |
Delete | Removes the Sub-Process, related tasks, and Conditional Events from the workflow. |
+/- button | Expands (+) or collapses (-) the Sub-Process node. By default, the node shows as expanded when you first add it to the pool. Don't worry about the large footprint of this node. After you've added it, clicking collapse (-) minimizes the node and hides the contents. |
Edit Sub-Process Window Description
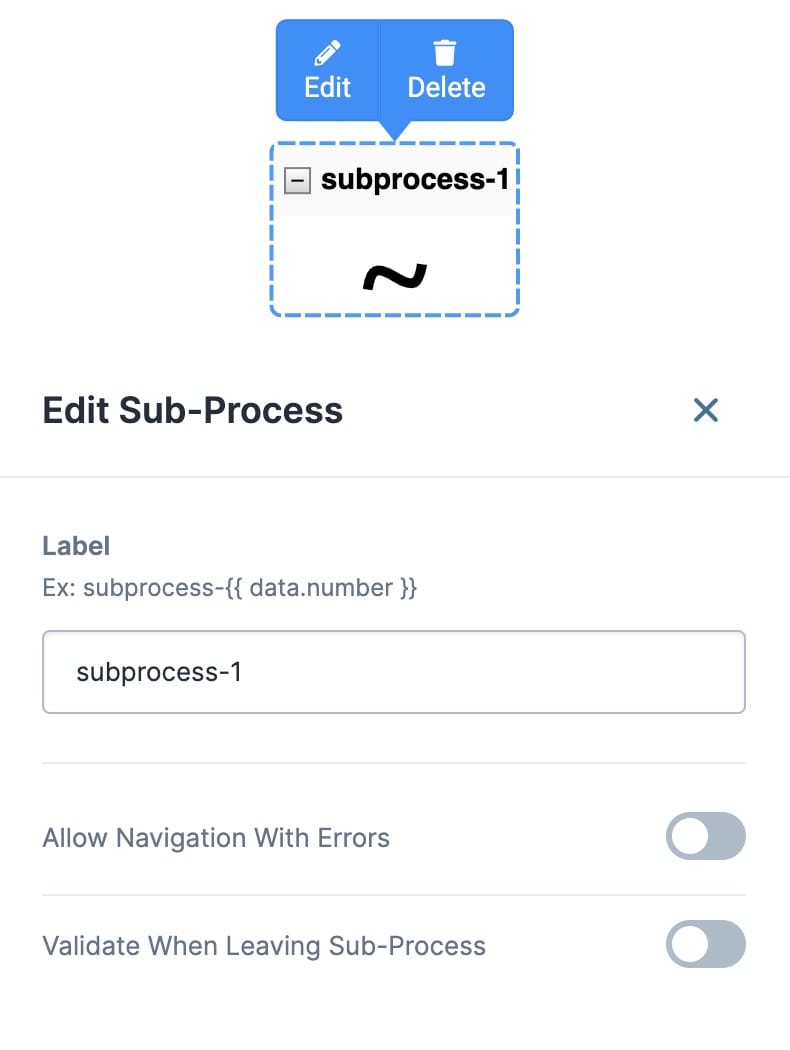
Click the Edit button to display the Edit Sub-Process window.
The following settings are available in the Edit Sub-Process window:
Setting | Description |
|---|---|
Label | Sets the name of your node. By default, the Label displays as As a best practice, you should define labels by associating them with the role of the node. |
Allow Navigation With Errors | When set to By default, this toggle is set to |
Validate When Leaving Group | When set to By default, this toggle is set to |
Close | Closes the Edit Sub-Process window, returning your focus to the pool. |
Adding a Sub-Process Node
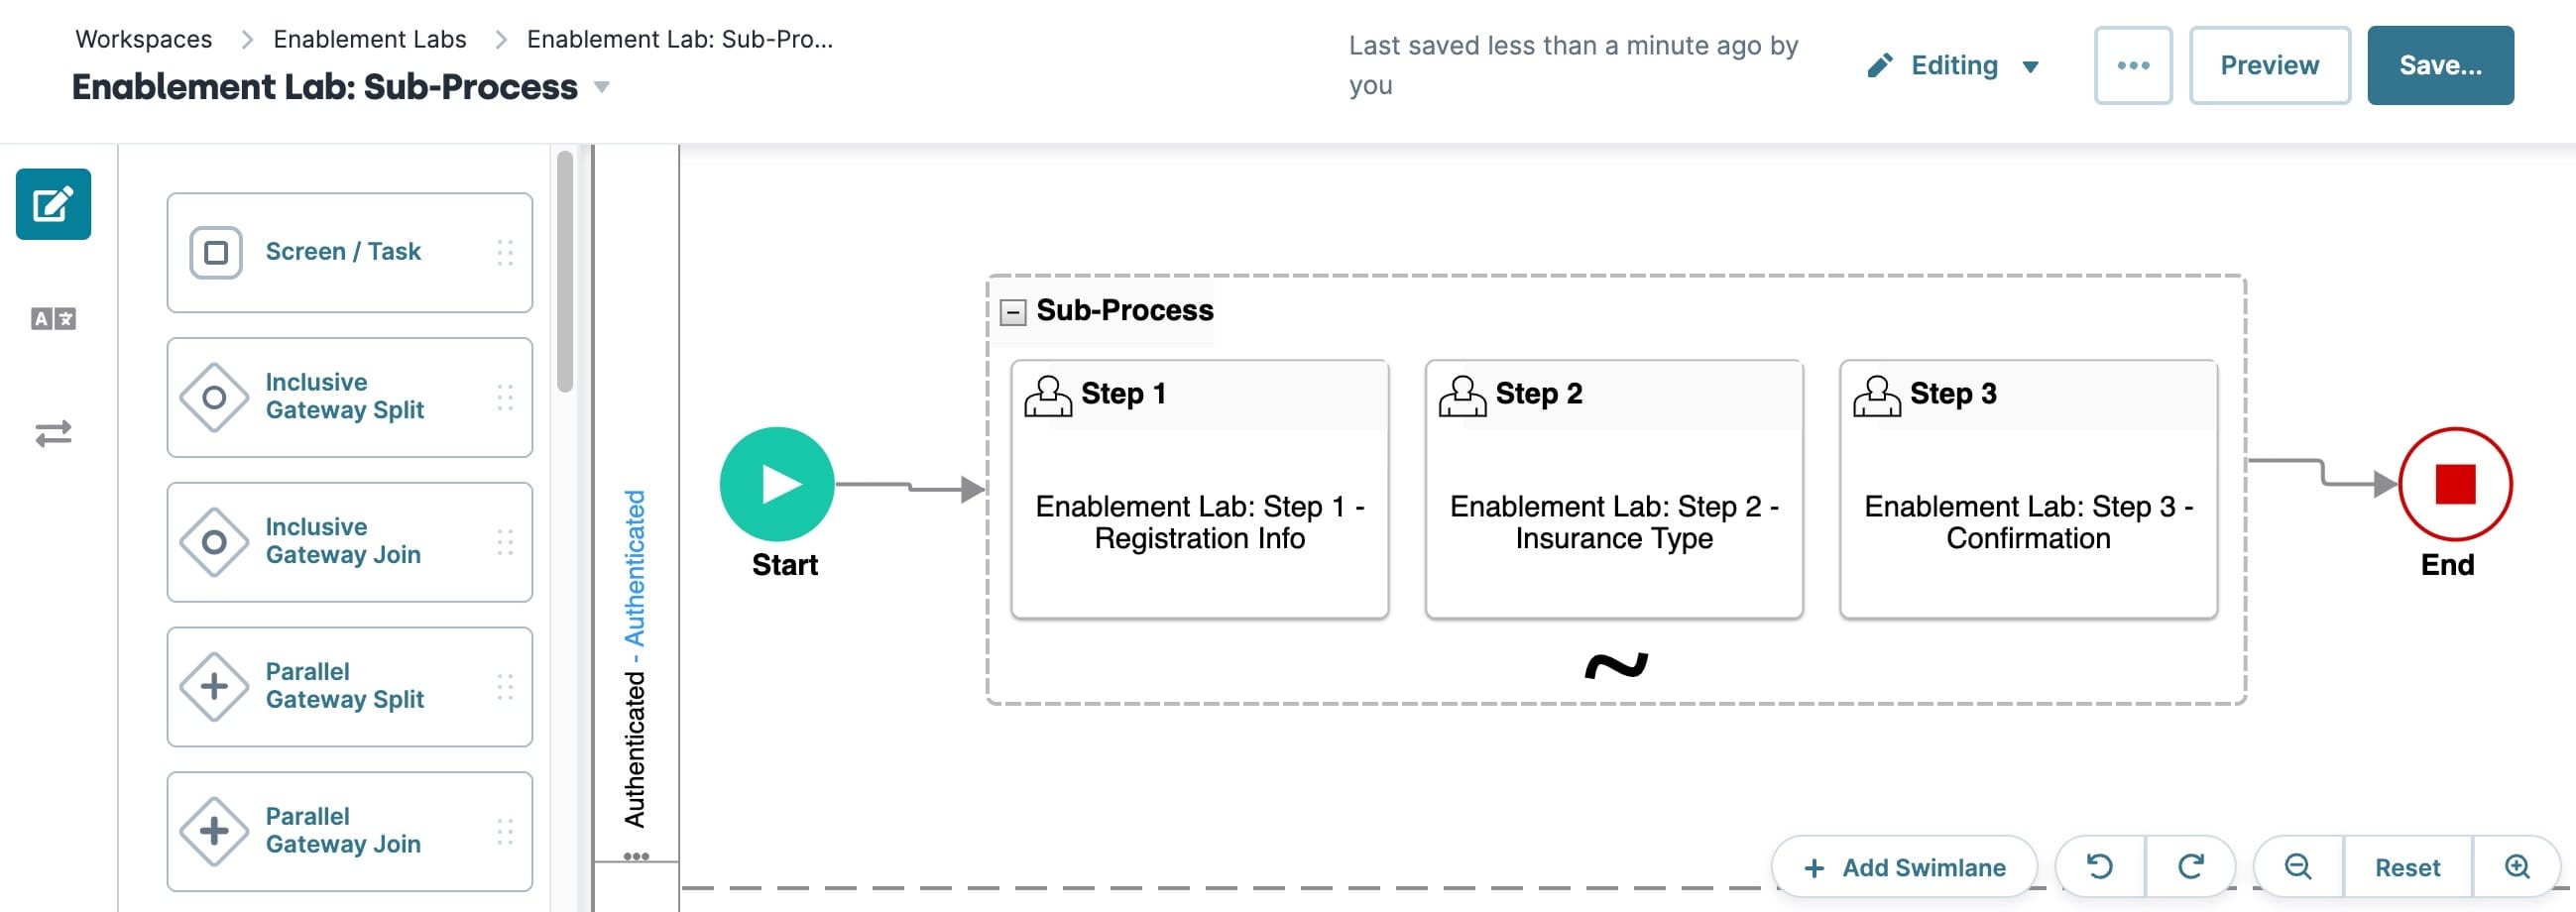
Set up a simple workflow that includes a Start node, a Sub-Process node, three Task nodes, and an End node. For this example, your workflow guides end-users through a series of Sub-Process tasks. These Sub-Process tasks confirm the end-user's registration for Renters or Homeowners insurance.
These instructions assume you set up your module and have a new workflow ready.
Configure the Sub-Process Node
To add a Sub-Process node to your workflow:
Drag and drop a Sub-Process node in the Authenticated lane.
Connect the output port (right) of the Start node to the input port (left) of the Sub-Process node.
Configure the Task Nodes
Add three Task nodes into the Sub-Process node.
Drag and drop three Task nodes inside the Sub-Process node.
For each Task node, click Edit and set the Label and Module settings as follows:
Label
Module
Step 1
Enablement Lab: Step 1 - Registration Info
Step 2
Enablement Lab: Step 2 - Insurance Type
Step 3
Enablement Lab: Step 3 - Confirmation
Click X (Close).
Task nodes in a Sub-Process act as though they are connected. There is no need to connect these nodes individually.
Configure the End Node
Drag and drop an End node in the Authenticated swimlane.
Click Edit.
In the Label field, enter
End.Click X (Close).
Connect the output port (right) of the Sub-Process node to the input port (left) of the End node.
Click Save....
Click Save.
Your workflow looks like the following when complete:
