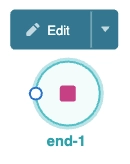
Creators use the End node to complete a workflow's record collection process. In Express View, once an end-user reaches the End node, it can't navigate to a previous point in the workflow.
End nodes provide the following benefits:
Ensure the integrity of data collected by the workflow by preventing end-users from backtracking.
Handing off one workflow to another.
Sending end-users to another part of a website after completing the workflow.
You'll find the End node in the list of nodes to the left of the Workflow Builder.
Settings Menu Description
Let's explore the node's Settings Menu. This menu displays as a blue menu bar, either above or below the node, when you select the node itself. This node has these Settings Menu options:

Setting | Description |
|---|---|
Edit | Takes you to the Edit End Event drawer, where you can configure related settings. |
Delete | Removes the node from the workflow. |
Edit End Event Drawer Description
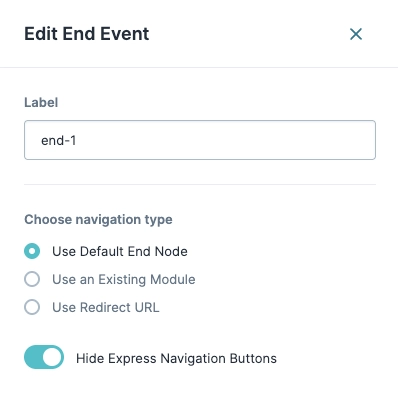
The following settings are available in the Edit End Event drawer:

Setting | Description | |
|---|---|---|
Label | The name of the node. By default, the Label for the first node displays as As a best practice, you should define labels by associating them with the role of the node. | |
Choose Navigation Type | When triggering the End node, this setting performs the chosen navigation type. | |
↳ | Use Default End Node | Displays the default end page when the end-user navigates to this End node. By default, the Use Default End Node setting is selected. |
Use an Existing Module | Select this option to display a Existing Module drop-down field that lets you select a module to display to the end-user.
| |
Use Redirect URL | Select this option to display the Redirect URL field, letting you enter a URL where you want to direct the end-user. This field can be either a URL or a component property defined elsewhere in your project, like The redirect URL must contain
| |
Hide Express Navigation Buttons | Hides the Express Navigation Button that allows end-users to revisit the workflow when they navigate to this End node. You can only apply this setting with the Use Default End Node and Use an Existing Module navigation types. By default, this toggle is set to | |
Adding an End Node
For this example, set up a simple workflow that includes a Start, Task, and End node. The Task node calls a Booking Reservation module where the end-user submits their name and booking details.
This demonstration is for illustrative purposes only and cannot be replicated due to Training environment security.
This use case assumes that you've set up a module in advance and have a new workflow.
Configure the Start Node
Add a description for the Start node:
Select your Start node.
Click Edit.
In the Label field, enter
Start.Click X (Close).
Configure the Task Node
Add and configure a Task node to connect to a module.
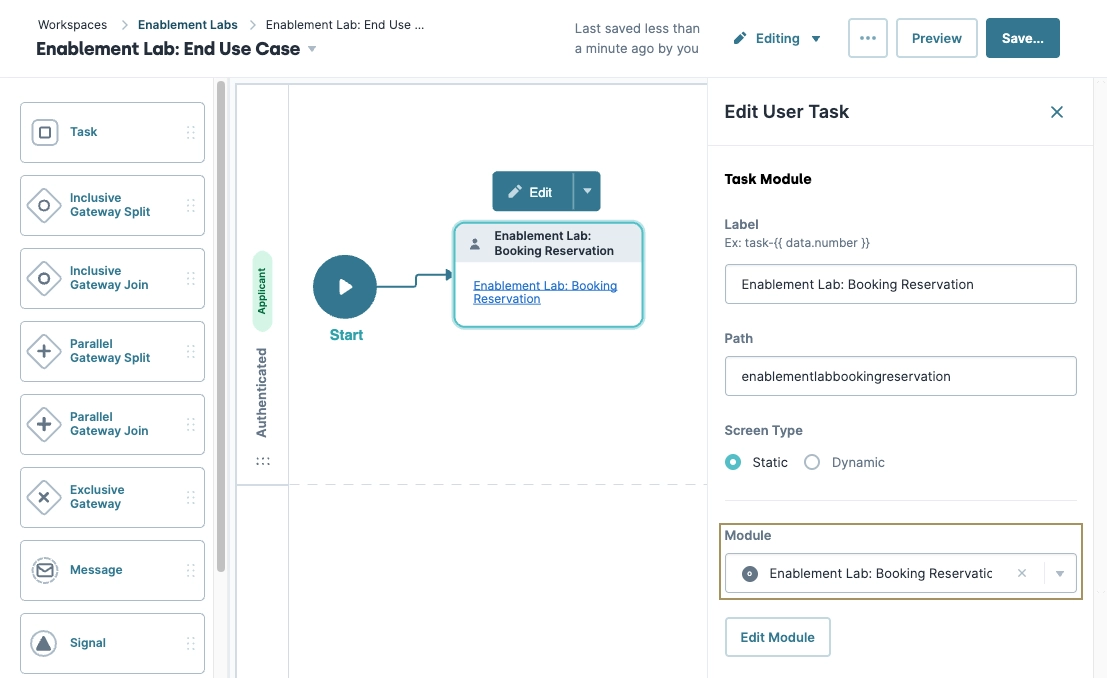
Drag and drop a Task node in the Authenticated swimlane.
Click Edit.
From the Module field, enter or select Enablement Lab: Booking Reservation. The Label and Path fields update using the module field’s value.
Click X (Close).
Connect the output port (right) of the
StartStart node to the input port (left) of theEnablement Lab: Booking ReservationTask node.
Configure the End Node
Drag and drop an End node in the Authenticated swimlane.
Click Edit.
In the Label field, enter
End.From the Choose Navigation Type drop-down, select Use an Existing Module.
From the Existing Module drop-down, select
Enablement Lab: Booking Reservation Handoff. These settings display the selected module when the user navigates to this End node.Click X (Close).
Connect the output port (right) of the
Enablement Lab: Booking ReservationTask node to the input port (left) of theEnablement Lab: Booking Reservation HandoffEnd node.Click Save....
Click Save.
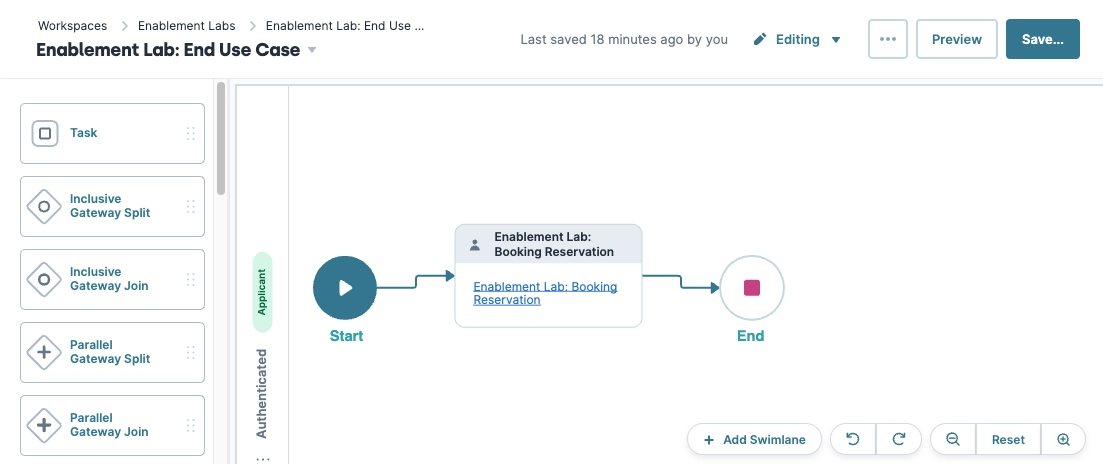
The completed workflow looks like the following:
Preview your workflow and complete the reservation form. After completing the reservation, the workflow moves to the Enablement Lab: Booking Reservation Handoff module.

