Overview
The Signal Start node is one of three node types that start a workflow. Like the Start node, Workflows can have multiple Signal Start nodes. Unlike the Start node, the Signal Start node trigger from application promotions or save events. To use a Signal Start node, you must configure the settings, save your workflow, then select Run or Test Run.

The Signal Start node can be set to trigger from the following events:
On specific or all application promotions.
On specific or all module saves.
On specific or all workflow saves.
The Signal Start node is located in the list of nodes to the left of the Workflow Builder.
What You'll Learn
After completing this article, you’ll know when to use a Signal Start node, how to configure its most commonly used settings, and understand the best practices.
Similar Workflow Nodes
While the names are similar, the Start node differs from the Signal Start node and Timer Start node. Here are the differences
Signal Start node: Starts a workflow when an event occurs, like Module saves and application promotions.
Start node: Starts a workflow when triggered by an event.
Timer Start node: Automates the start of a workflow according to a schedule.
Settings Menu Description
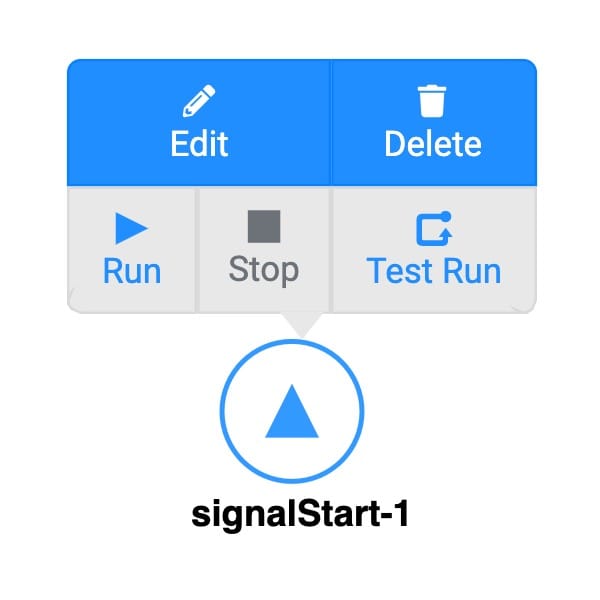
Let's explore the node's Settings Menu. This menu displays as a blue menu bar, either above or below the node, when you select the node itself. The Signal Start node has the following settings:
Setting | Description |
|---|---|
Edit | Takes you to the Edit Signal Start Event window, where you can configure settings relating to the Signal Start node. |
Delete | Removes the node from the workflow. |
Run | Activates the workflow and puts it in a running state. Once you start the node, it waits for events to run. It continues to run until you click Stop. |
Stop | Deactivates a running workflow and puts it in a stopped state. A stopped state means the node no longer listens for a save event of the selected module or promotion of the selected application. |
Test Run | Performs a test run of your workflow. This Test Run is separate from the “normal” Run/Stop state. The test runs until the workflow completes 1 cycle. You should always test your workflow to ensure it behaves as expected. |
Edit Signal Start Event Window Description
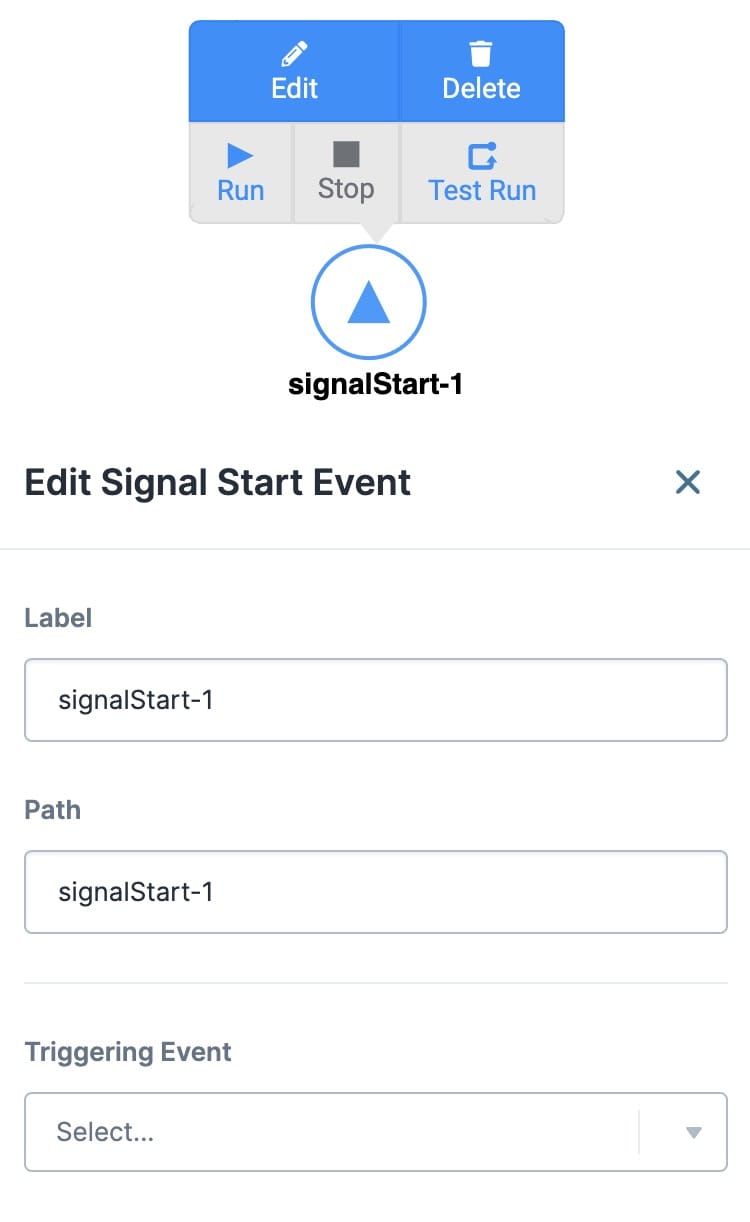
Click the Edit button to display the Edit Signal Start Event window.
The following settings are available in the Edit Signal Start Event window:

Setting | Description |
|---|---|
Label | The name of the node. By default, the Label displays as signalStart-1. This label is optional and displays on the node once set. |
Path | The Path of the node. By default, the Path displays as signalStart-1. The Path is a unique identifier that other components can reference. |
Triggering Event | There are six Triggering events to choose from:
|
Adding a Signal Start Node
In this example, set up a simple workflow that includes a Signal Start node. This use case assumes that you've set up your module in advance and that you have a workflow set up.
What You'll Need
To set up this use case, you'll need:
1 Signal Start node
1 End node
Remove the Default Start Node
On the workflow canvas, select the Start node.
Click Delete.
Configuring the Signal Start Node
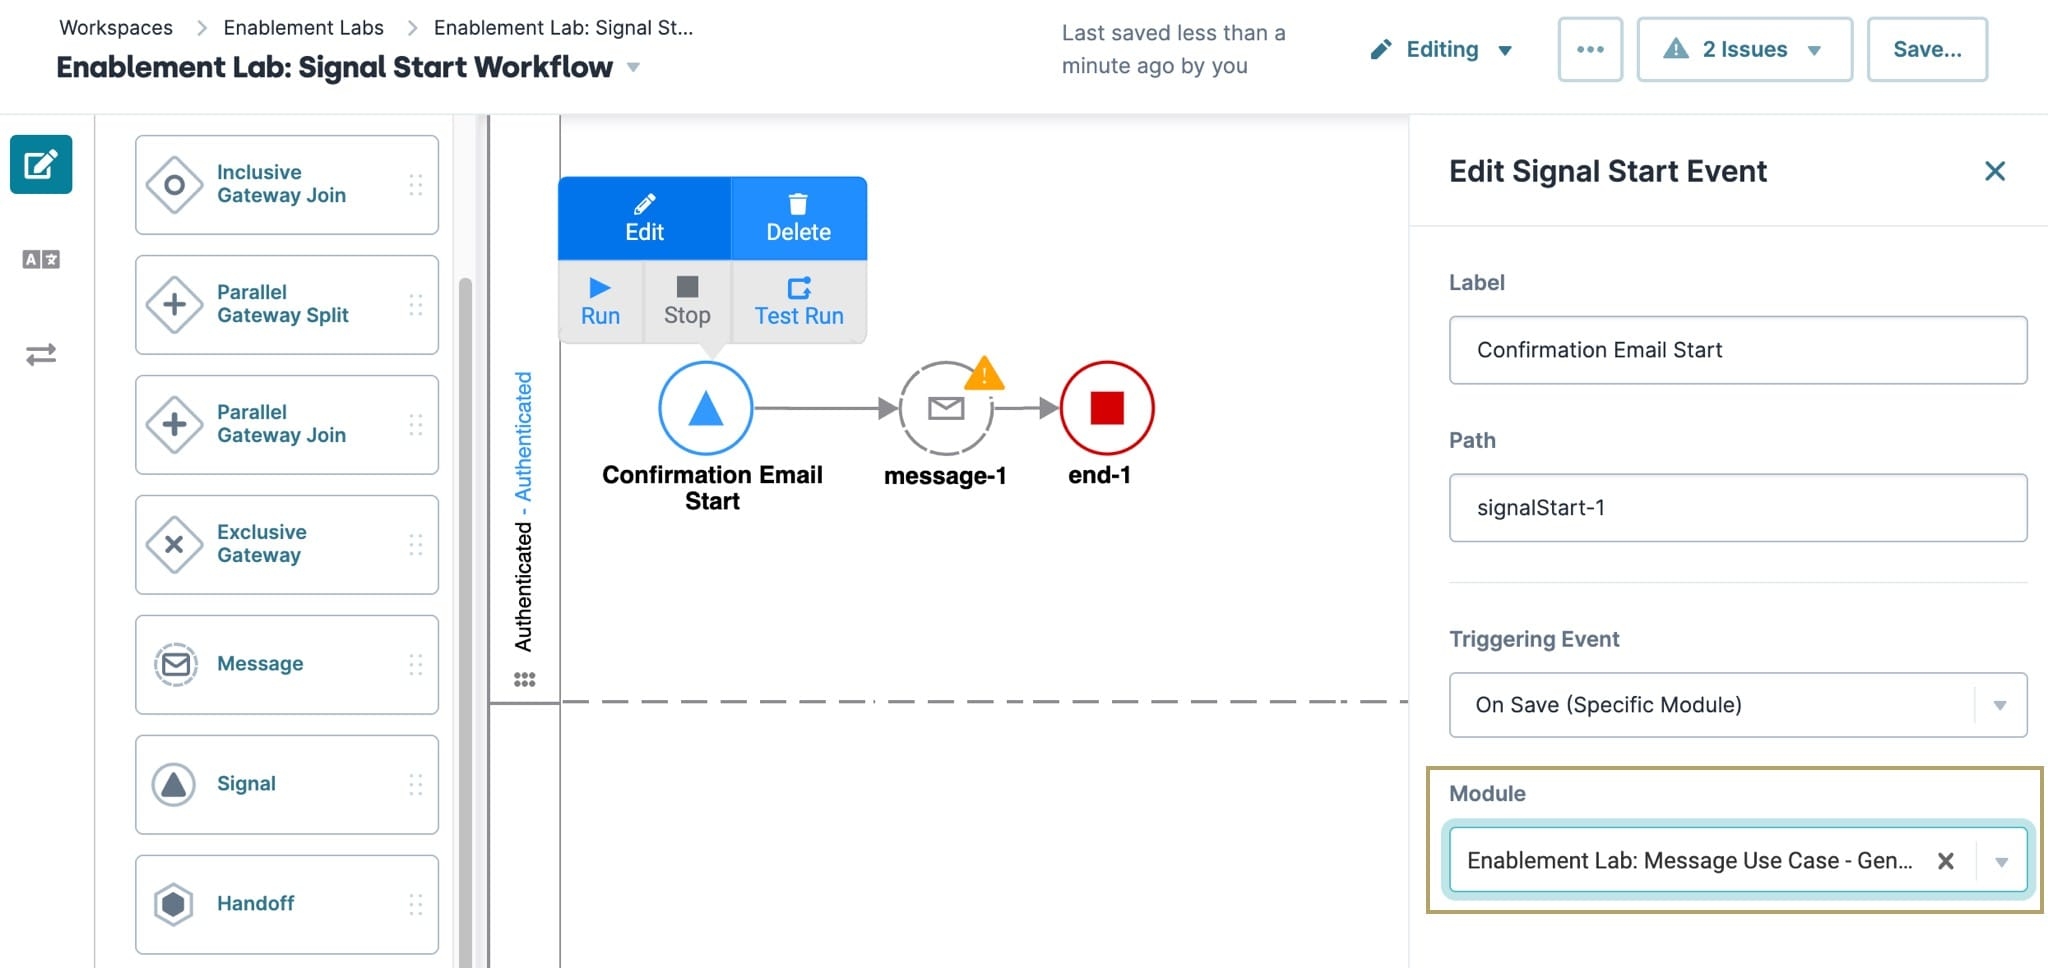
Drag and drop a Signal Start nodein the Authenticated Swimlane.
Click Edit.
In the Label field, enter Confirmation Email Start.
From the Triggering Event drop-down, select On Save ( Specific Module).
From the Module drop-down, select Enablement Lab: Message Use Case - General Info.
This module triggers your Signal Start node.
Click X (Close).
Configuring the Message Node
Add a Message node. Use this Message node to send a confirmation email to your end-user acknowledging receipt of their basic information.
Drag and drop a Message node in the Authenticated swimlane.
Click Edit.
In the Label field, enter Confirmation Email.
From the Send via drop-down, select Email.
In the To field, enter {{data.email}}.
{{data.email}} references the value your end-user enters in the Email field of the General Informationmodule.
In the From Name field, enter Unqork, or a custom sender name.
In the Reply To field, enter no-reply@unqork.com, or a custom sender address.
In the Subject field, enter Thank you for applying.
In the Template field, enter the following:
Hi {{data.firstName}},
Thank you for submitting your application. We'll be in touch soon.
{{data.firstName}} references the value your end-user enters in the First Name field of the General Information module.
Connect the output port (right) of the Signal Start node to the input port (left) of the Message node.
Click X (Close).
Configuring the End Node
Drag and drop an End node in the Authenticated swimlane.
Click Edit.
In the Label field, enter Confirmation Email End.
Connect the output port (right) of the Message node to the input port (left) of the End node.
Click X (Close).
Click Save....
In the Version Description field, enter a description of the changes made to the workflow.
Click Save.
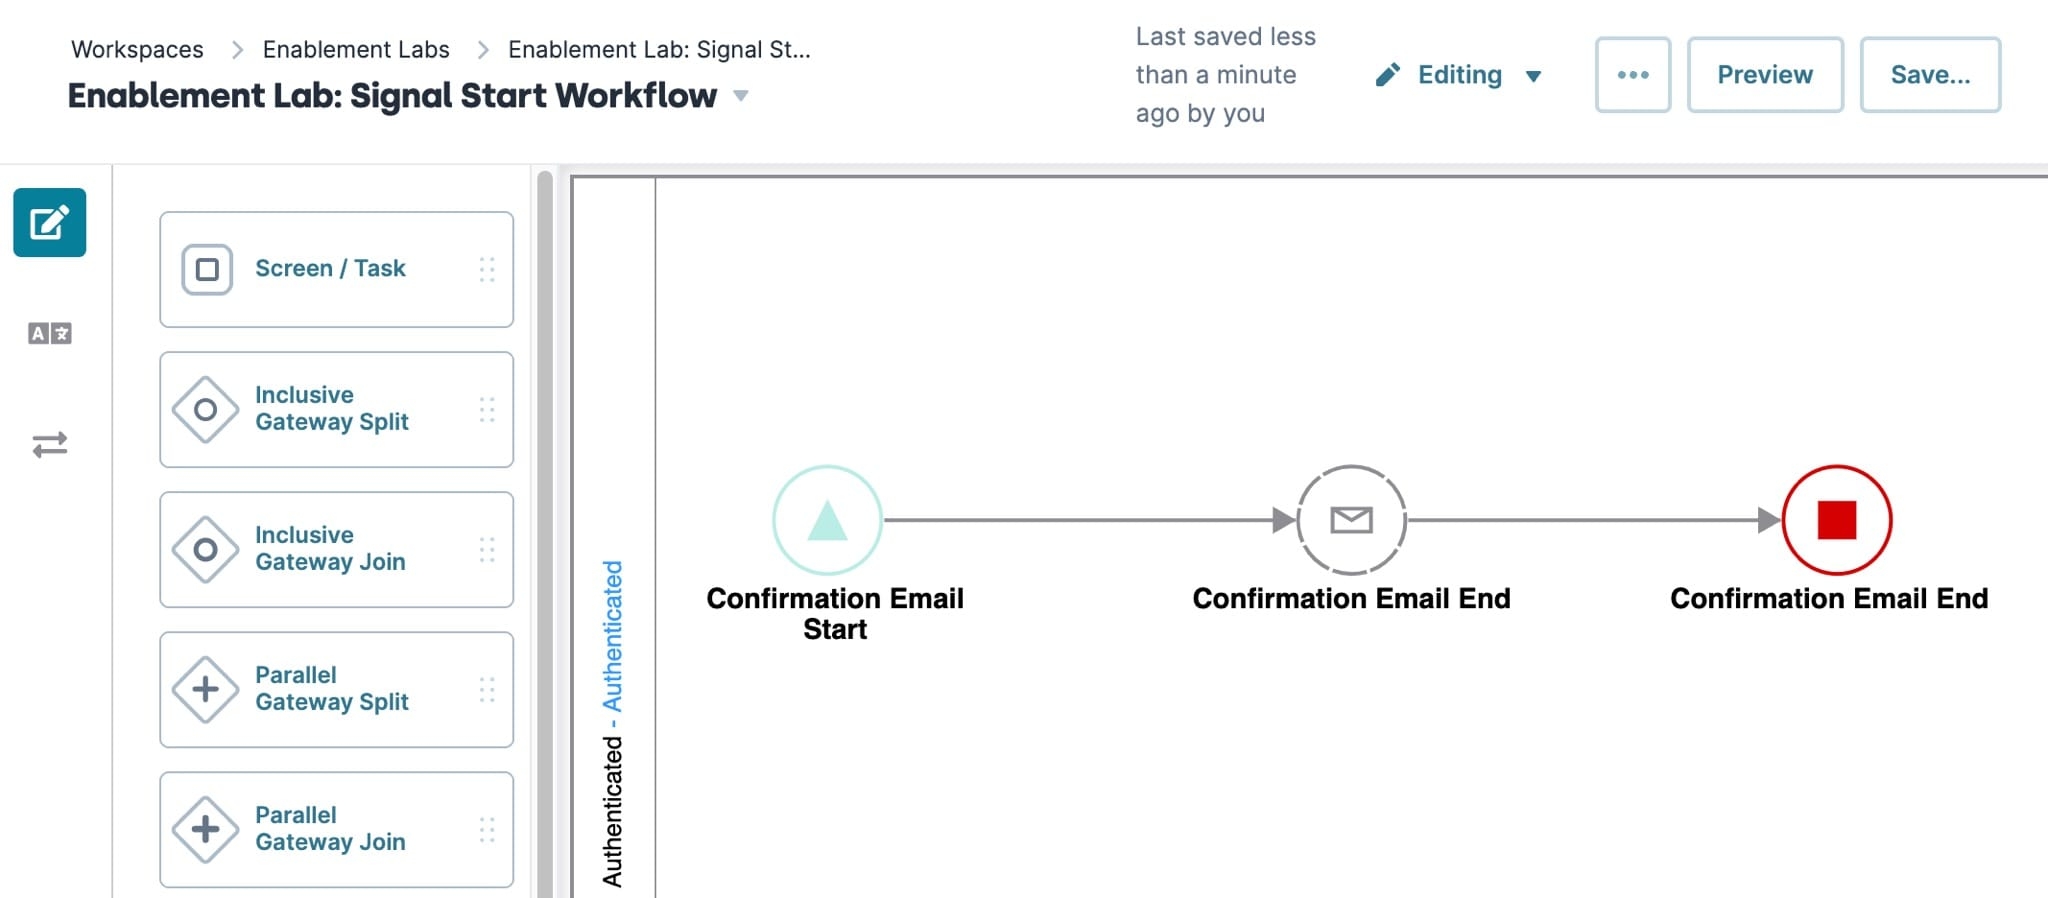
Once configured to run, your Signal Start node turns bold in color.
Your workflow looks like the following image when complete:

