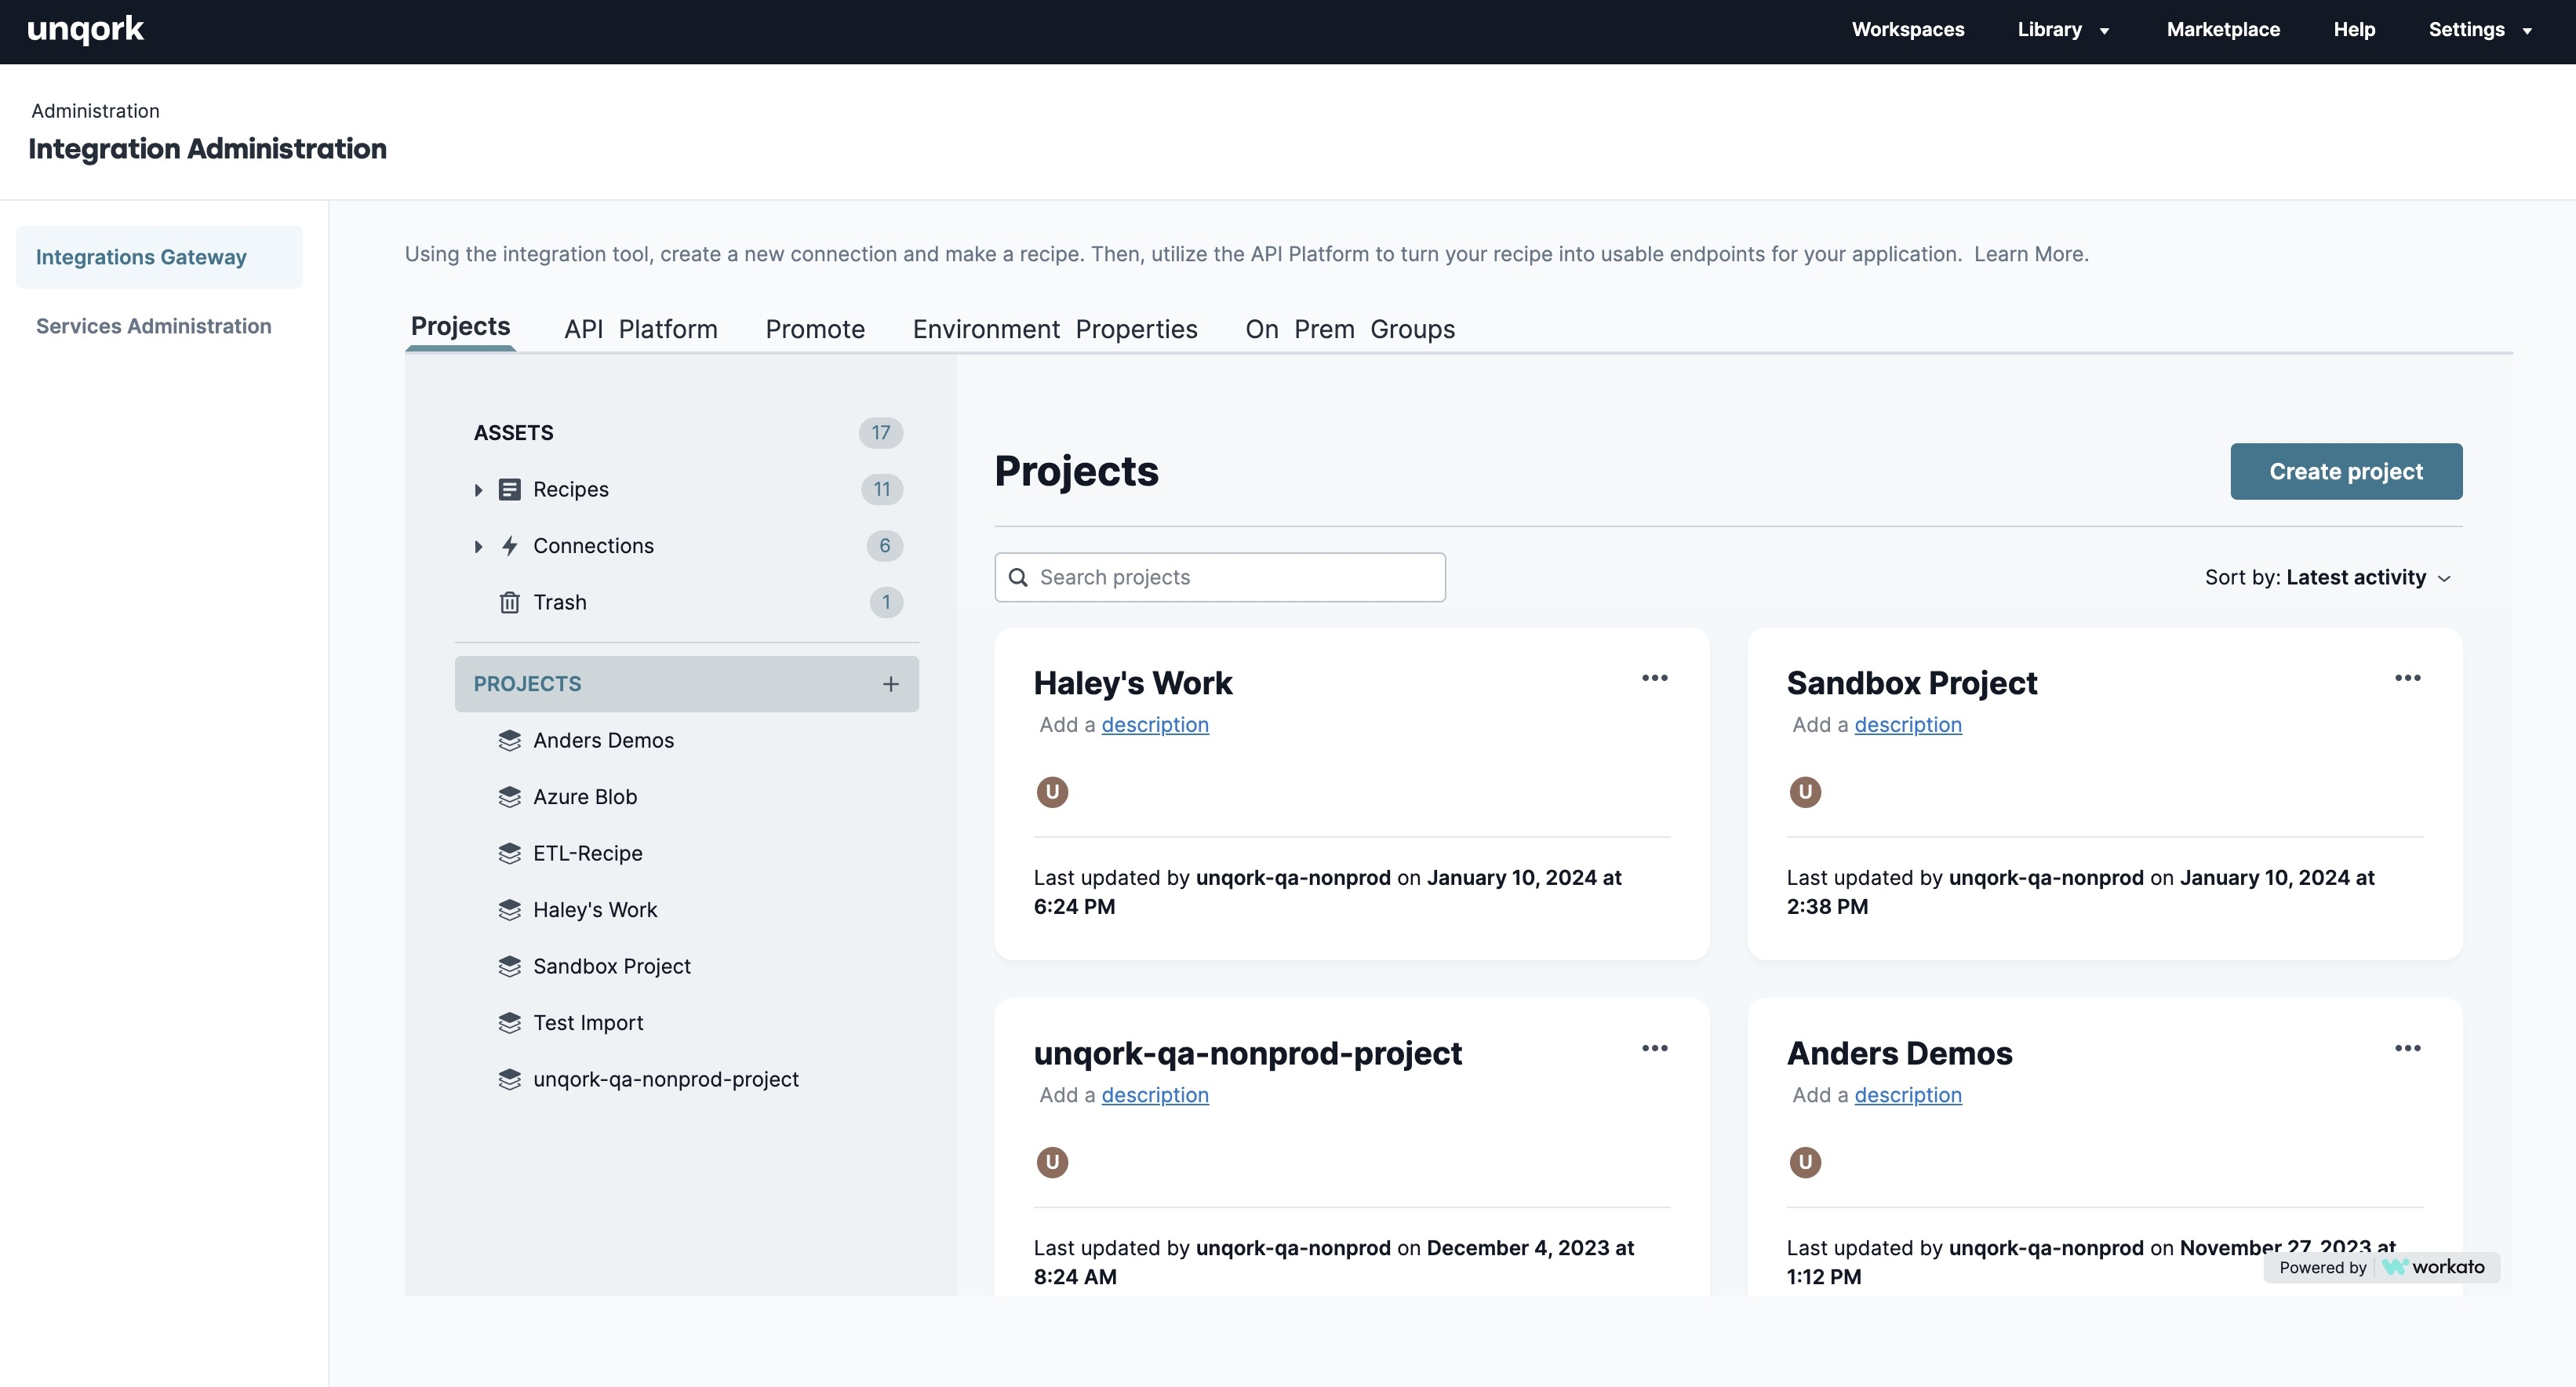
Integration Administration
Estimated Reading Time: 8 minutes
Overview
Integration Administration lets you manage all your application integrations in Unqork. Complex applications require access to a diverse set of platforms and data sources. Integration Administration ensures your applications integrate seamlessly, accelerating your development. This administration page provides two integration options. You can integrate your external services using Services Administration or the Integration Gateway.
What You'll Learn
In this
Differences Between Services Administration and Integration Gateway
Here are the high-level differences between Services Administration and Integration Gateway:
Services Administration
Services Administration lets you create and manage Standard Auth Integrations. It lets you set up services and connect to third-party platforms and APIs APIs (application programming interfaces) are a set of protocols and definitions developers use to build and integrate application software. APIs act as the connective tissue between products and services. in Unqork applications.
Services Administration supports the following authentication methods:
-
No Authentication
-
Basic Auth
-
OIDC
-
Bearer Token
-
WSSE Username Token Profile
-
HMAC
-
Custom Soap Headers
-
OAuth 2.0
-
Client Credentials Grant
-
Password Grant
-
JWT Bearer Grant
-
JWT Client Credential Grant Extended
It also supports the following platform-specific authentications:
-
Canada Post
-
Google Places
-
Twilio
-
Plaid
-
Hyperscience
You can also set up FTP, SFTP, and GPG encryption-based connections.
Integration Gateway
The Integration Gateway takes your external integration experience one step further. Services Administration does not support connections to databases or working with messaging queues. It also does not support extra fields in the standard authentication schemes listed above. But the Integration Gateway does.
The Integration Gateway accelerates digital transformations by easily integrating with over 700+ systems across enterprise applications, databases, and legacy on-premise infrastructure—in the cloud or on-premise. Using Integration Gateway, you can leverage the Unqork Codeless platform to deliver the performance, security, and reliability to unleash the full potential of data across your entire enterprise.
Here are examples of available, out-of-the-box external services:
-
Salesforce
-
Microsoft SQL Server
-
MySQL
-
Greenhouse
-
ADP Workforce Now
-
Jira
-
Dropbox
-
Stripe
Once connected, you can create a step-by-step "recipe” to map the integration's flow. A recipe works like an Unqork Workflow. You'll create a starting and ending point with steps in between. Recipes let you integrate your connections, set up triggers, and determine the actions and events you want to occur when triggered.
Lastly, you can associate the recipe with an endpoint in the API APIs (application programming interfaces) are a set of protocols and definitions developers use to build and integrate application software. APIs act as the connective tissue between products and services. platform to use it in Unqork. Using external integrations is a straightforward way to make easy codeless connections with trusted services.
Accessing Integration Administration
To access the Integration Administration page:
1. | At the top right of the Unqork Designer Platform, click Settings ▾. |
2. | Click Administration. |
3. | Under Integration, select Integration Administration. |
After accessing the page, you'll see two tabs to the left called Integration Gateway and Services Administration. The remainder of this
TIP To learn more about the Services Administration tab, view our Services Administration article.
Setting Up an Integration Using Integration Gateway
Using the Integration Gateway tab, you can create connections to external services.
A few steps are involved when using this feature:
1. | Create a connection: First, you must connect to your external service to make any API calls using Unqork. This also requires you to have an account and authorization credentials for that service. |
2. | Create a recipe: Recipes are workflow-like steps that perform actions. Recipes have many advanced features that can handle all app integrations and workflow automation scenarios, including conditional triggers, actions, and so on. |
3. | Define an endpoint for a recipe: To make an API call to an external service in your Unqork applications, you must establish an endpoint. You'll use this endpoint to make the call in a Plug-In component. |
4. | Configure a Plug-In component: Set up a Plug-In component to call your recipe's endpoint, and perform the actions of the recipe. |
Let's take a closer look at each step.
Creating a Connection
You need to connect to your external service. You can create as many connections as you want, but you must have accounts for your external services. For example, if you connect with Salesforce, you're prompted to log into your Salesforce account to complete the connection. After confirming your credentials, you can use the connection in a recipe to create an integration.
To create a connection:
1. | Open the Unqork project. |
2. | Click Create ▾. |
3. | Select ![]() |
4. | Select the supported connection you want to use. |
5. | In the Connection Name* field, enter a name for your connection. |
TIP It's best practice to create a name that clearly defines the connection's purpose.
6. | From the Auth Type* drop-down, select an authentication type. |
NOTE By default, OAuth 2.0 is selected.
7. | From the Sandbox drop-down, determine if you want to set up this connection in a non-production sandbox. |
TIP Setting up a connection in a sandbox lets you test the connection without altering the live data.
8. | Complete the remaining fields to authenticate the connection. These fields are specific to the external service. |
TIP If you are unsure how to configure the remaining fields, visit that external service's documentation.
9. | Click Connect. |
Below is an example of a configured connection:
Creating a Recipe
With your connection set up, you can now set up your recipe. A recipe works like an Unqork Workflow. You'll create a starting and ending point with steps in between. Recipes let you integrate your connections, set up triggers, and determine the actions and events you want to occur when triggered.
Setting a Starting Point
To create a recipe:
1. | Open the Unqork project. |
2. | Click Create ▾. |
3. | Select ![]() |
4. | In the Name field, enter a name for your recipe. |
5. | From the Pick a Starting Point* section, select ![]() |
NOTE You must create an API endpoint recipe, or the integration will not be available in Unqork.
6. | Click Start Building. |
Below is an example of a configured starting point:
Configuring Actions
With the starting point set, you can create actions and link them to the connections. Actions are recipe steps that let you create, update, and search for data in a target application.
Using the button, you can add multiple actions, connecting them to your connection and Unqork. When your recipe is complete, click Save. Then, click Test Recipe to confirm it works.
The actions you can set up in a recipe include:
Action in an App
IF Condition
IF/ELSE Condition
Repeat Action
|
Call Function
Stop Job
Handle Errors
|
Starting the Recipe
Next, you'll learn how to create an endpoint. But before you leave your recipe, you must run it.
To start your recipe:
1. | At the top of the Recipe Builder panel, click Save. |
2. | At the top right of the Recipe Builder panel, click x Exit. |
3. | Click Start Recipe. |
Your recipe is now running and ready for use in Unqork. The final step to complete in the Integration Gateway is to create an endpoint for your recipe.
Below is an image of a configured and running recipe:
Creating an Endpoint
Next, you must create a usable endpoint for your recipe. Doing so lets you use a Plug-In component to run the recipe. You define your endpoint's path and HTTP method, set up timeouts, and determine how long the response is stored in the cache.
You'll use the API Platform tab in the Integration Gateway to set up your endpoint.
To configure your endpoint:
1. | At the top left of the Recipe Builder, click the API Platform tab. |
2. | From the API Collections panel, select the Unqork Gateway collection tile. |
3. | Click + New Endpoint. A modal A modal is a window that appears on top of the content you are currently viewing. displays to configure your new endpoint. |
4. | In the Endpoint Name* field, enter a name for this endpoint. |
TIP It's best practice to create a name that defines your endpoint.
5. | From the Recipe* drop-down, select your recipe. |
6. | In the Endpoint Path* field, enter a unique path for your endpoint. For example, createSalesforceContact. |
7. | From the HTTP Method* drop-down, select the method to use for this endpoint. |
8. | Click Add Endpoint. |
Below is an example of a configured endpoint:
You return to the API Platform page and your new endpoint tile displays at the top of the page. Before you can configure your API call in a Plug-In component, you must active endpoint. On your endpoint tile, set the Active toggle to (ON). You endpoint is now active so you can select it in a Plug-In component.
Configuring a Plug-In Component
The final step to use your integration in Unqork is to set it up in a Plug-In component. These instructions assume that you have an open module saved with a title.
1. | In the Module Builder, drag and drop a ![]() |
2. | In the Property ID A Property ID is the unique field ID used by Unqork to track and link components in your module. and Canvas Label Text Label Text conveys what the input component is and what information it displays. Enter the purpose of the corresponding component or field. fields, enter values that describe your ![]() |
3. | To the left of the component's configuration window, click ![]() |
4. | Set External as the Service Type. |
5. | From the External Services drop-down, select the endpoint you created. |
NOTE On selection, the Data Source URL and Request Type automatically populate.
6. | In the Inputs table, configure the specific fields you want. |
7. | Click Save & Close. |
8. | Save your module. |
Below is an example of a configured Plug-In component:
You can now use your recipe in your applications.
Resources