Overview
The Integration Gateway accelerates digital transformations by easily integrating with over 700 systems across enterprise applications and databases, including DocuSign, Jira, and SendGrid. This how-to guide provides an example for creating contacts in your Salesforce account using Unqork's Integration Gateway.
To learn more about Unqork's Integration Gateway and how to access it, view our Integration Administration article.
What You'll Learn
In this article, you'll learn how to create a recipe, connection, and endpoint to create Salesforce contacts using Unqork's Integration Gateway.
Setting Up an Integration Using Integration Gateway
Before we begin, let's review the necessary steps to set up a Salesforce integration and make an API call using the Integration Gateway.
Create a connection: First, you must connect to your Salesforce account to make any API calls using Unqork. This also requires you to have a Salesforce account and authorization credentials.
Create a recipe: Recipes are workflow-like steps that perform actions. Recipes have many advanced features that can handle all app integrations and workflow automation scenarios, including conditional triggers, actions, and so on.
Define an endpoint for a recipe: To make an API call to Salesforce in your Unqork applications, you must establish an endpoint. You'll use this endpoint to make the call in a Plug-In component.
Configure a Plug-In component: Set up a Plug-In component to call your recipe's endpoint and create a Salesforce contact.
What You Need
1 Salesforce account
1 Integration Gateway recipe
1 Integration Gateway connection
1 Integration Gateway endpoint
1 Module
Preconfiguration
The first step when creating your Salesforce recipe is configuring the Salesforce connection in the Integration Gateway.
You must have a Salesforce account to create these connections.
Configure Your Salesforce Connection
First, let's access Unqork's Integration Administration to use the Integration Gateway.
To access the Integration Administration page:
At the top right of the Unqork Designer Platform, click Settings ▾.
Click Administration.
Under Integration, select Integration Administration.
Now, let's use the Integration Gateway to create a Salesforce connection.
Open your Integration Gateway project.
Click Create ▾.
Select Connection.
Search for and select the
.png) Salesforce connection tile.
Salesforce connection tile.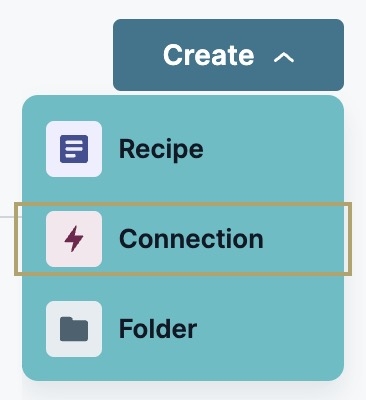
In the Connection Name* field, enter a name for your connection.
It's best practice to create a name that clearly defines the connection's purpose.
From the Auth Type* drop-down, select an authentication type.
By default, OAuth 2.0 is selected.
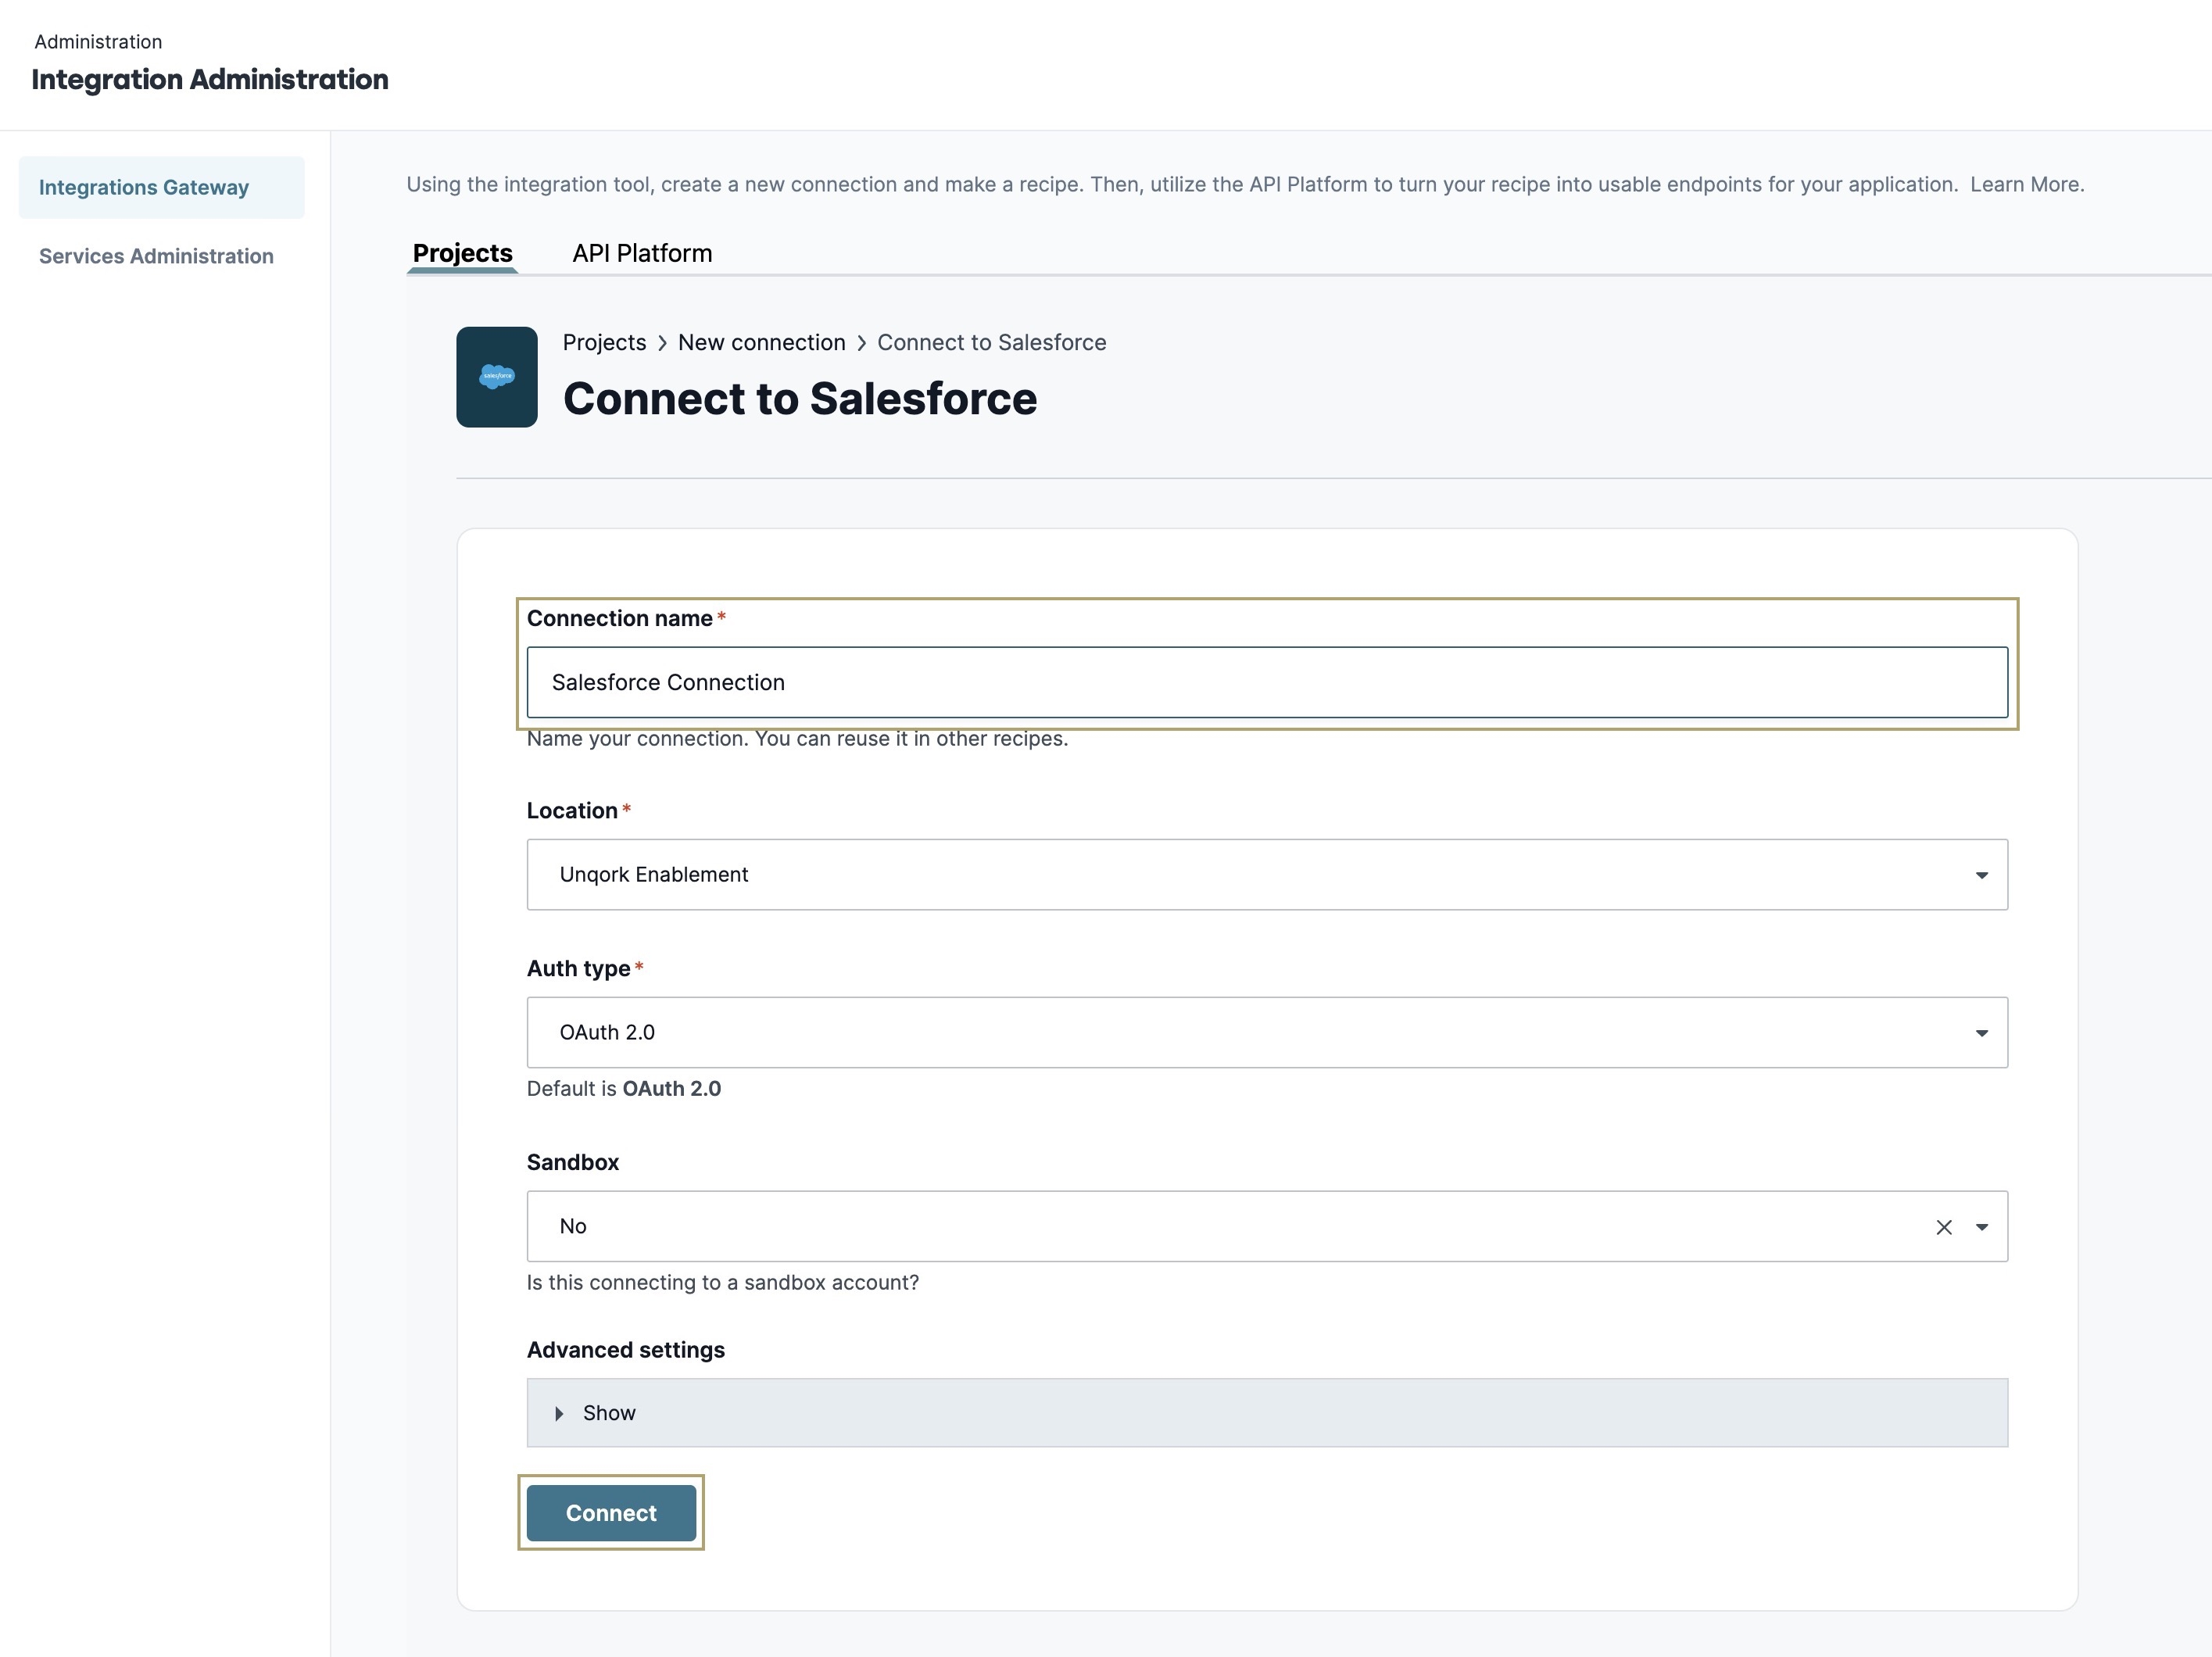
Click Connect. A modal displays for you to add your Salesforce credentials to complete the connection.
In the Username and Password fields, enter your Salesforce credentials.
Click Log In.
Your connection is now established and active for use in your recipe. Next, you'll review how to create your recipe.
Configure Your Create Salesforce Contact Recipe
Recipes let you integrate with your connections, set up triggers, and determine the actions and events you want to occur. For this how-to guide, you'll configure a recipe to create contact information to Salesforce.
Open the Unqork project.
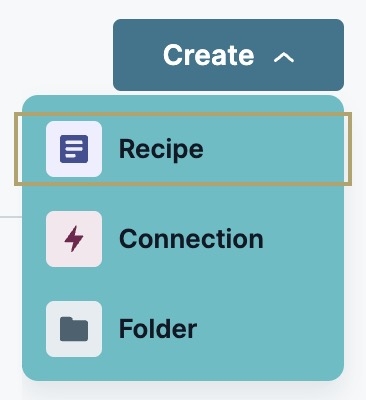
Click Create ▾.
Select Recipe.
Configure a Starting Point
First, you need to configure the starting point, or trigger, for your recipe. With the recipe page now open, configure the following fields:
In the Name field, enter a name for your recipe.
From the Pick a Starting Point* section, select
.png) Build an API Endpoint.
Build an API Endpoint.You must create an API endpoint recipe, or the integration will not be available in Unqork.
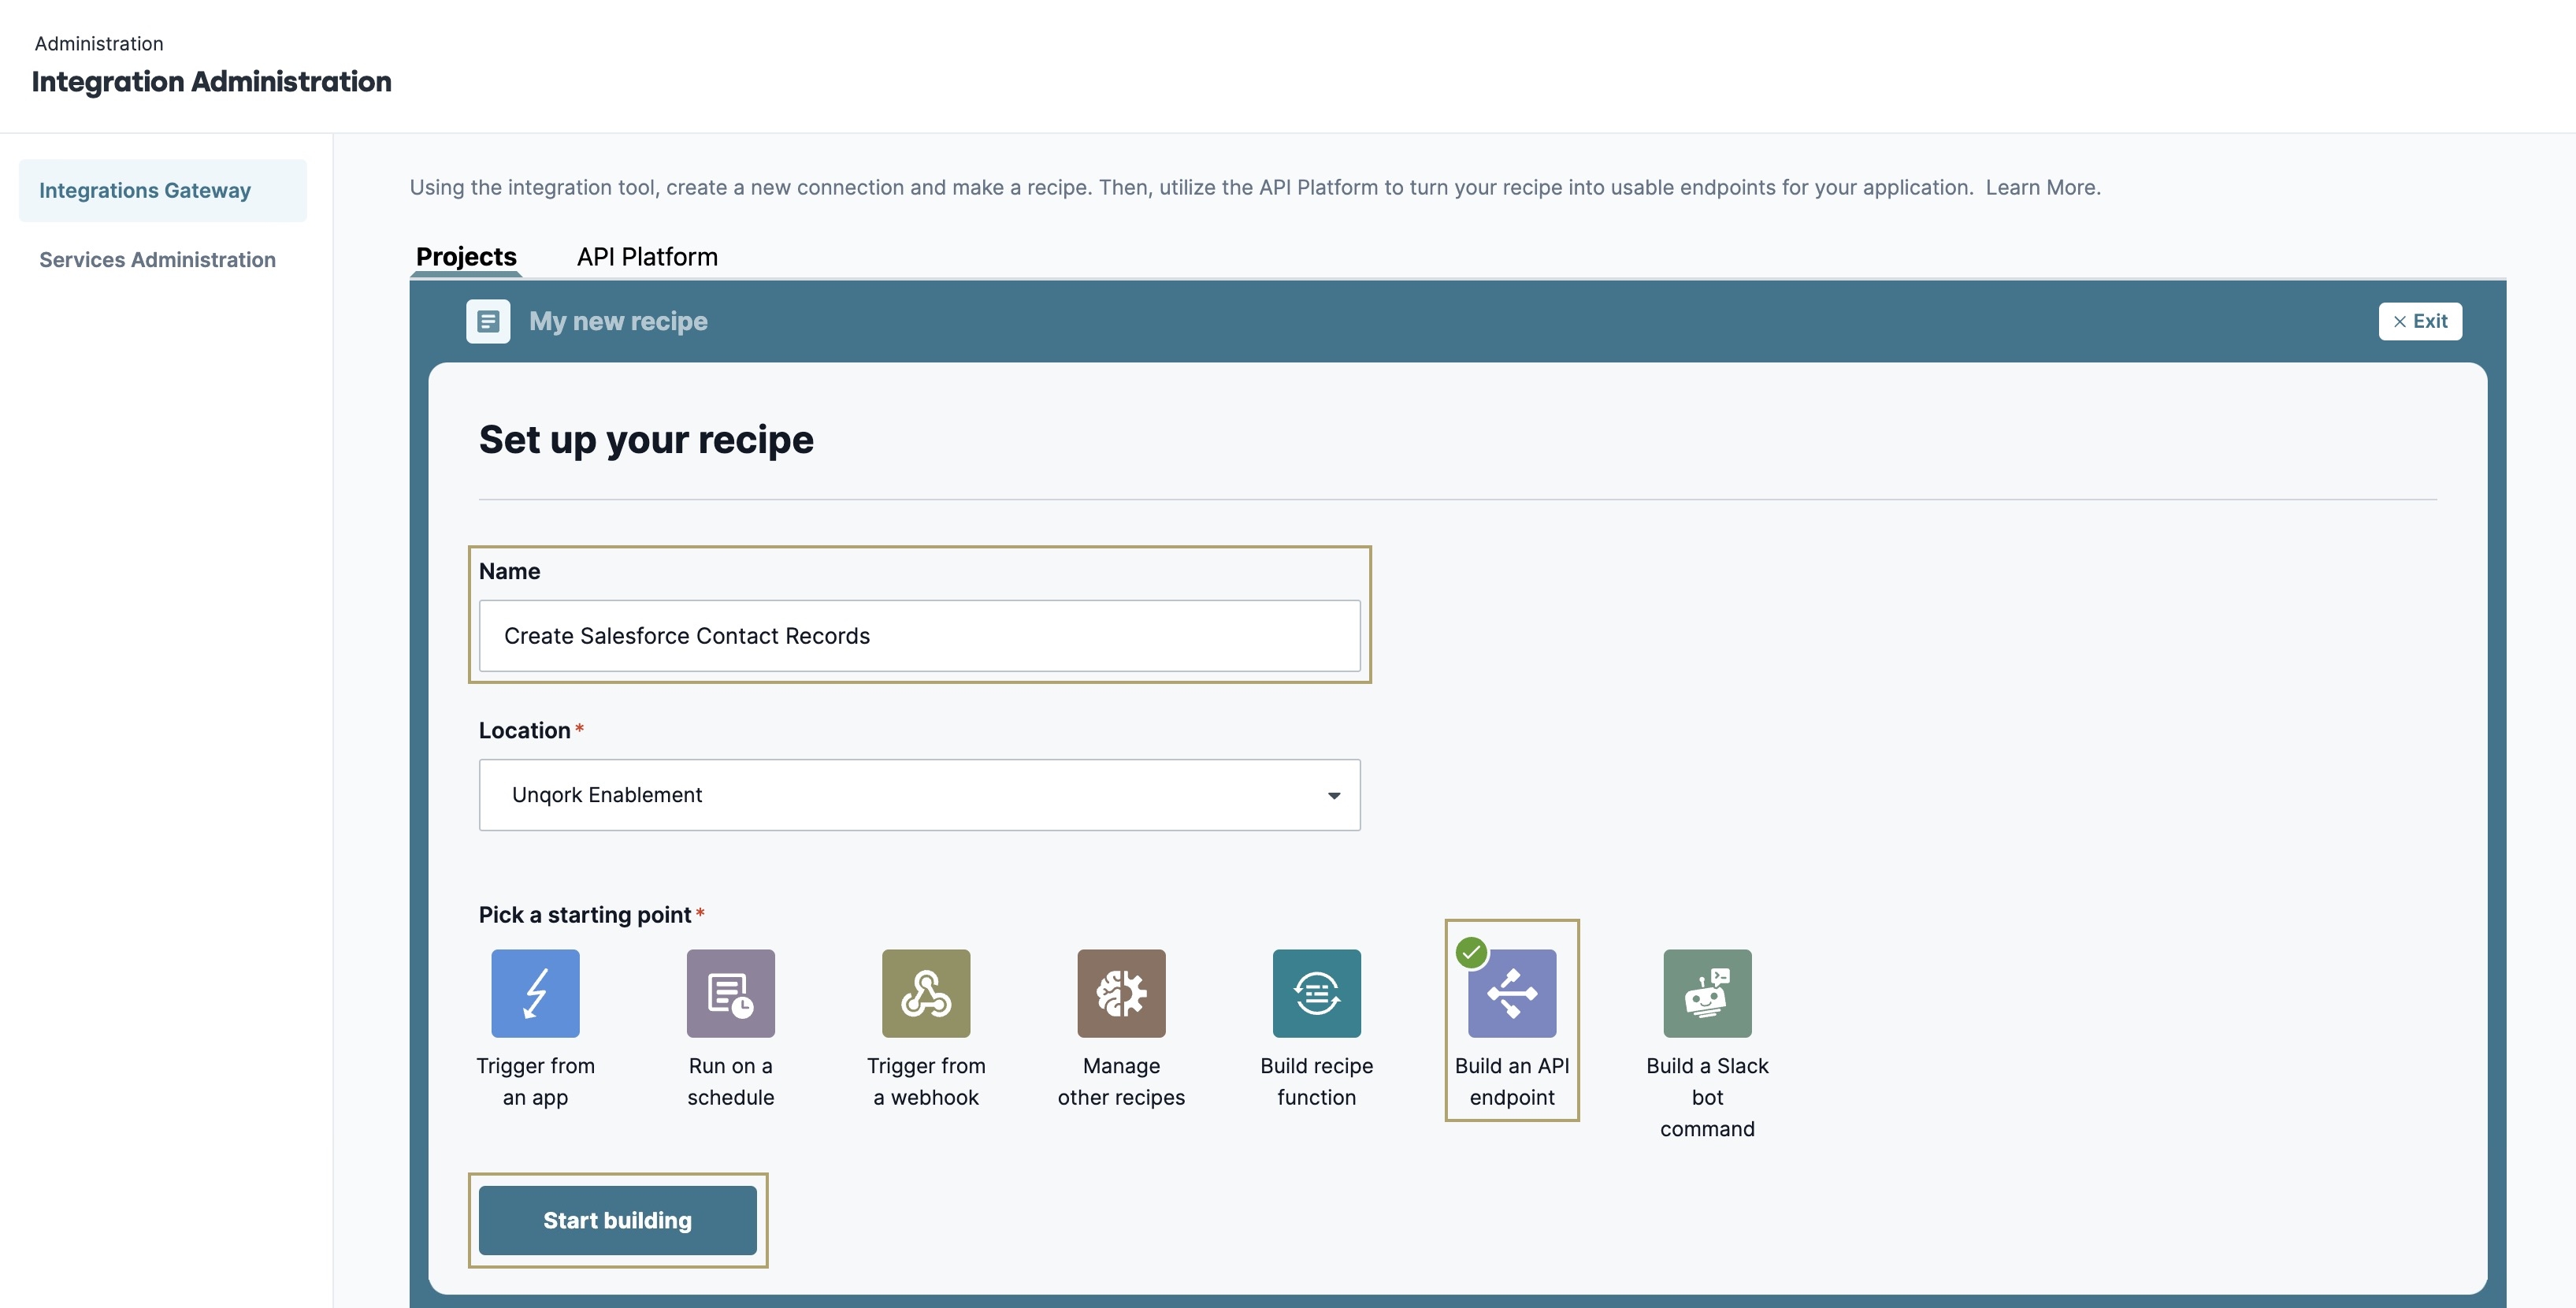
Click Start Building.
You can then navigate to the Recipe Builder to finish setting up your starting point. The last step of this process is to select a response status code.
In the Setup panel to the right of the Recipe Builder, scroll down to the final Responses* sub-panel.
Click Add Response.
In the Name field, enter the message that displays for a successful API response.
From the HTTP Status Code drop-down, select 200 - OK.
You can create as many status codes and display messages as you wish. These status codes make it easier for users to identify when an issue occurs.
At the top of the panel, click Save.
Configure an Action
Next, configure an action that connects to your Salesforce account to create a contact record, or submission, based on specific fields.
To create an action:
Below your starting point, or trigger, click the + button.
Select
.png) Action in an App. A panel displaying all your connected apps displays to the right of the page.
Action in an App. A panel displaying all your connected apps displays to the right of the page.Search for and select the
.png) Salesforce tile.
Salesforce tile.Search for and select the Search Records tile.
Select the Salesforce Connection you made earlier.
From the Object drop-down, select Contact. A list of fields (or inputs) populate, so you can hard-code values in your action.
Expand the Recipe Data modal.
Expand the Properties panel. A list of available properties display that you can drag and drop into your Action fields.
Properties come with the ability to drag and drop them into your Action fields. We refer to these interactive properties as datapills.
In the Last Name* field, drag and drop the User Name datapill.
In the Email field, drag and drop the User Email datapill.
At the top of the panel, click Save.
At the top right of the panel, click x Exit.
Click Start Recipe.
Your recipe is now running and ready for use in Unqork. The final step to complete in the Integration Gateway is to create an endpoint for your recipe.
Configure Your Endpoint
To use your recipe in a Plug-In component, you must create an endpoint in the Integration Gateway. Once created, it displays in the component's External Services drop-down.
To configure your endpoint:
At the top left of the Recipe Builder, click the API Platform tab.
From the API Collections panel, select the Unqork Gateway collection tile.
Click + New Endpoint. A modal displays to configure your new endpoint.
In the Endpoint Name* field, enter a name for this endpoint.
It's best practice to create a name that defines your endpoint.
From the Recipe* drop-down, select your recipe.
In the Endpoint Path* field, enter a unique path for your endpoint. For example,
createSalesforceContact.From the HTTP Method* drop-down, select the method to use for this endpoint. In this case, we'll set it to POST to create Salesforce contacts.
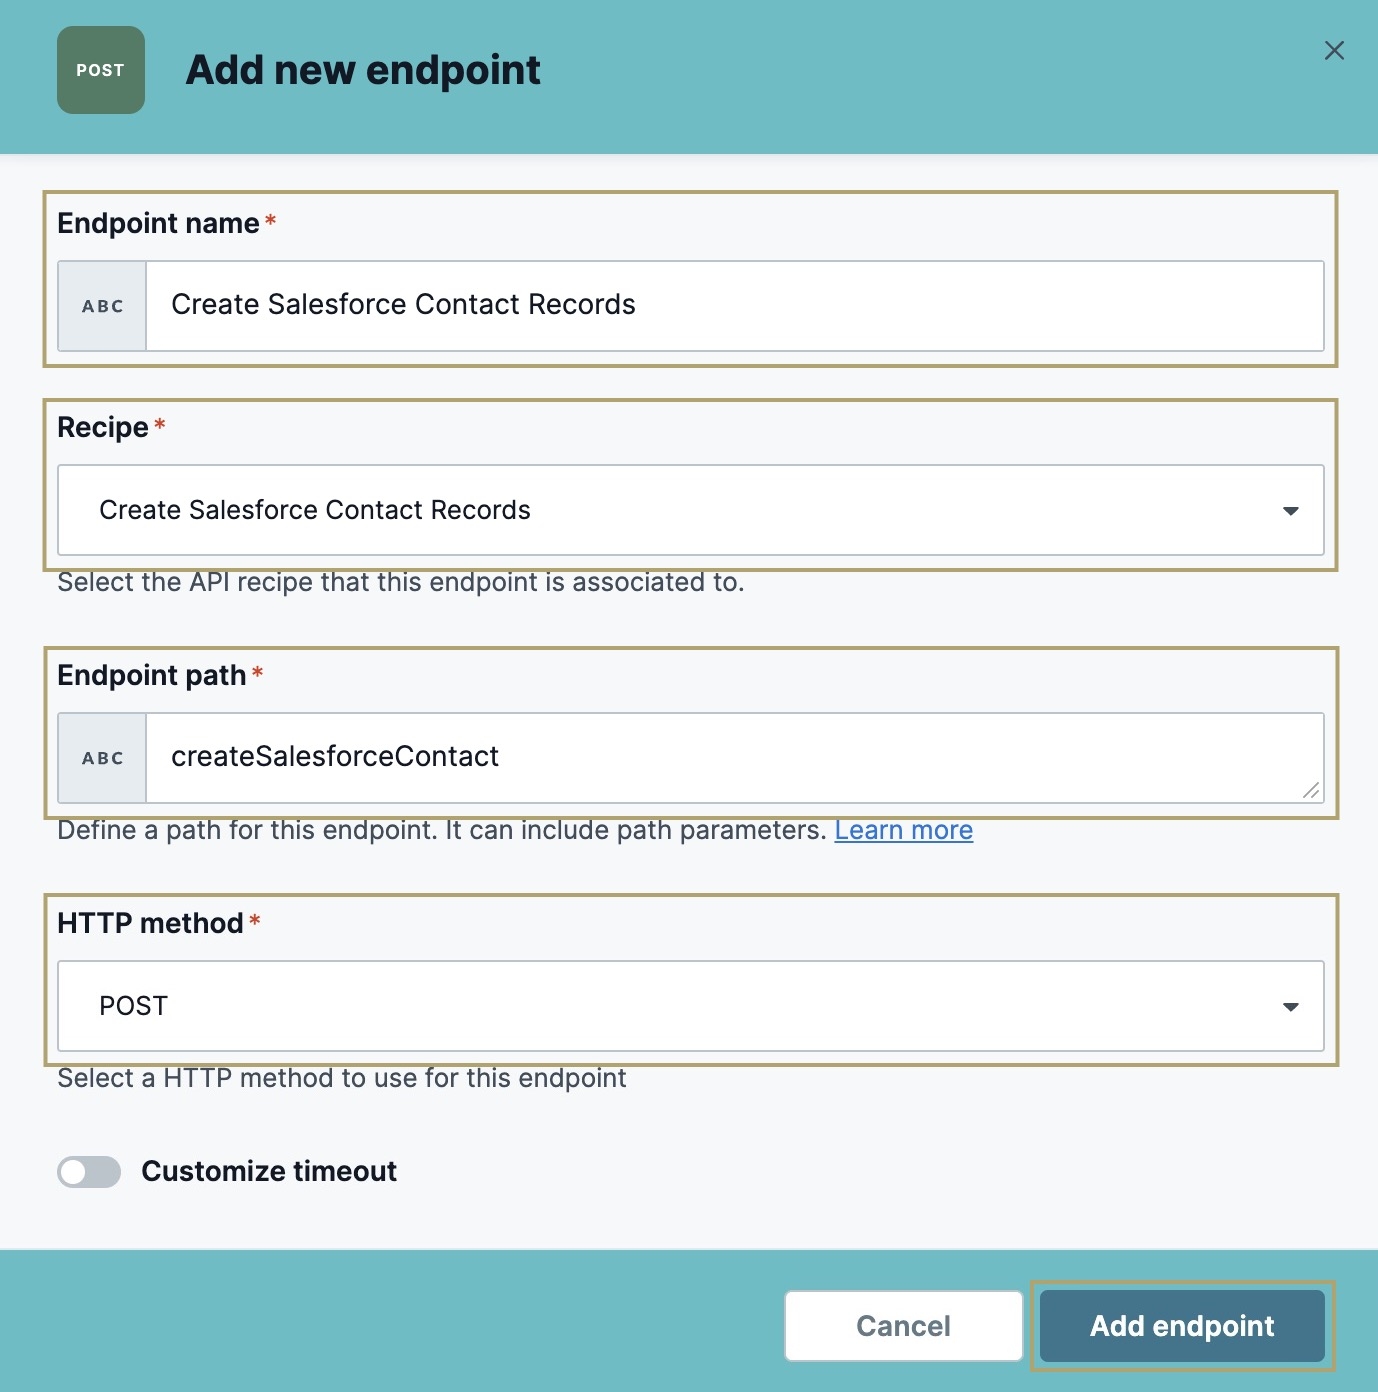
Click Add Endpoint. Your new endpoint tile displays at the top of the API Platform page.
On your endpoint tile, set the Active toggle to
 (ON).
(ON).
You endpoint is now active. You can select it in a Plug-In component.
Configuration
The last step of the process is to configure a module to create the last name and email address for a contact and send it to Salesforce. These instructions assume you have a module saved with a title.
Configure the Text Field Components
First, let's add a couple of Text Field components to add a last name and email address to send to Salesforce.
In the Module Builder, drag and drop two Text Field components onto the canvas.
Set the Property ID and Label Text as follows:
Property ID
Label Text
lastName
Last Name
email
Email
Click Save & Close.
Configure the Plug-In Component
Next, you'll add a Plug-In component to use your new Integration Gateway endpoint and create contacts to your Salesforce account.
Drag and drop a Plug-In component onto your canvas.
In the Property ID and Canvas Label Text fields, enter
plugCreateSalesforceContact.To the left of the component's configuration window, click Data.
Set External as the Service Type.
From the External Services drop-down, select the endpoint you created.
On selection, the Data Source URL and Request Type automatically populate.
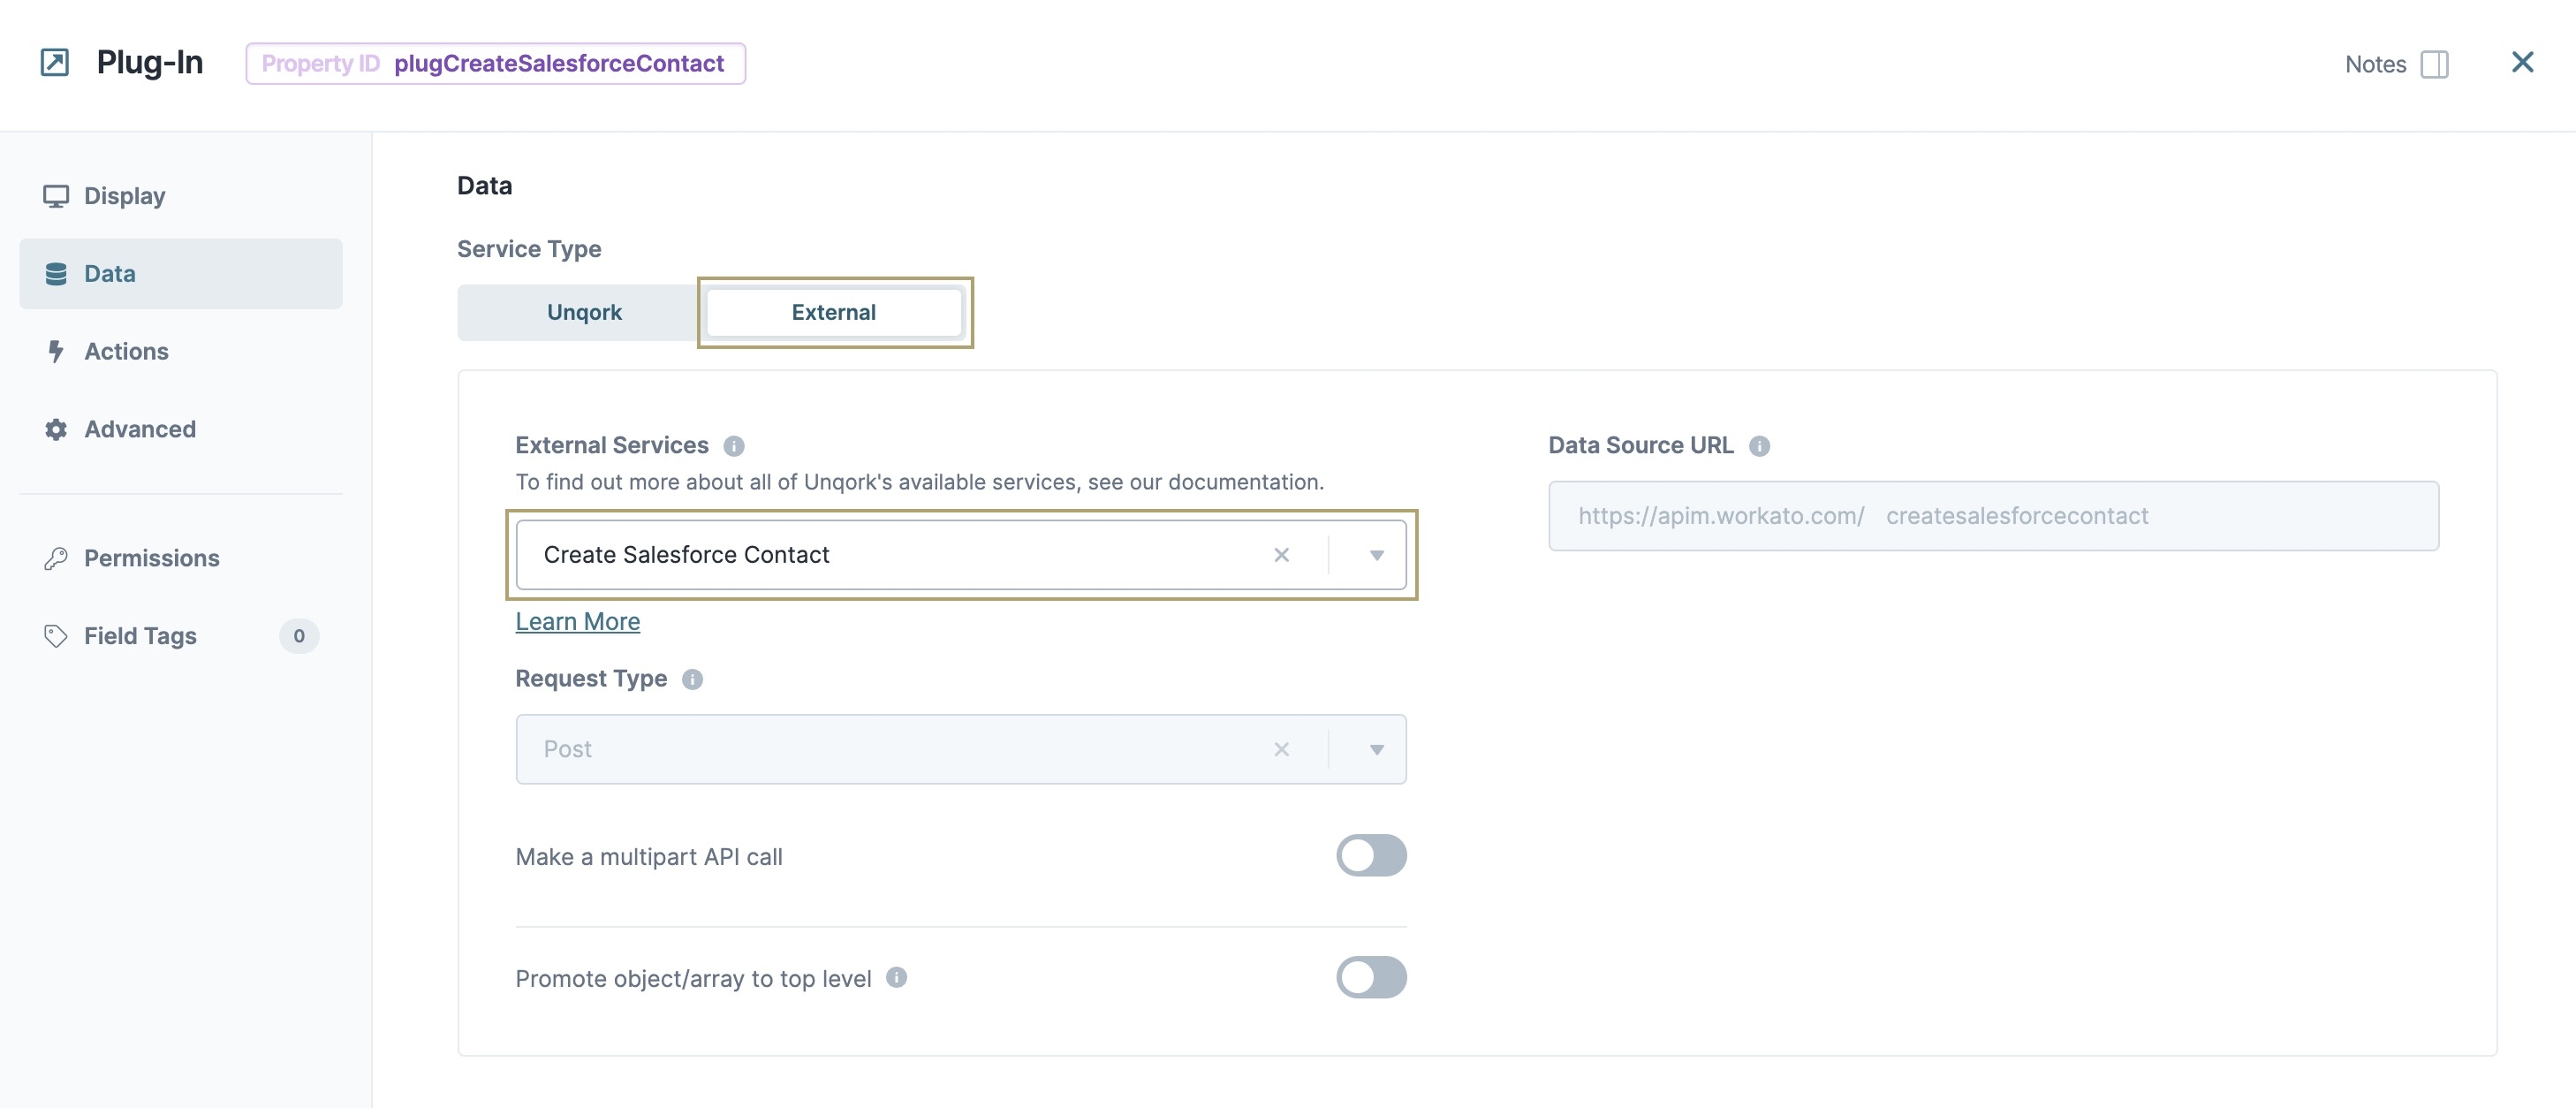
In the Inputs table, enter the following:
Property ID
Mapping
Required
lastName
lastName
.png) (clear)
(clear)email
email
.png) (clear)
(clear)Use the DevTools Console to confirm correct mapping based on your Salesforce data structure.

Click Save & Close.
Configure the Button Component
Next, add a Button component to trigger the Plug-In component.
Drag and drop a Button component onto the canvas, placing it below your Plug-In component.
In the Property ID field, enter btnCreateSalesforceContact.
In the Canvas Label Text field, enter
Create Salesforce Contact.Set Event as the Action Type.
Click Save & Close.
Save your module.
Now, Preview your module in Express View. Enter values in the text fields and click the button. Navigate to your Salesforce account to view your new contact with last name and email address.