How to: Use and Configure Dynamic Modules in a Workflow
Overview
Imagine you want to show a different screen in your workflow based on which country your end-user selects as their residence. In the past, Creators needed to add dozens of Screen/Task nodes, gateways, and logic links to their workflow to make this possible. Now, you can make it happen with a single Screen/Task node, with the Screen Type setting. You can select whether to show a static or dynamically-defined module when the workflow proceeds to the Screen/Task node.
-
Static: The Screen/Task node always displays the same module.
-
Dynamic: The Screen/Task node displays one of several modules, based on data from the workflow submission.
For example, you can configure a Radio Buttons component with a list of countries, and have a different module ID store in the submission for each possible option. If the end-user selects country x, module ID y is stored. Then, the Screen/Task node references that stored module ID value to know which module to display.
What You'll Learn
In this how-to guide, you'll learn how to use dynamic modules in a workflow. First, you'll create a module where end-users select one of three countries. Then you'll create three independent modules for each country. Finally, you'll build the Workflow that dynamically selects the country modules based on the end-users choice.
What You Need
To set up the Workflow configuration, you need:
-
1 Start node
-
2 Screen/Task nodes
-
1 End node
For the Modules, you need:
- 1 Radio Buttons component
- 3 HTML Element components
Preconfiguration
This how-to guide assumes you have already learned how to create a Workflow in your Workspace. To prepare for configuration, set up the individual modules that are called by the Workflow.
To learn more about Workflows, visit our Workspaces: Working with Workflow-Type Apps article.
Prepare the Customer Location module:
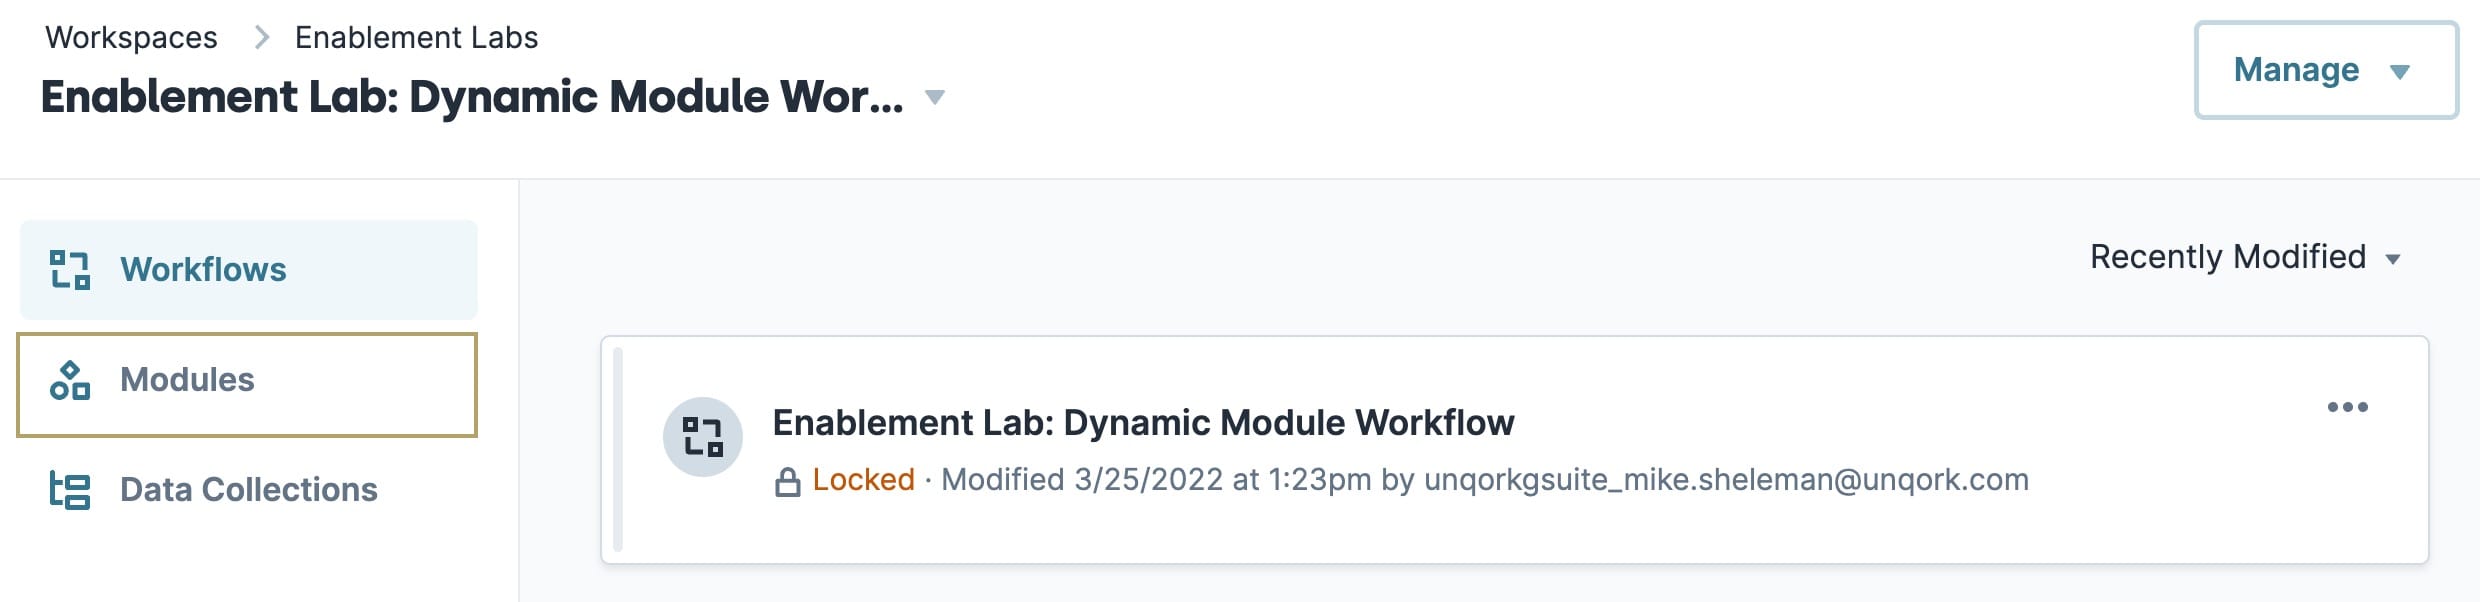
| 1. | On the left side of the Workflow application Workspace, click Modules. |
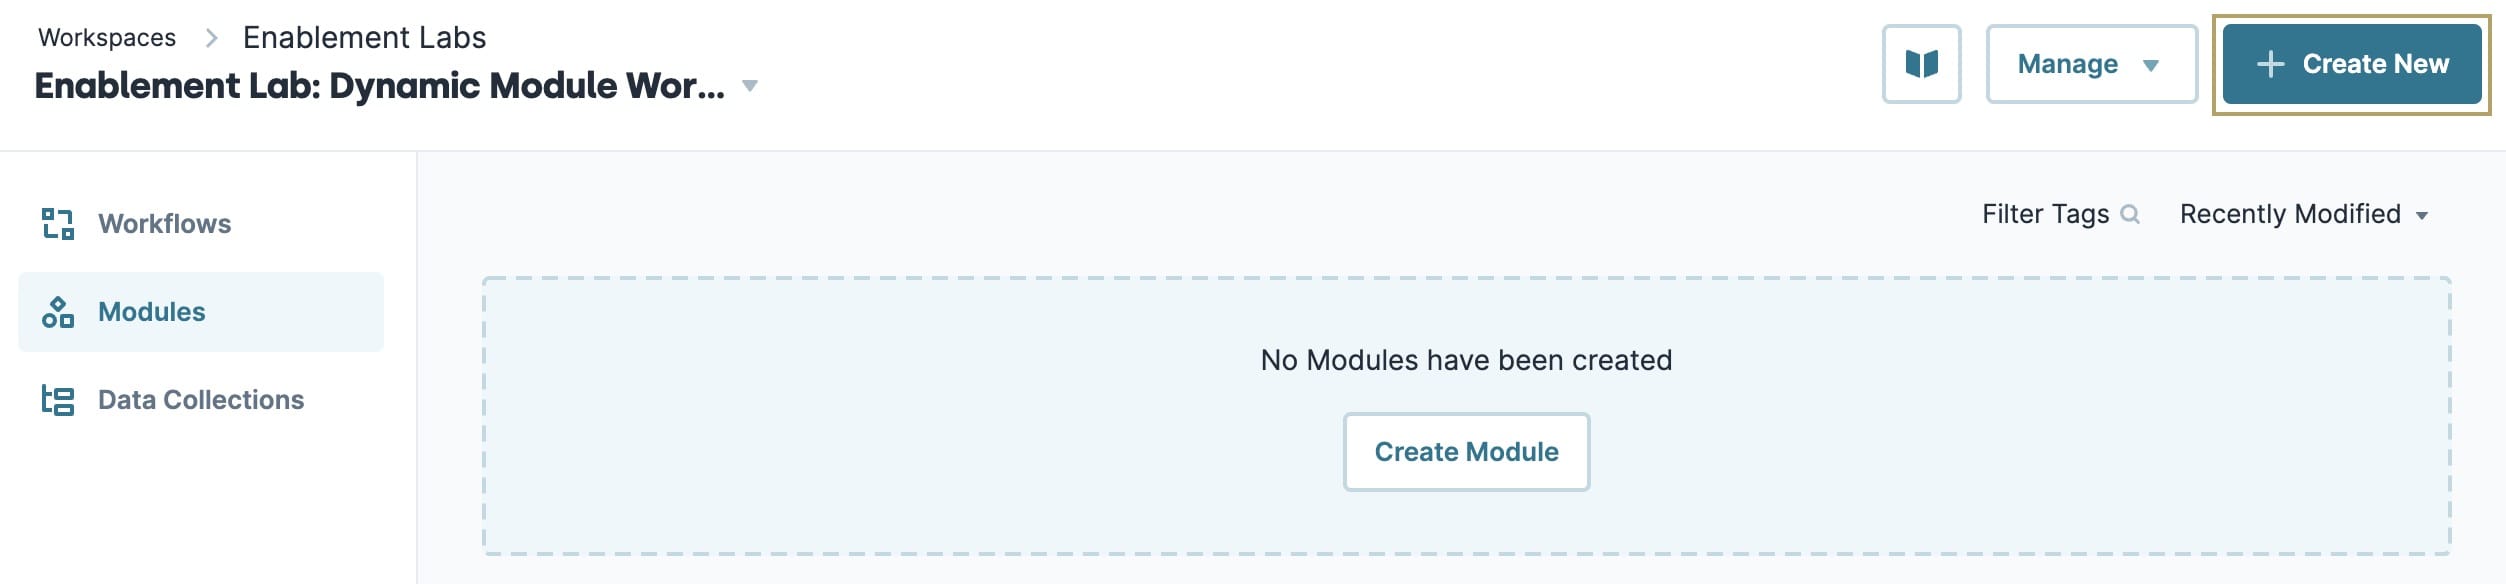
| 2. | On the right side of the Modules page, click + Create New. The Create Module modal displays. |
| 3. | In the Module Name field, enter {workspaceName}: Customer Location. The {workspaceName} is the name of the Workspace. |
| 4. | Click Create. |
Now, prepare the country modules to be dynamically selected by the Workflow:
| 1. | On the right side of the Modules page, click + Create New. The Create Module modal displays. |
| 2. | In the Module Name field, enter {workspaceName}: Canada. The {workspaceName} is the name of the Workspace. |
| 3. | Click Create. |
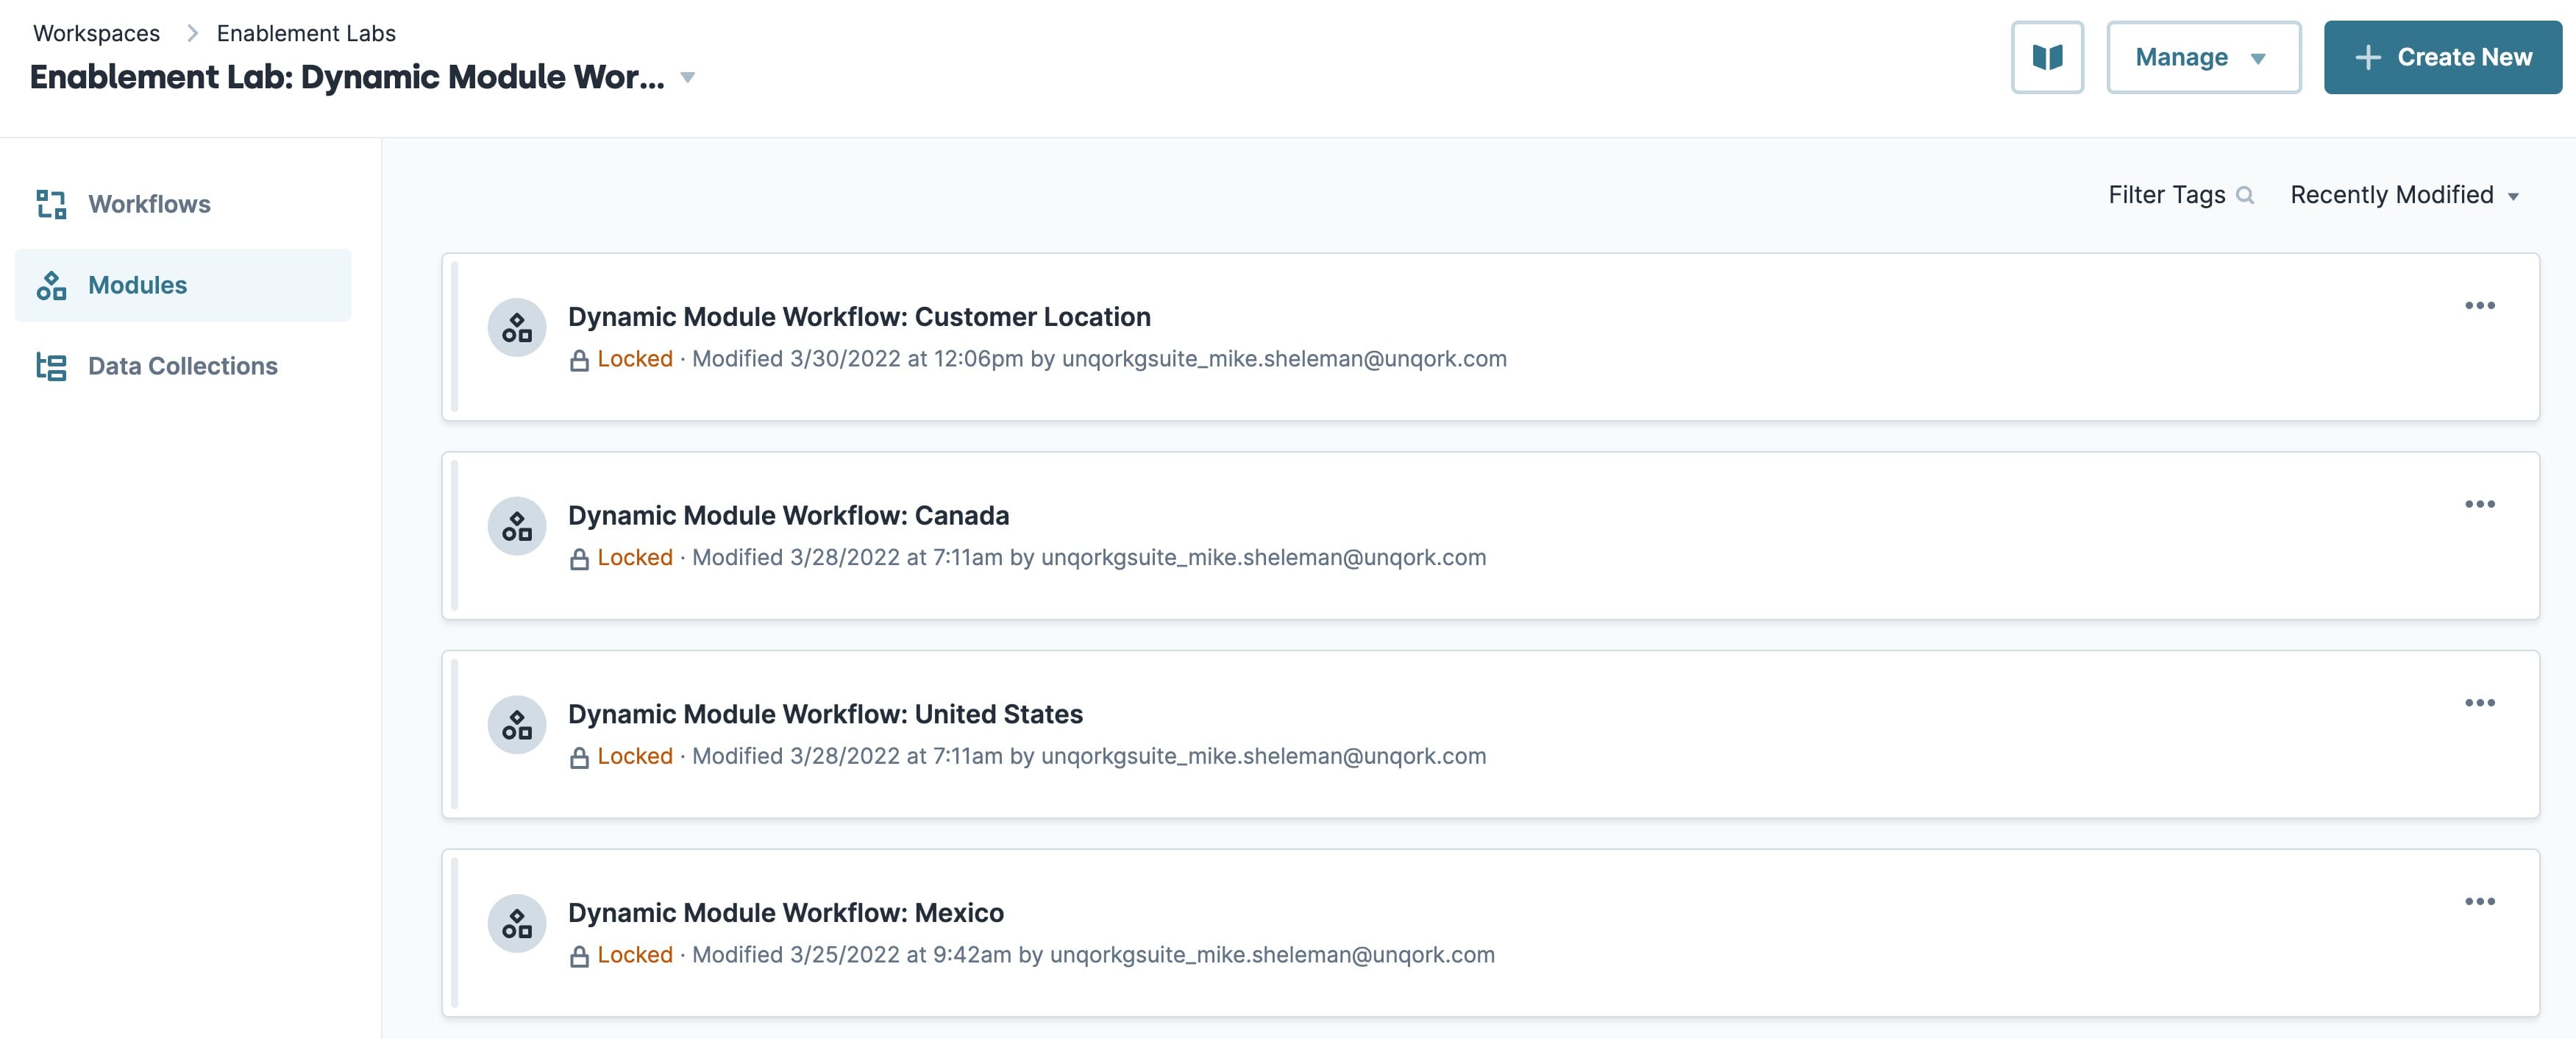
| 4. | Repeat this process two more times, name the second module {workspaceName}: USA and the third module {workspaceName}: Mexico. |
Gather the Country Module IDs for the Next Step
For this example, gather the module IDs for the three country modules.
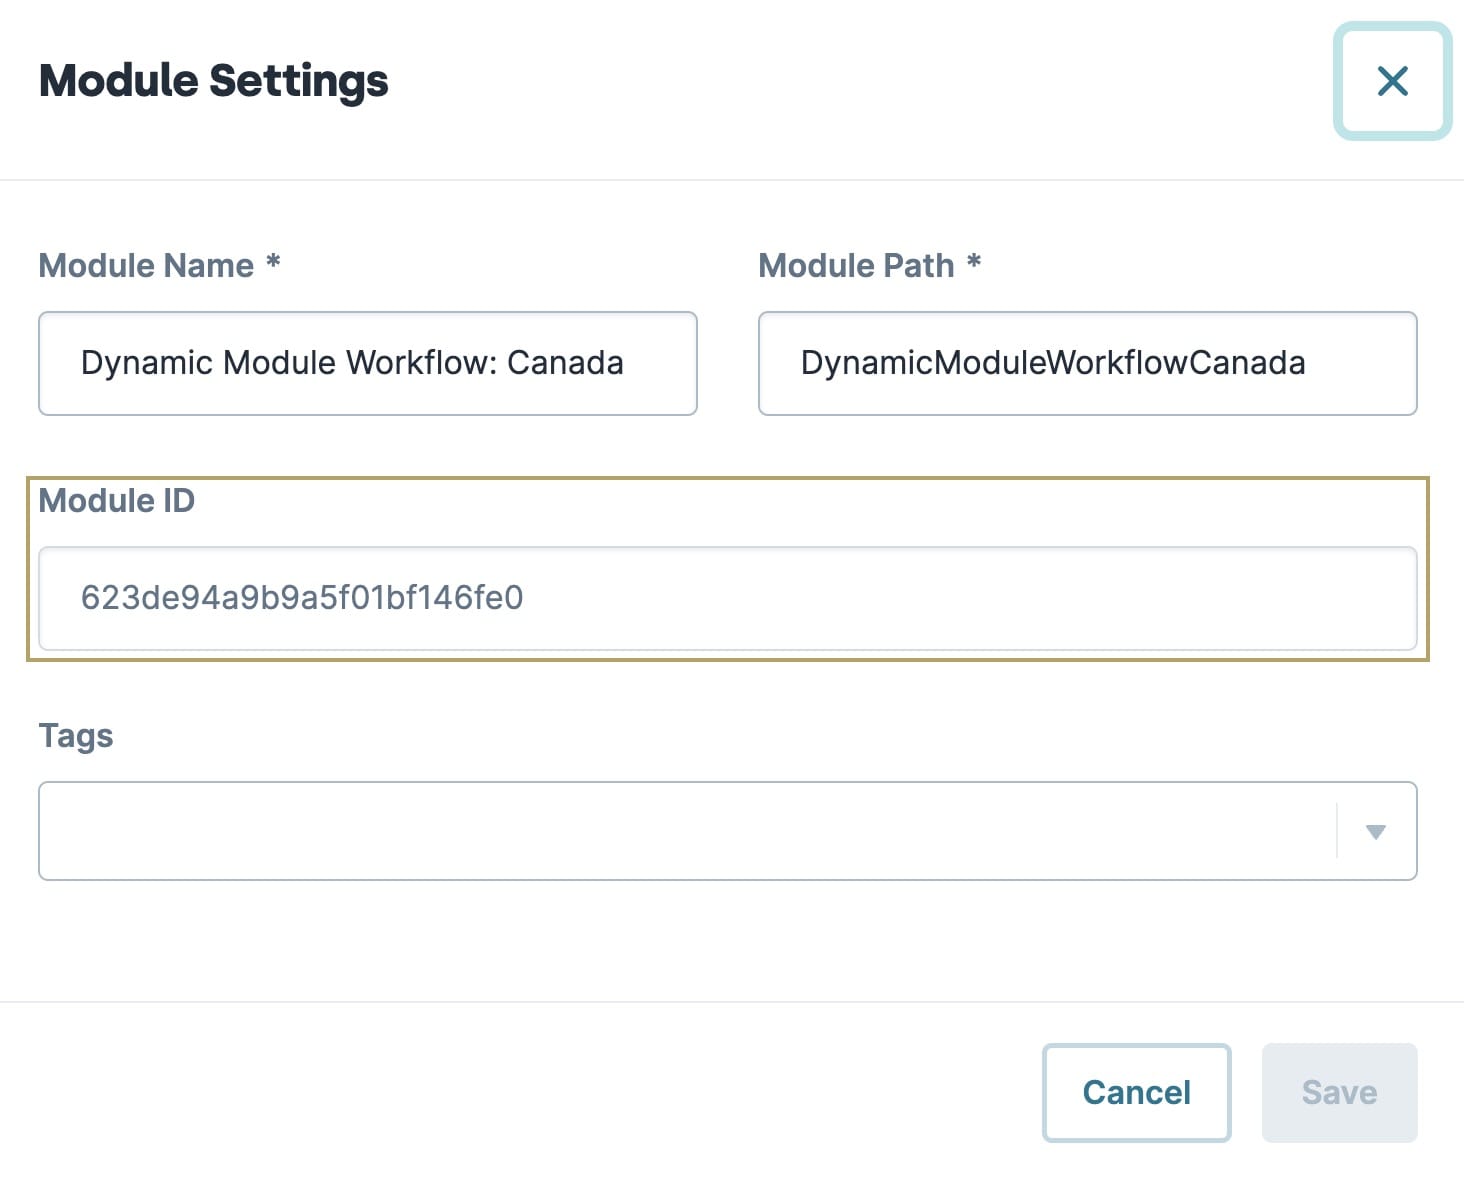
| 1. | On the Modules page, next to one of the country modules, click the ellipsis (...). A drop-down menu displays. |
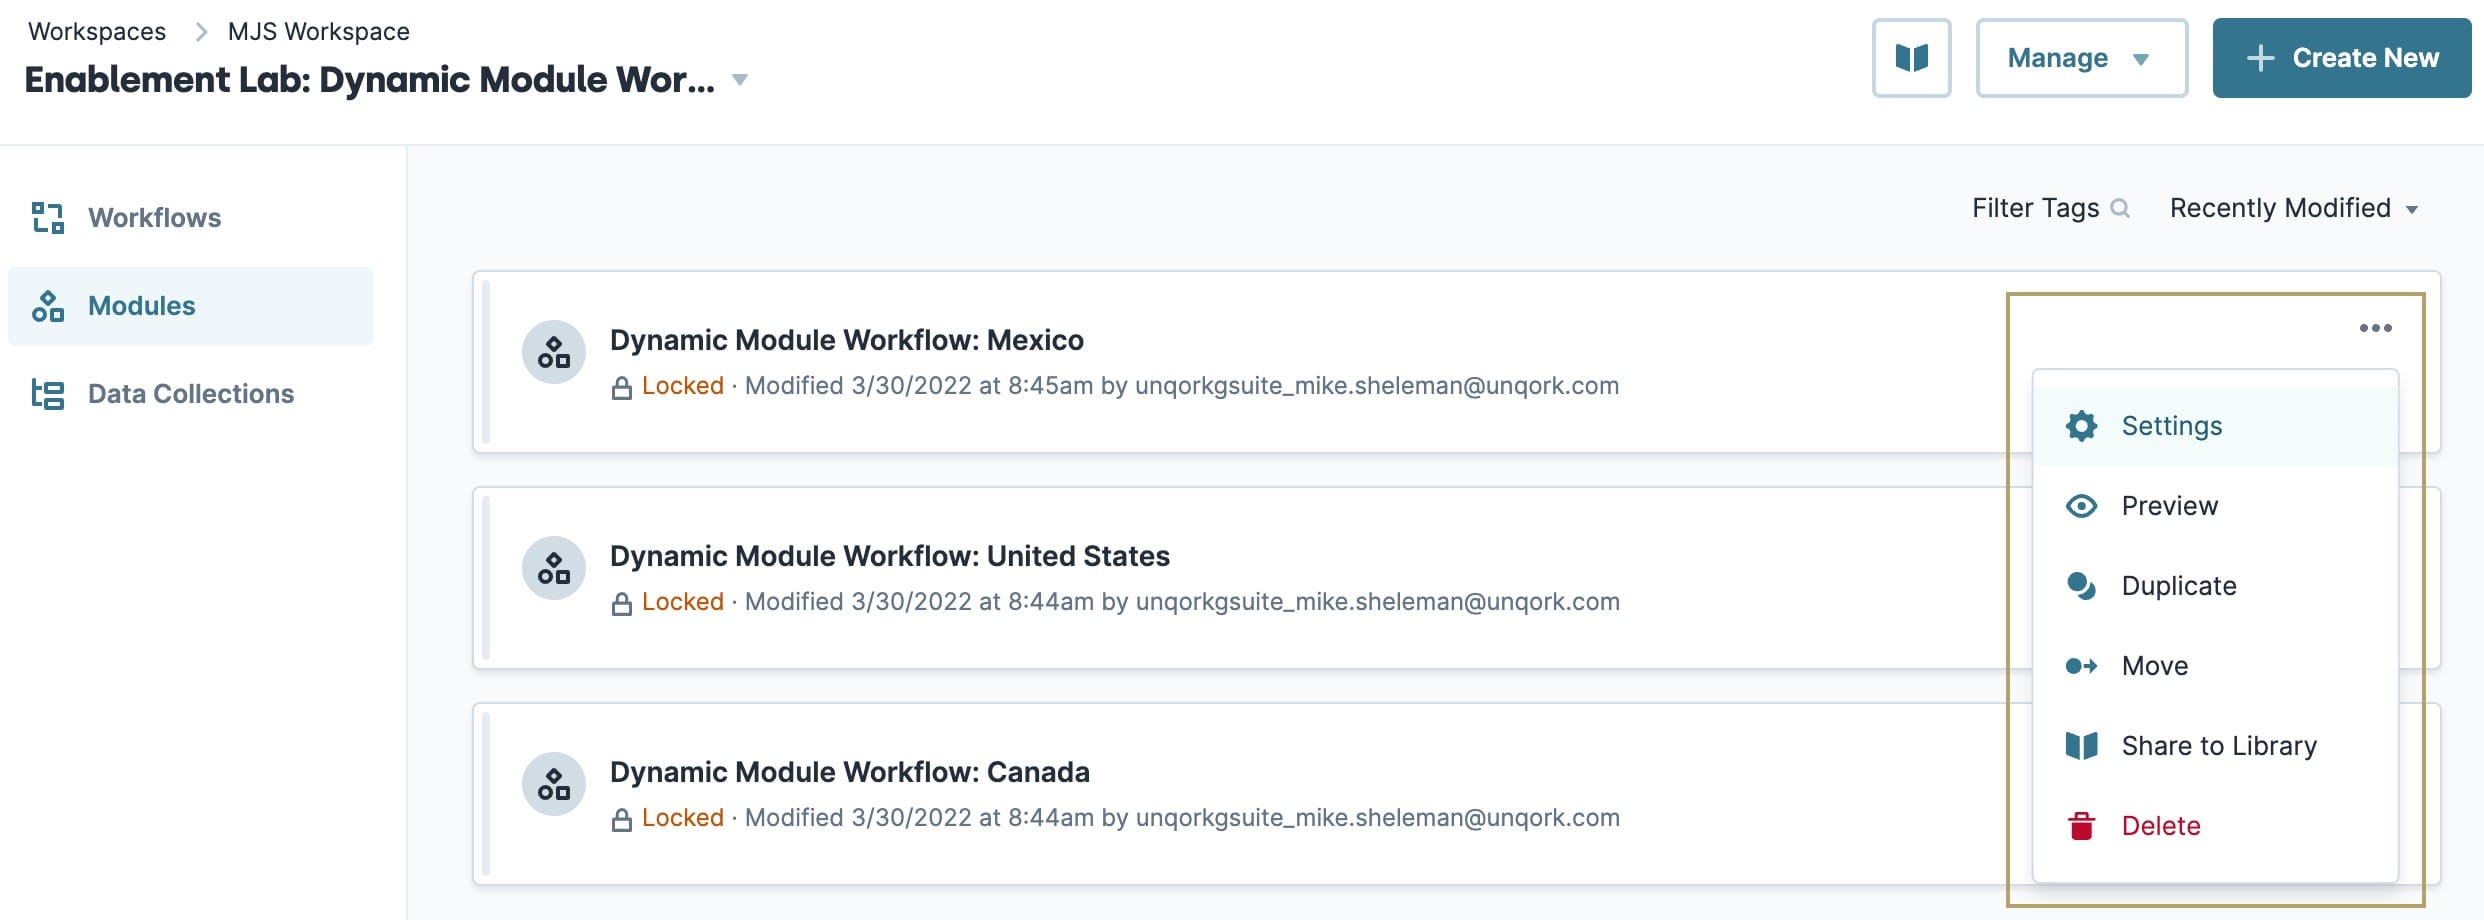
| 2. | Click Settings. A modal displays. |
| 3. | Copy the Module ID field value to a note or text document. |
| 4. | Repeat this process for the other two country modules. |
Collect all three module IDs and move on to configuring the Customer Location module.
Configure the Customer Location Module
Set up the Customer Location module that allows end-users to select a country of origin. You'll reference the 3module IDs created in the preconfiguration steps.
| 1. | On the Workspace Modules page, select the Customer Location module. A new page opens to the module. |
| 2. | On the module canvas, drag and drop a Radio Buttons component. |
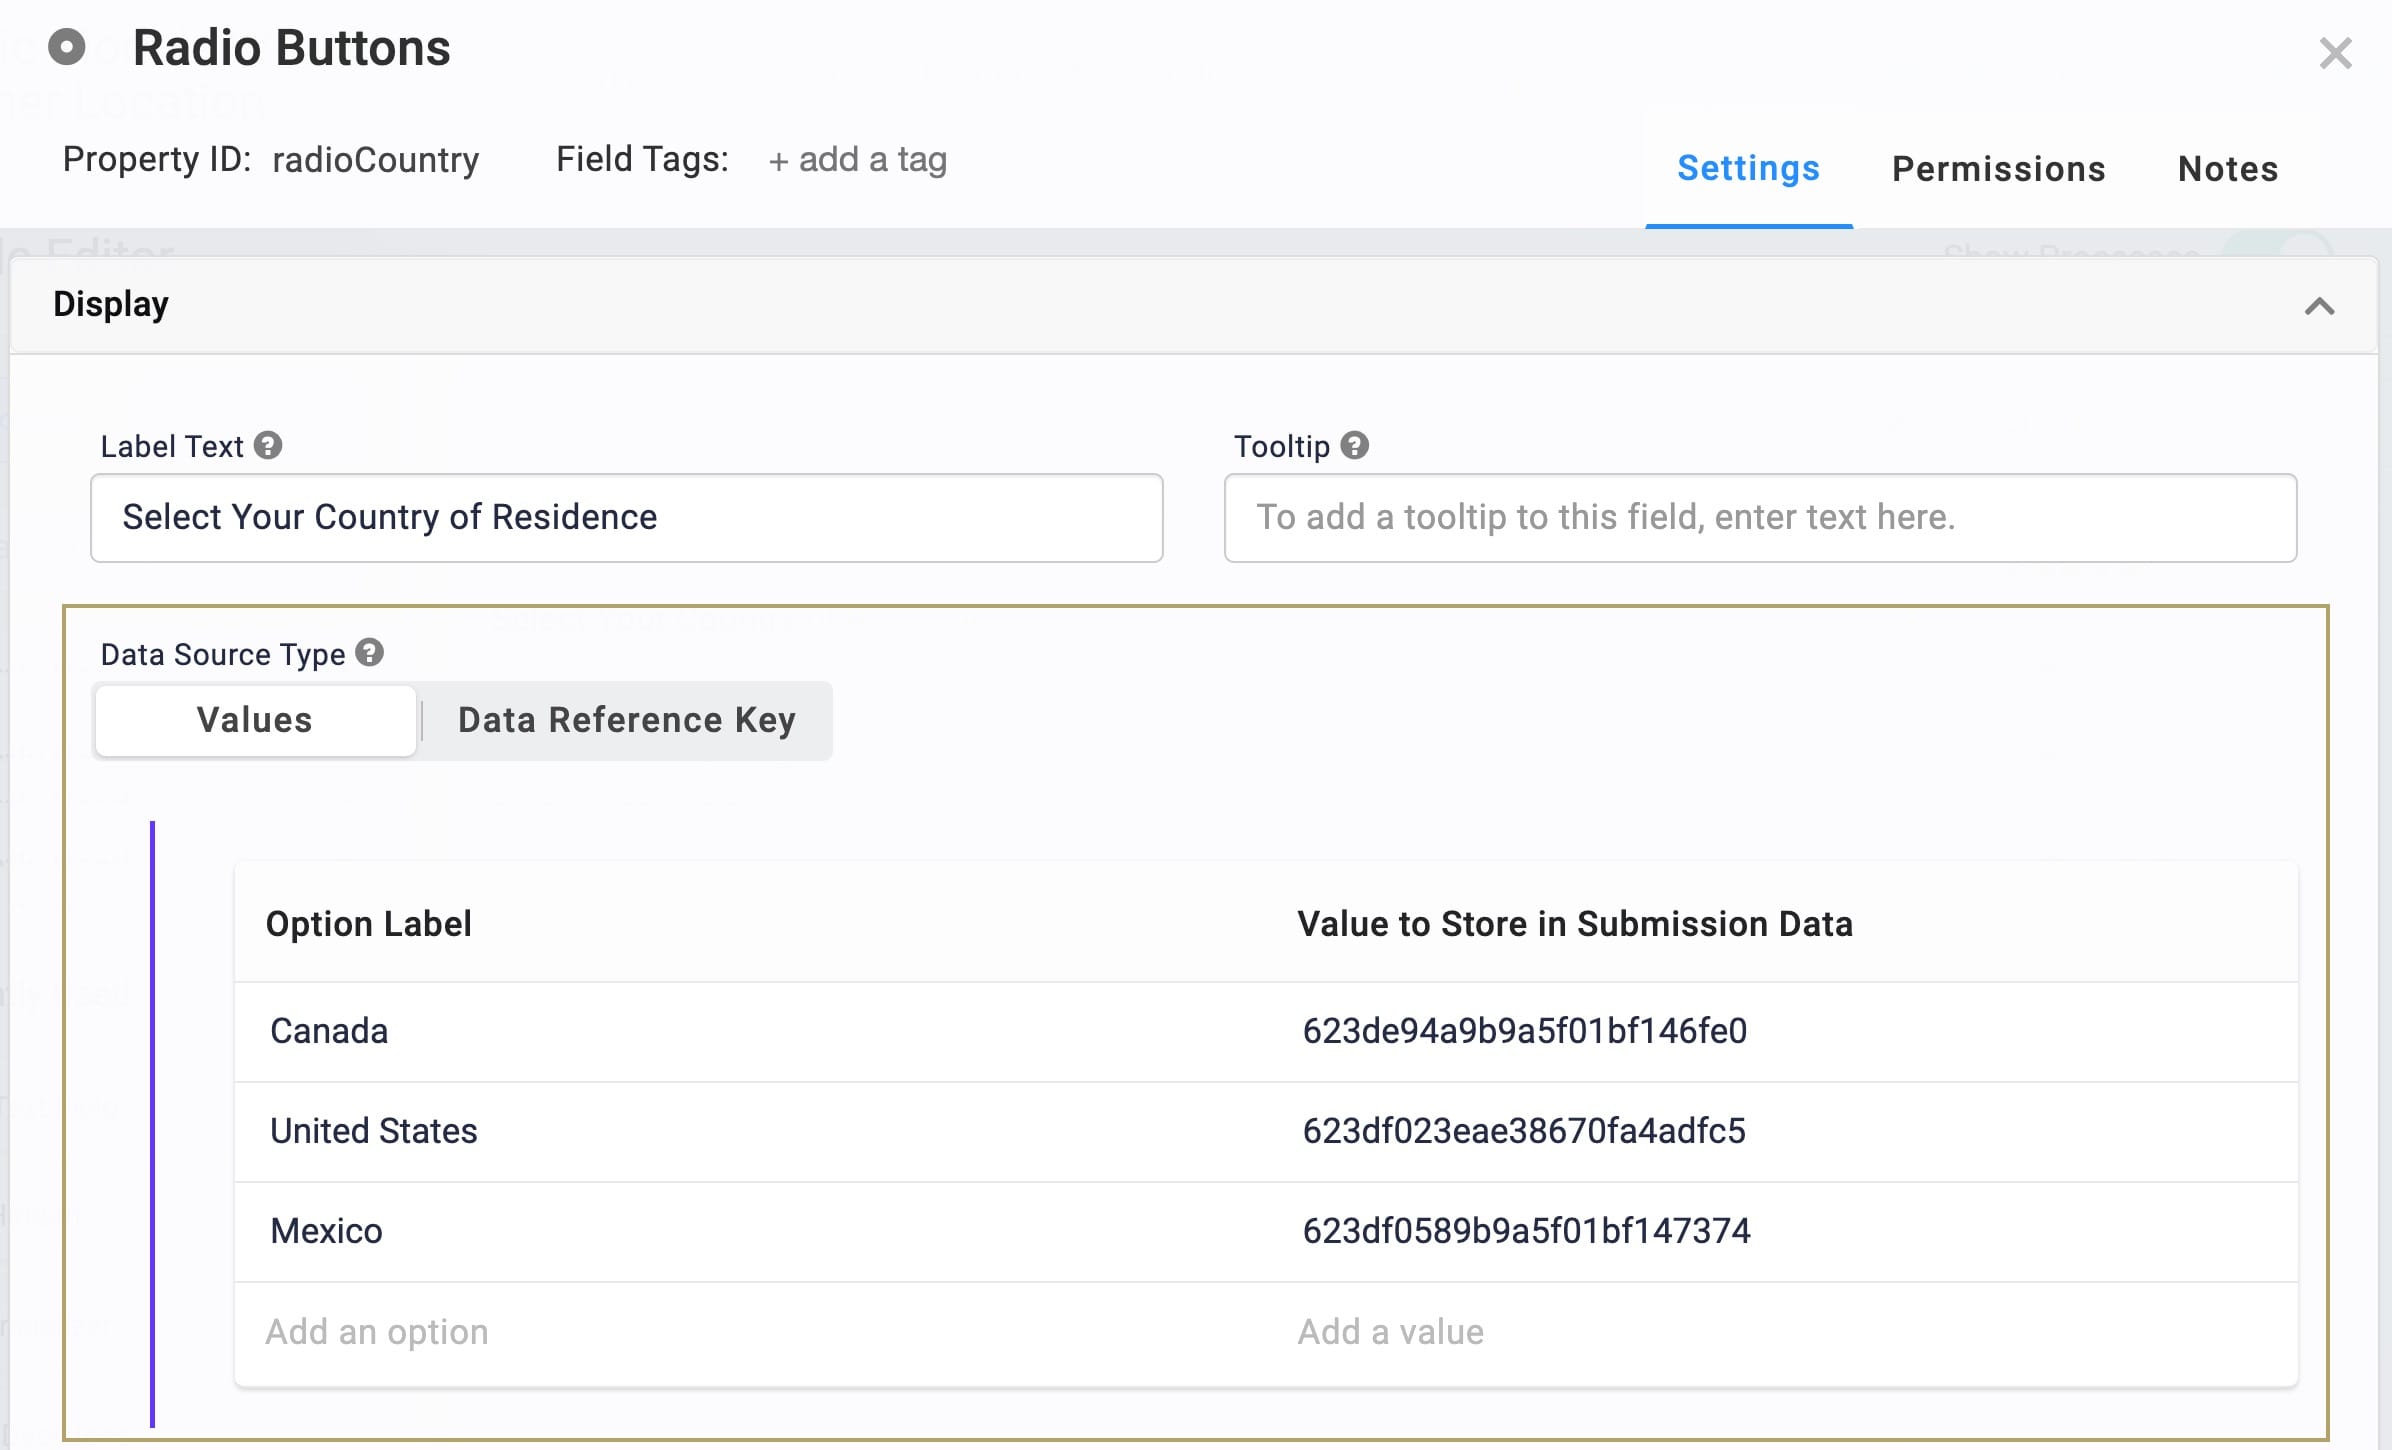
| 3. | In the Property ID field, enter radioCountry. |
| 4. | In the Label Text field, enter Select Your Country of Residence. |
| 5. | In the table under Data Source Type, enter the following: |
| Option Label | Value to Store in Submission Data |
|---|---|
|
Canada |
{moduleId} |
|
United States |
{moduleId} |
|
Mexico |
{moduleId} |
Replace {moduleId} with the corresponding ID of the country modules collected in the preconfiguration steps. For example, the Enablement Labs dynamic workflow uses the module IDs shown in the image below.
| 6. | Click Save. |
| 7. | Save the module. |
Configure the Country Modules
Each country module includes an HTML element denoting one of the three countries set in precofiguration.
| 1. | On the Workspace Modules page, select the {workspaceName}: Canadamodule. A new page with the module populates. |
| 2. | Drag and drop an HTML Element component onto the canvas. |
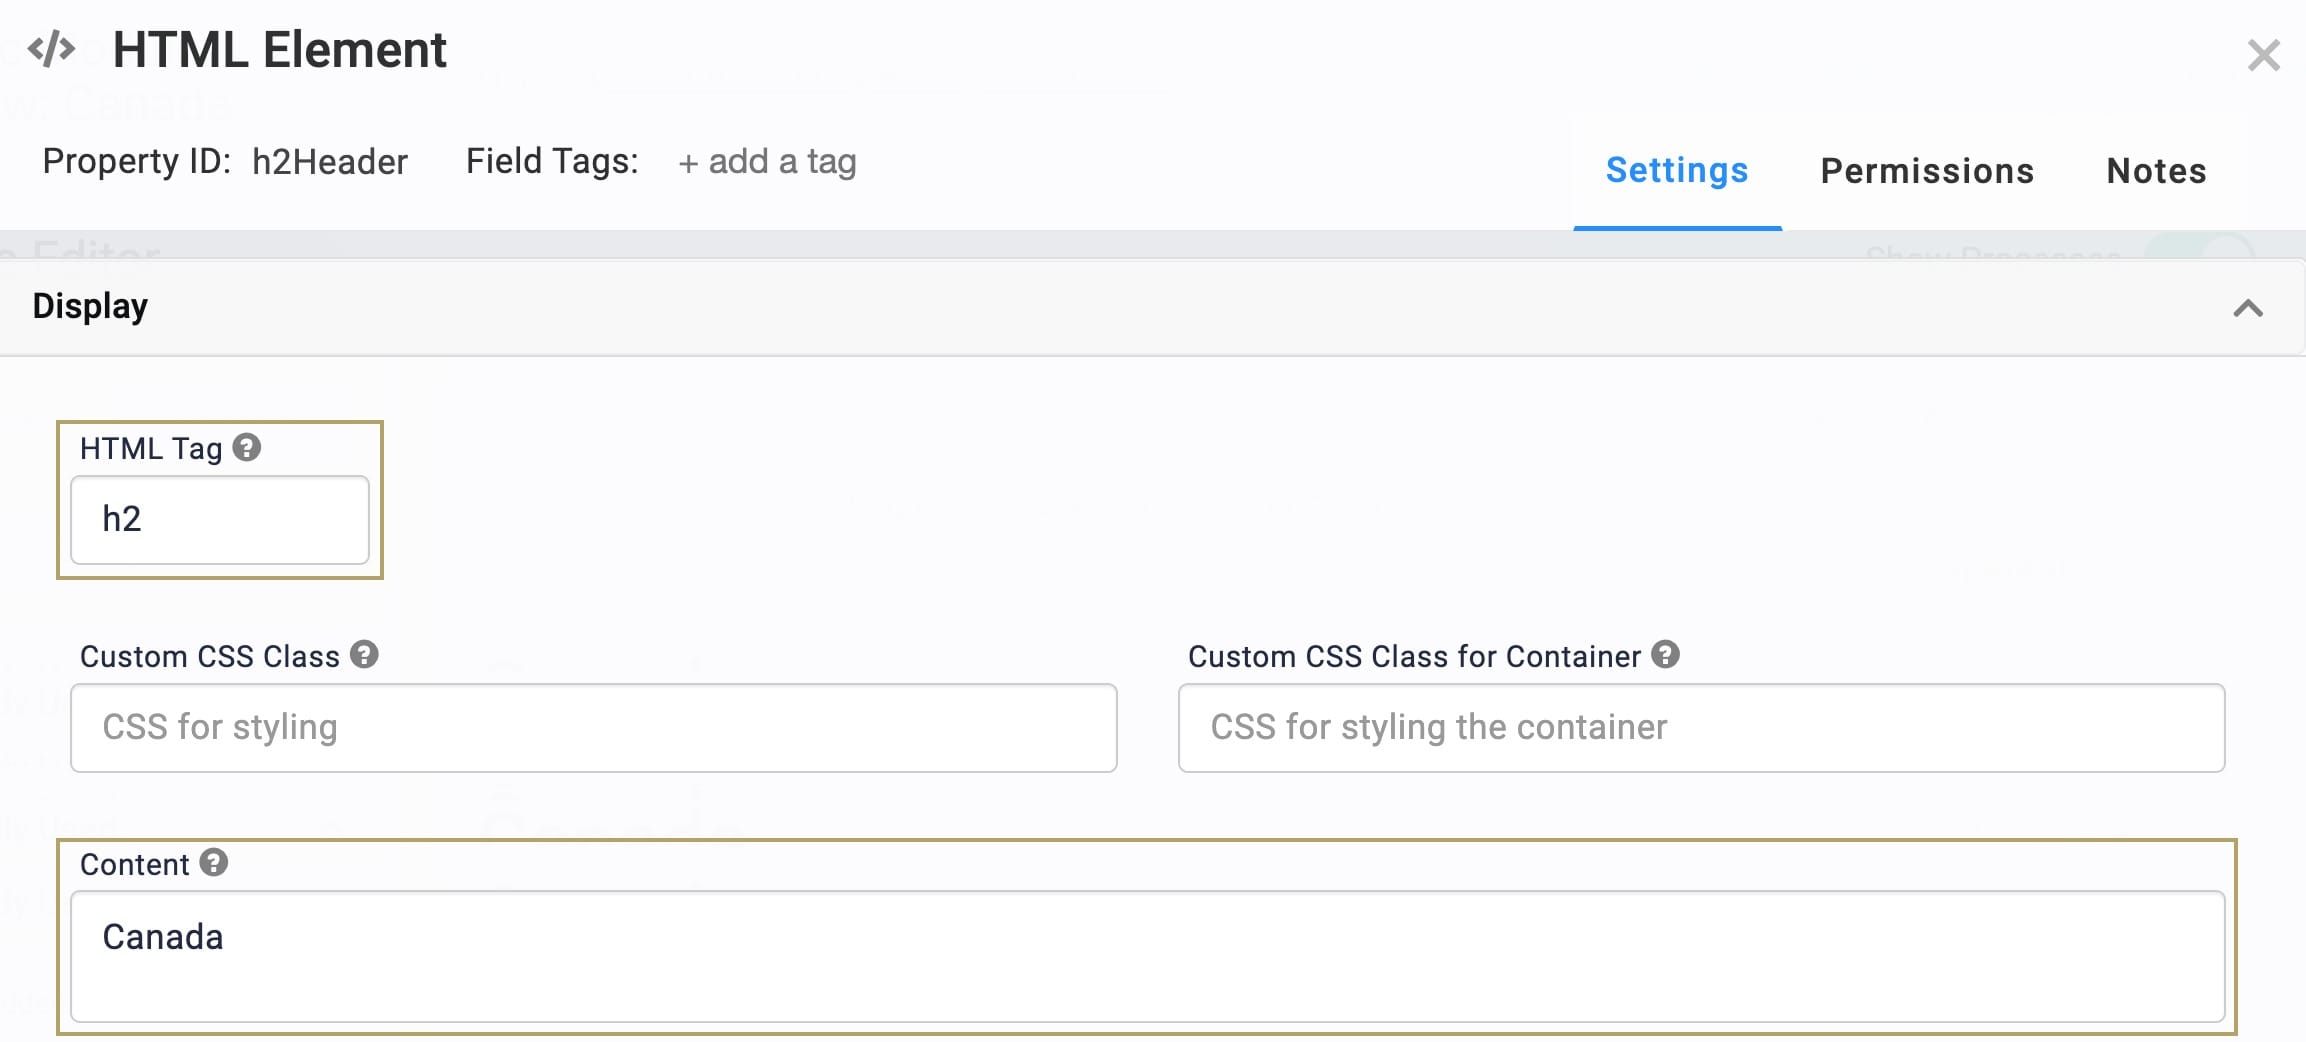
| 3. | In the Property ID field, enter h2Header. |
| 4. | In the HTML Tag field, enter h2. |
| 5. | In the Content field box, enter Canada. |
| 6. | Click Save. |
| 7. | Save the module. |
| 8. | Repeat this process for the United States and Mexico modules, entering their respective names in the HTML Element component Content field. |
Configure the Workflow
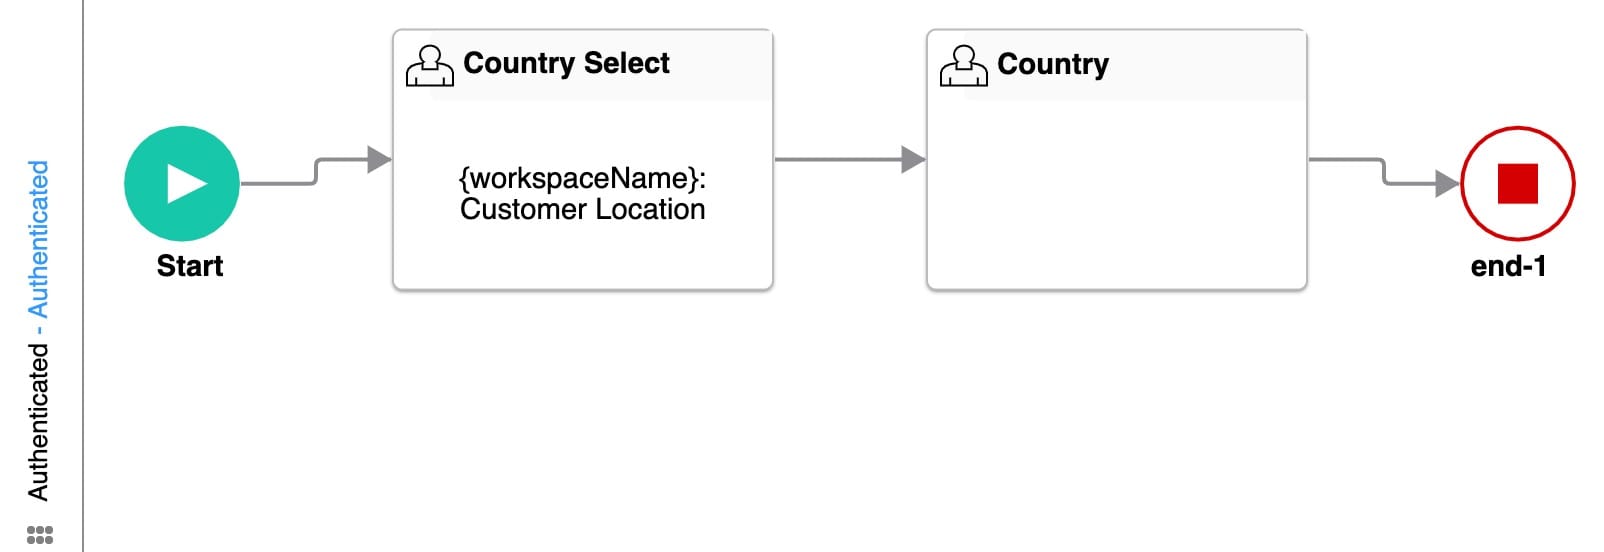
Configure the Workflow so the first Screen/Task node directs end-users to the Customer Location module where they select their location. Then, the second Screen/Task node directs end-users to the country module based on their chosen location from the first node.
Configure the 1st Screen/Task node:
The first step to configure the Workflow is to link to the Customer Location module end-users select their country of origin from.
| 1. | In the Workflow Builder, drag and drop a Screen/Task node in the pool, positioning it in the Authenticated swimlane. |
| 2. | Click Edit. |
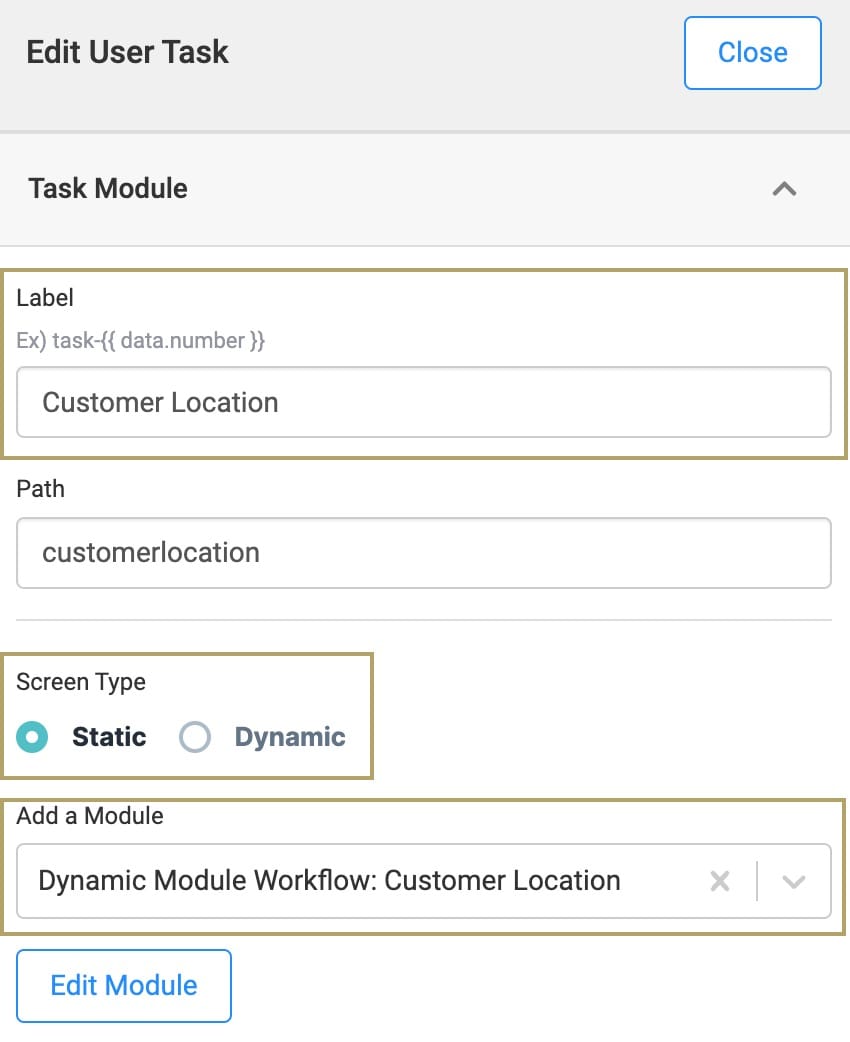
| 3. | In the Label field, enter Customer Location. |
| 4. | Under Screen Type, select Static. |
| 5. | Under Add a Module, click the drop-down, then type or find and select the Customer Location module name. |
| 6. | Click the Close button. |
| 7. | Connect the output port (right) of the Start node to the input port (left) of the Customer Location Screen/Task node. |
Configure the 2nd Screen/Task node:
The second step in Workflow sets up the Screen/Task node that directs end-users to the dynamic modules. Here is where the Property ID field references the Radio Buttons component set up in a previous step.
| 1. | Drag and drop a Screen/Task node in the pool, positioning it in the Authenticated swimlane. |
| 2. | Click Edit. |
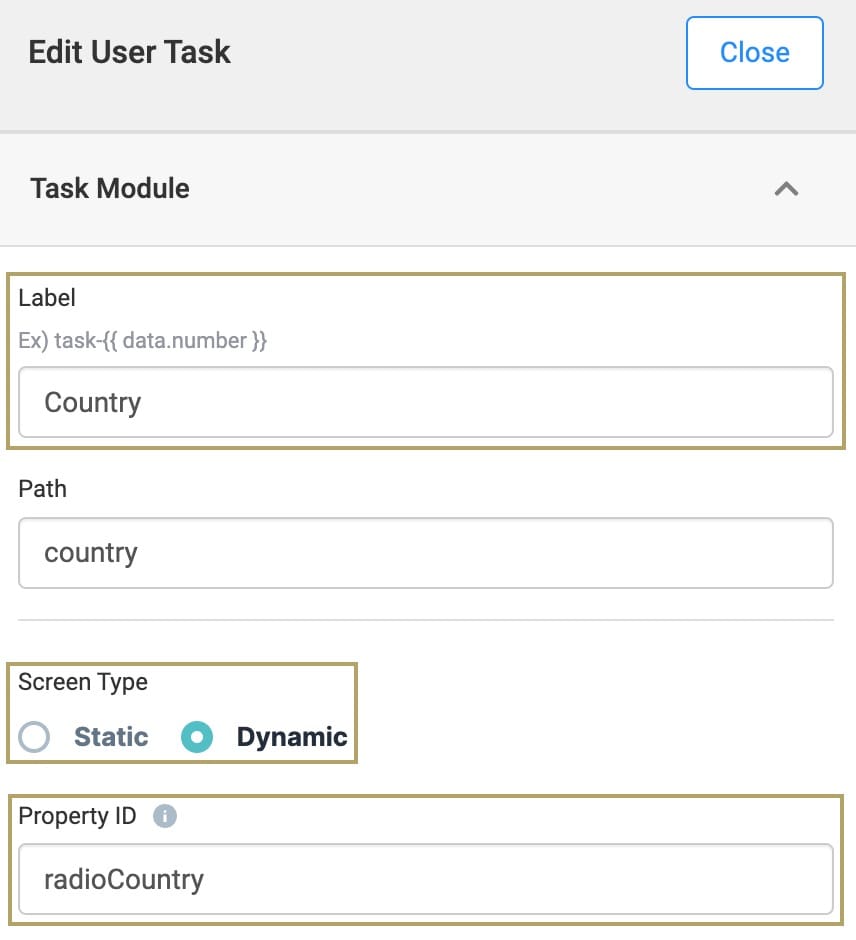
| 3. | In the Label field, enter Country. |
| 4. | Under Screen Type, select Dynamic. |
| 5. | In the Property ID field, enter radioCountry. |
This step refers to the Radio Buttons component set up in the Customer Location module.
| 6. | Click the Close button. |
| 7. | Connect the output port (right) of the Customer Location Screen/Task node to the input port (left) of the Country Screen/Task node. |
| 8. | Connect the output port (right) of the Country Screen/Task node to the input port (left) of the End node. |
| 9. | Save the Workflow. |
The configuration is now complete.
Test the Workflow
Now that configuration for dynamic modules in a Workflow is complete, test the workflow to verify the modules are dynamically chosen based on the end-user's selection.
| 1. | In the top-right corner of the Workflow Builder, click Preview Workflow. A new page populates with the first module in the Workflow. |
| 2. | Select Canada from the list of countries. |
| 3. | Click Next. The Workflow directs the end-user to the Canada module, verify the moduleId. |
| 4. | Repeat this process for the other countries. |
Your testing is complete. The Workflow directs end-users to three different modules based on their choice from the Radio Buttons component located in the Customer Location module.
Best Practices
Build automated lane tasks to complete operations in five minutes to prevent timeouts. User input modules can complete operations as long as needed. The five-minute limitation does not apply to QA or Staging environments. However, workflows promoted to the Production environment are affected by the five-minute operation limit.
-
Create modules in the Automated Workflow lane with the following settings:
-
Enable Server-side Execution Only in module settings for external API service endpoints that are configured in server administration. SSE prevents external services from seeing sensitive information such as financial data or PII (Personal Identifiable Information).
-
Enable Customize RBAC for this Module in the module permissions.
-
Resources
