The Console operator is a testing tool that logs data passed through the other Data Workflow operators in the DevTools Console. It lets you confirm that your Data Workflow is working correctly.
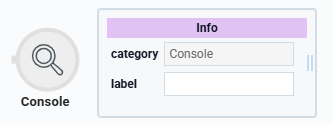
Without the Console operator, you can only view data at the beginning and end of your Data Workflow. Adding a Console operator after each step of the workflow lets you inspect the effects of the other operators. Watching your Data Workflow is helpful when you need to troubleshoot.
You'll find the Console operator under the I/O group to the left of the Data Workflow canvas.
About the Info Window
And here's a breakdown of each setting in the Info window:
Setting | Description |
|---|---|
Category | Grayed out and non-adjustable setting indicating the operation type. |
Label | Sets the label for your operator, displaying below the operator on your Data Workflow canvas. This field is optional, but set a label if you use more than one of the same operator type. A label helps you identify your operators without opening any Info windows. Labels are especially helpful with Console operators. This is because you'll see these labels logged in DevTools Console. |
Adding a Console Operator
Configure a simple Data Workflow that populates two fields with Not Applicable. Then, configure a Console operator to view the results in the DevTools Console.
Configure the Text Field Components
First, add two Text Field components to serve as the output components.
In the Module Builder, drag and drop two Text Field components onto your canvas.
Enter the following Property ID and Label Text fields for each Text Field component:
#
Property ID
Label Text
1
jobTitle
Job Title
2
salary
Salary
Click Save Component as you add them.
Configure the Data Workflow Component
Next, set up the Data Workflow to pass data to the output fields.
Drag and drop a Data Workflow component onto your canvas, placing it below the salary Text Field component.
In the Property ID and Canvas Label Text fields, enter
dwfValue.From the Trigger Type drop-down, select Manual.
Configure the Create Value Operator
Drag and drop a Create Value operator onto your Data Workflow canvas.
Configure the operator's Info window as follows:
Info
Category
Create Value
Label
Create GO Value
Preserve Argument Type
☐ (unchecked)
Expression/Value
"yes"
Configure the Set Outputs Operator
Drag and drop a Set Outputs operator onto your Data Workflow canvas.
Configure the operator's Info window as follows:
Info
Category
Set Outputs
Component
jobTitle
Component 1
salary
Action
value
Connect the output port (right) of the Create Value operator to the input port (left) of the Set Outputs operator.
Configure the Console Operator
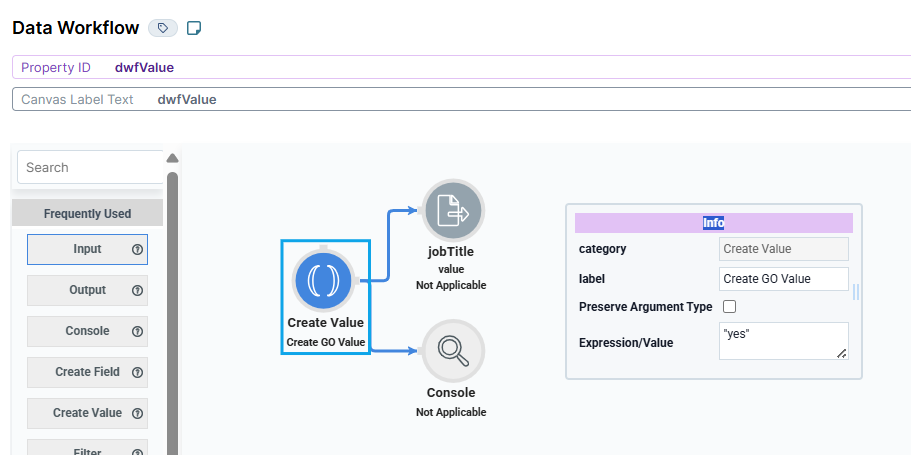
Drag and drop a Console operator onto the Data Workflow canvas.
Configure the operator's Info window as follows:
Info
Category
Console
Label
Not Applicable
Connect the output port (right) of the Create Value operator to the input port (left) of the Console operator.
Click Save Component.
Here's how the completed Data Workflow looks:
Configure the Button Component
Lastly, configure a Button component to trigger the Data Workflow.
Drag and drop a Button component onto your canvas, placing it above your dwfValue Data Workflow component.
In the Property ID field, enter
btnValue.In the Label Text field, enter
Not Applicable.From the Action Type drop-down, select Event.
In the On Click field, enter or select
dwfValue.Click Save Component.
Save your module.
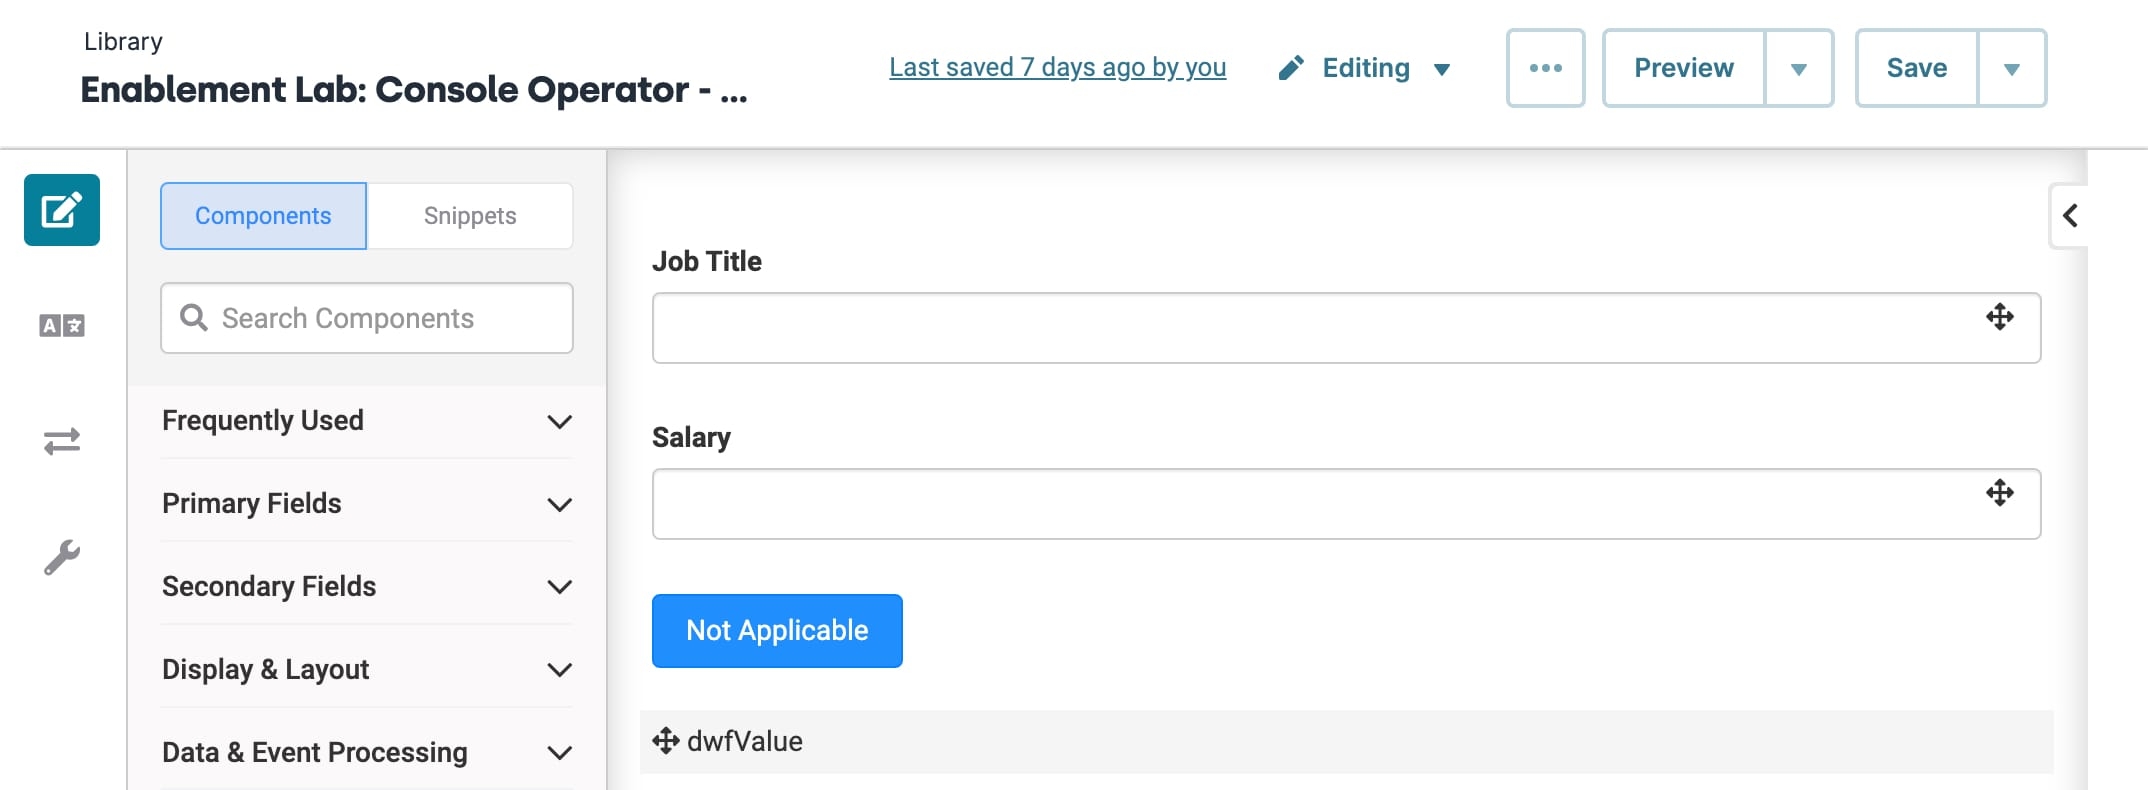
Here's how the completed example looks in the Module Builder:

Preview your module in Express View and open the DevTools Console. Click Not Applicable to view the logged operator data.
The Console operator is a testing tool that logs data passed through the other Data Workflow operators in the DevTools Console. It lets you confirm that your Data Workflow is working correctly.
Without the Console operator, you can only view data at the beginning and end of your Data Workflow. Adding a Console operator after each step of the workflow lets you inspect the effects of the other operators. Watching your Data Workflow is helpful when you need to troubleshoot.
You'll find the Console operator under the I/O group to the left of the Data Workflow canvas.
About the Info Window
And here's a breakdown of each setting in the Info window:
Setting | Description |
|---|---|
Category | Grayed out and non-adjustable setting indicating the operation type. |
Label | Sets the label for your operator, displaying below the operator on your Data Workflow canvas. This field is optional, but set a label if you use more than one of the same operator type. A label helps you identify your operators without opening any Info windows. Labels are especially helpful with Console operators. This is because you'll see these labels logged in DevTools Console. |
Adding a Console Operator
Configure a simple Data Workflow that populates two fields with Not Applicable. Then, configure a Console operator to view the results in the DevTools Console.
Configure the Text Field Components
First, add two Text Field components to serve as the output components.
Drag and drop two Text Field components onto your canvas.
Enter the following Property ID and Label Text fields:
Property ID
Label Text
jobTitle
Job Title
salary
Salary
Click Save & Close as you add them.
Configure the Data Workflow Component
Next, set up the Data Workflow to pass data to the output fields.
Drag and drop a Data Workflow component onto your canvas, placing it below the salary Text Field component.
In the Canvas Label Text and Property Name fields, enter
dwfValue.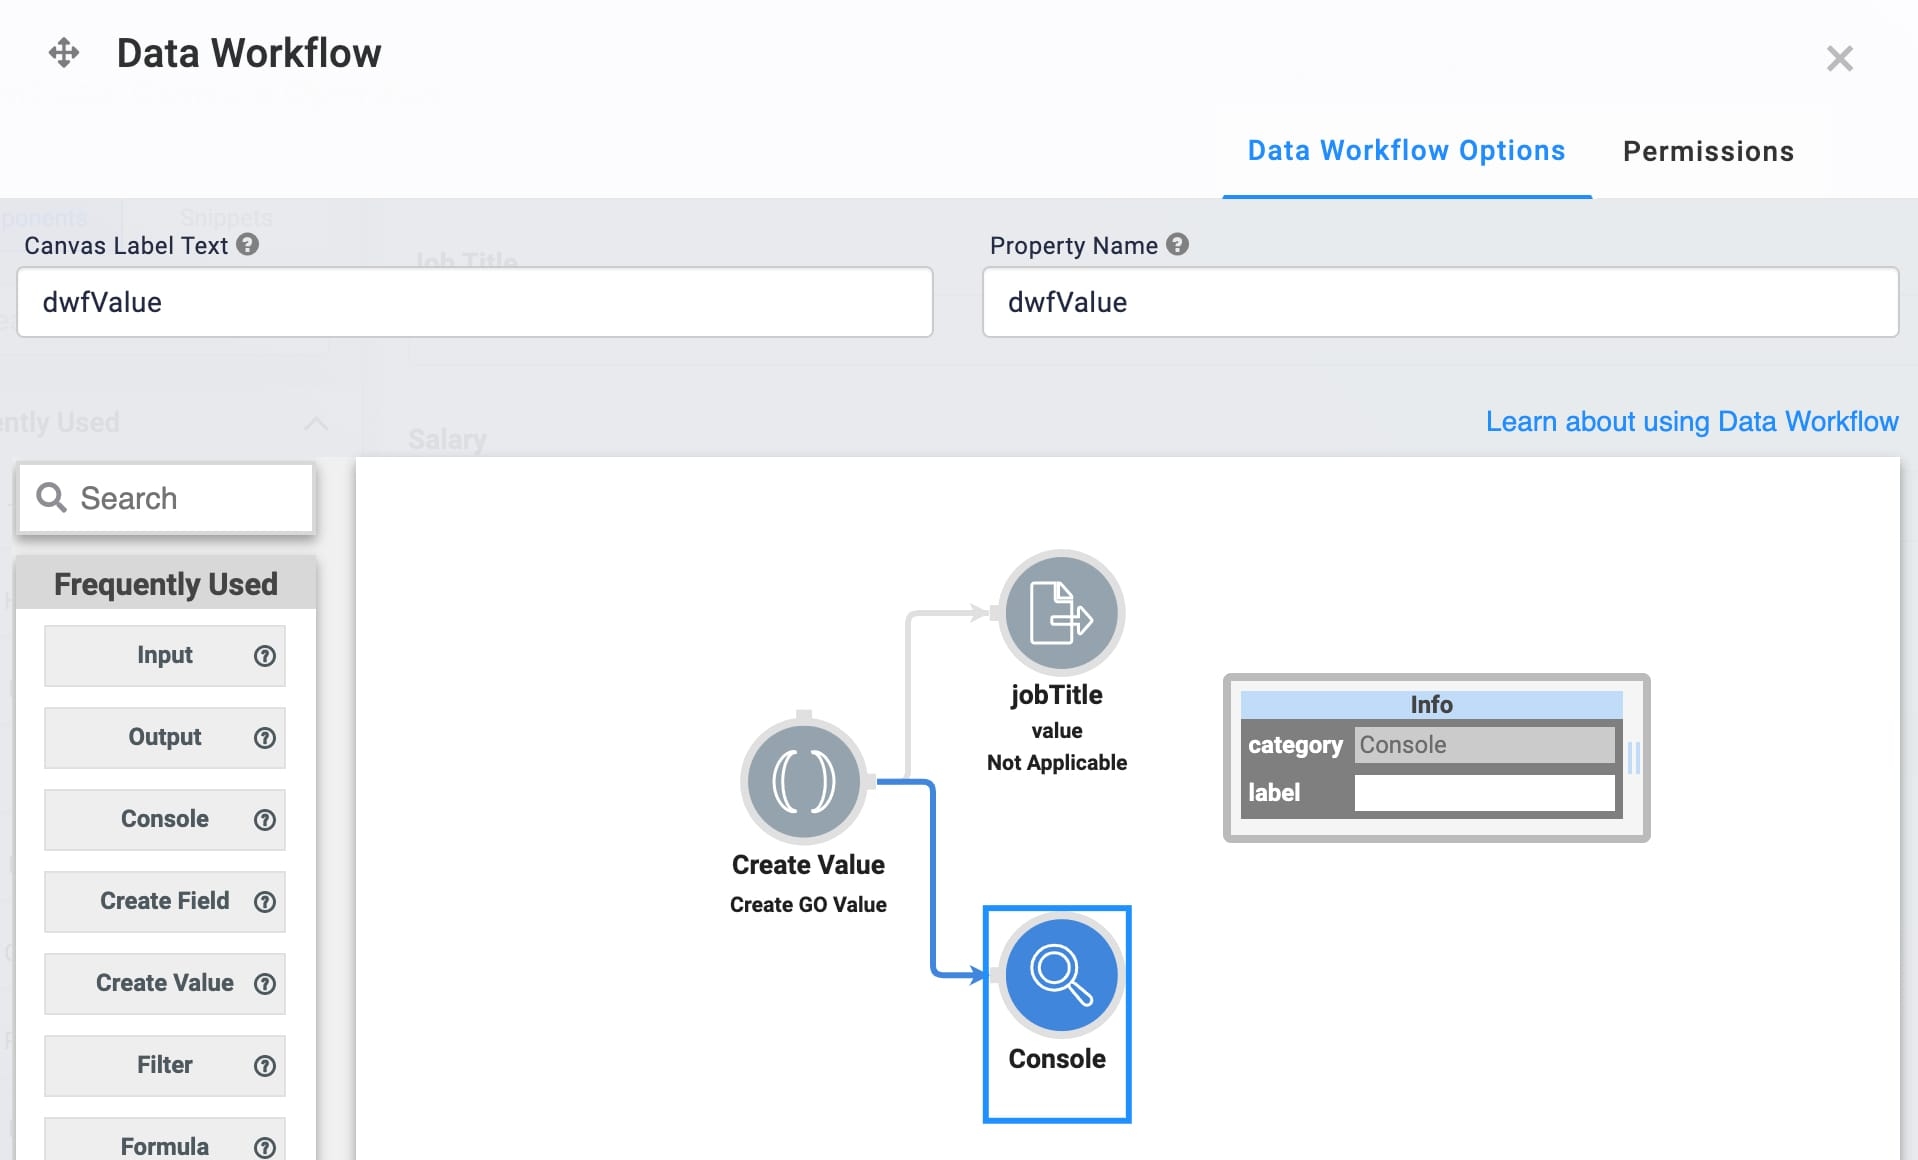
Configure the Create Value Operator
Drag and drop a Create Value operator onto your Data Workflow canvas.
Configure the operator's Info window as follows:
Setting
Value
Category
Create Value
Label
Create GO Value
Expression/Value
"yes"
Configure the Set Outputs Operator
Drag and drop a Set Outputs operator onto your Data Workflow canvas.
Configure the operator's Info window as follows:
Setting
Value
Category
Set Outputs
Component
jobTitle
Component 1
salary
Action
Value
setValue
Not Applicable
Connect the output port (right) of the Create Value operator to the input port (left) of the Set Outputs operator.
Configure the Console Operator
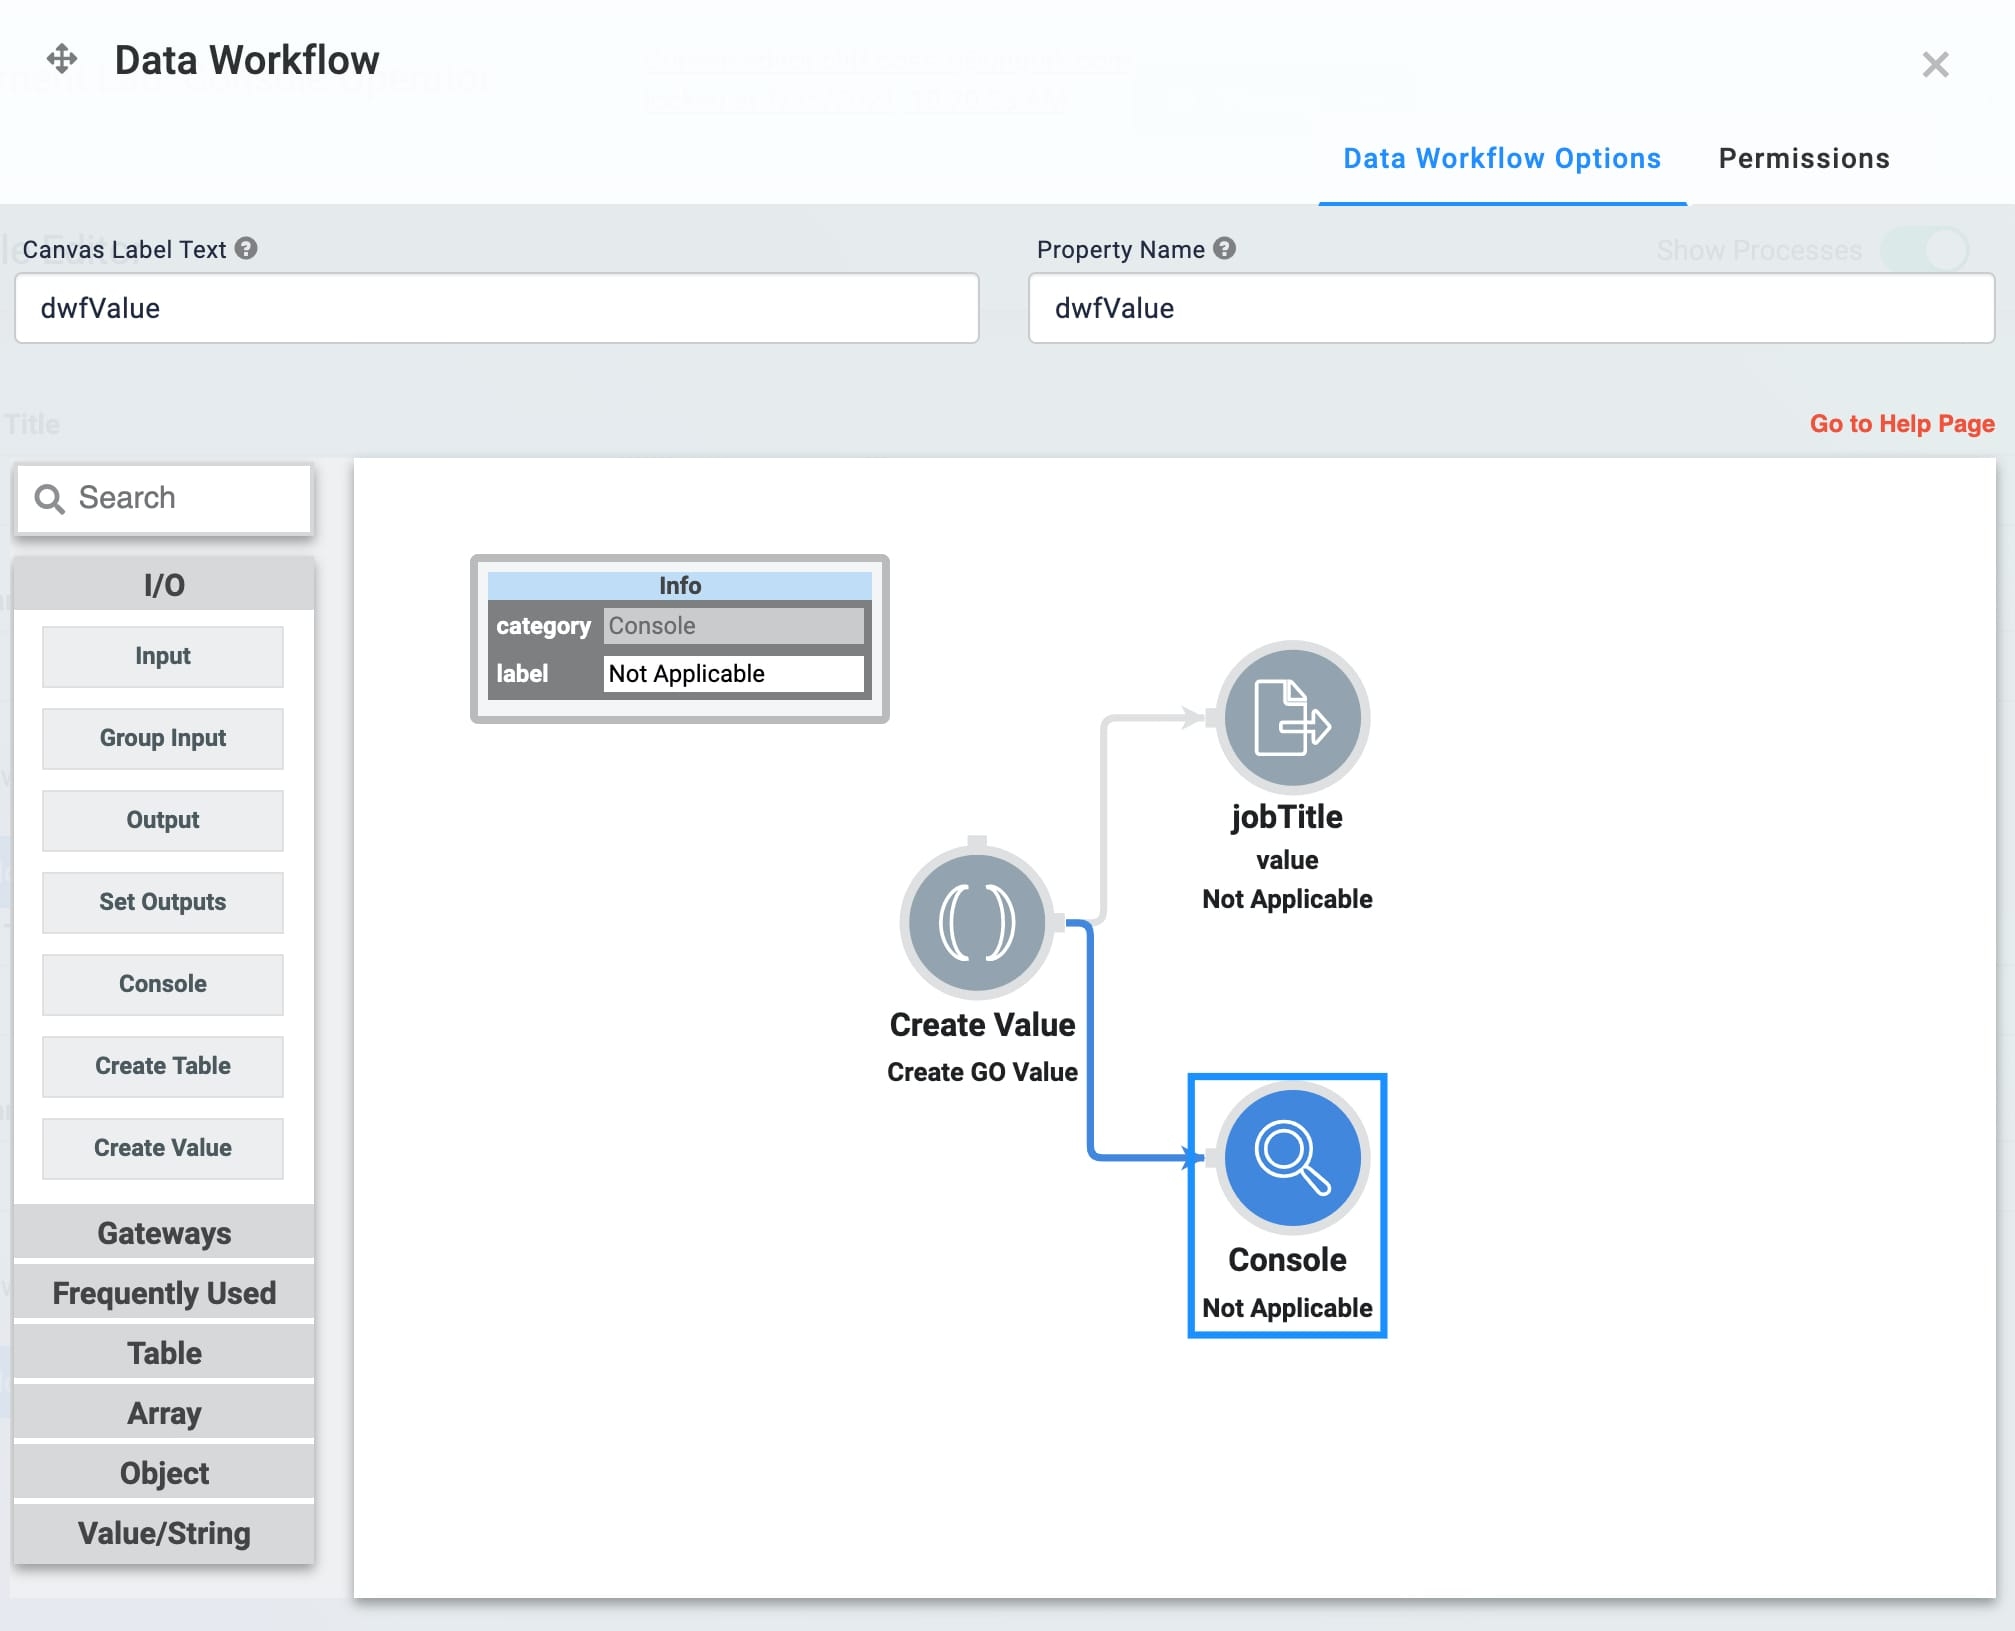
Drag and drop a Console operator onto the Data Workflow canvas.
Configure the operator's Info window as follows:
Setting
Value
Category
Console
Label
Not Applicable
Connect the output port (right) of the Create Value operator to the input port (left) of the Console operator.
Click Save.
Here's how the completed Data Workflow looks:
Configure the Button Component
Lastly, configure a Button component to trigger the Data Workflow.
Drag and drop a Button component onto your canvas, placing it above your dwfValue Data Workflow component.
In the Property ID field, enter
btnValue.In the Label Text field, enter
Not Applicable.Set the Action Type to Event.
In the On Click field, enter
dwfValue.Click Save & Close.
Save your module.
Here's how the completed example looks in the Module Builder:
Preview your module in Express View and open the DevTools Console. Click Not Applicable to view the logged operator data.