Overview
In this how-to guide, you'll learn how to bind a set of Data Models with schemas, provided by the ACME company, to a module. Once bound, Creators can configure components defined by the schemas in the Module Builder.
To learn more about creating Data Models, view our How to: Create Data Models for a Case Management Application article.
What You'll Learn
In this article, you’ll learn how to bind Data Models to a module. You'll also learn to add and configure predefined schema field components in the Module Builder.
What You Need
In this how-to guide, you need the following:
Associate the Data Models to a Module
To use a Data Model, you must assign it to a module in the Module Settings. This creates a new tab in the Module Builder called Data.
To assign a Data Model to a module:
In Workspaces view, navigate to and select the Workspace that contains the Data Model you want to apply.
From the Applications tab of your workspace, select or create the module-type application where you want to apply your Data Model.
From the Modules tab of your application, click the ··· (ellipsis) button.
Select (Settings). The Settings modal displays.
From the Data Models drop-down, select application-model and product-model.
Click Save. The module refreshes and the Data tab displays above the component tray.
Adding Data Model Elements to a Module
Once a module has a Data Model, Creators can use the Data tab to drag and drop schema field components predefined by the Data Model’s schema. The schema’s predefined values ensure the data fields collect data the same way every time.
What You Need
5 application-model schema field components
3 product-model schema field components
1 Button component
Add the Schema Field Components
Unlike regular components, schema field components are predefined by each Data Model's schema. You can customize how these fields are displayed on the canvas, but the Data and Validation settings are locked in each components' configuration window.
To add schema field components to a module:
From the Module Builder, click the Data tab.
From the application-model panel, drag and drop the Application Id schema field component onto the canvas.
Repeat this process with the following schema field components: Application Name, Investor Type, Account Type, and Cases.
Expand the product-model panel.
Drag and drop the following schema field components onto the canvas: Product Id, Product Name, and Product Type.
Save your module.
Configure the Button Component
Now that the module has all the data fields our fictional ACME company needs to collect, you'll configure a Button component. In Express View, end-users use the button to save their applications.
To add a Button component to a module:
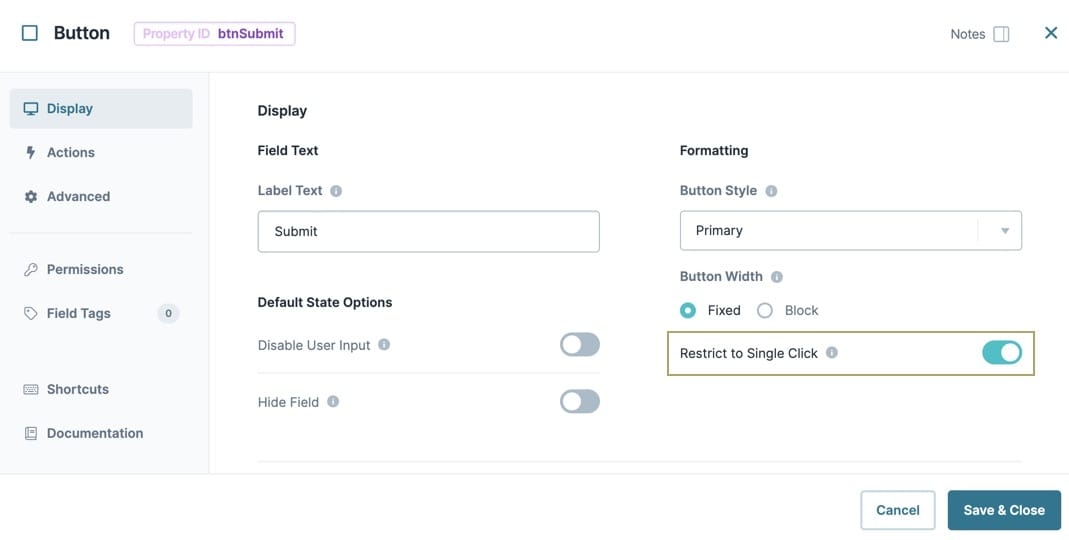
Drag and drop a Button component onto the canvas, placing it below the product-model schema field components.
In the Property ID field, enter btnSubmit.
Set Restrict Single Click to (ON).

To the left of the component's configuration window, click Actions.
In the Success Message field, enter
Your Application Has Been Submitted.Click Save & Close.
Save your module.
You now have a module containing schema fields from Data Models. When this module captures data, individual records save against the Data Model. You can find these records in the Record Collections Viewer.