VCS: Branch Comments Panel
Early Access VCS Articles
|
Overview
In Unqork's Version Control System, Users assigned to an application branch can create comments
To learn how to create a Pull Request, view our VCS How to: Create a Pull Request article.
What You'll Learn
In this article, you’ll learn how to submit a Pull Request for an application branch.
In this unit, you’ll learn about the Version Control System's Pull Request page.
Benefits of Pull Requests
A Pull Request formalizes the review process for a VCS Application. Pull Requests use the Approver role in a VCS Branch to review and approve of module modifications before they merge into the main branch. This "second pair of eyes" helps verify changes to the module are accurate and ready for promotion.
What You Need
To submit a Pull Request, you need a VCS-enabled application and a branch that has been modified.
Accessing the Comments Panel
There are several ways to access the comments panel for a branch.
Branch Details Header
In an active branch, the Branch Details view header displays the ![]() (comments) button in the header. The header comments button is available on all Branch pages. Clicking on the comments button opens the comments panel at the Branch level.
(comments) button in the header. The header comments button is available on all Branch pages. Clicking on the comments button opens the comments panel at the Branch level.
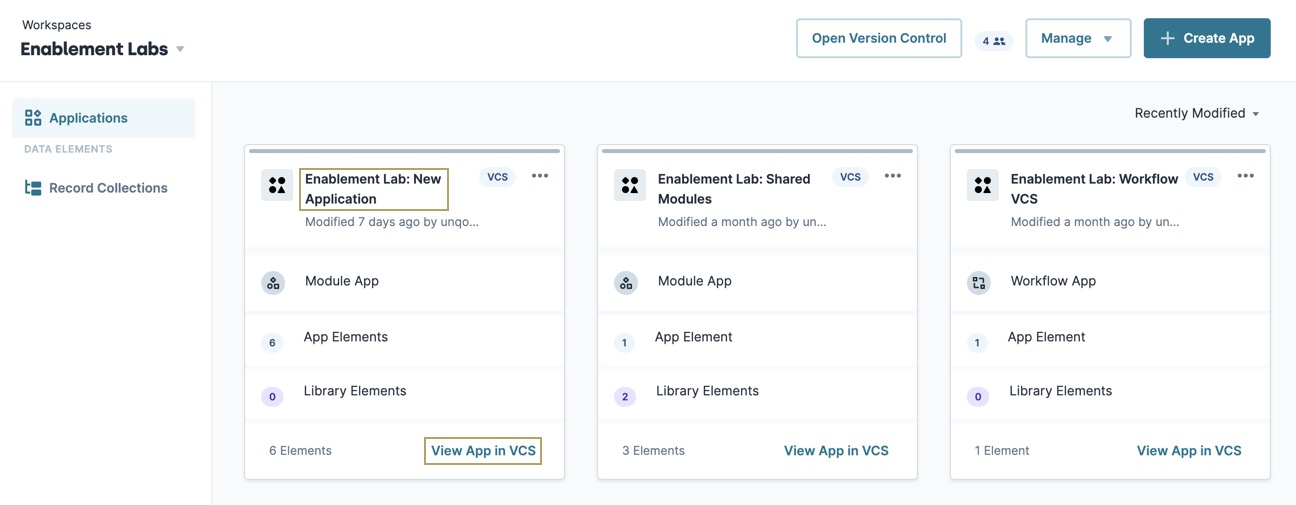
To access the Branch Details view Comments panel from the Workspaces view:
| 1. | From the Workspaces view, select a workspace tile. |
| 2. | Locate a VCS-enabled application. The VCS icon displays in the tile's header. |
| 3. | Click the application tile's name, or click View App in VCS. |
(click image to enlarge)
| 4. | If required, enter your UDLC credentials to log into the VCS tool. The App Details' Branches page displays. |
| 5. | From the Branches list, click the name of a Branch. The Branch Details's Modules page displays. |
| 6. | Click |

(click image to expand)
Modules Page
The Branch Details view Modules page provides access to comment on individual modules.
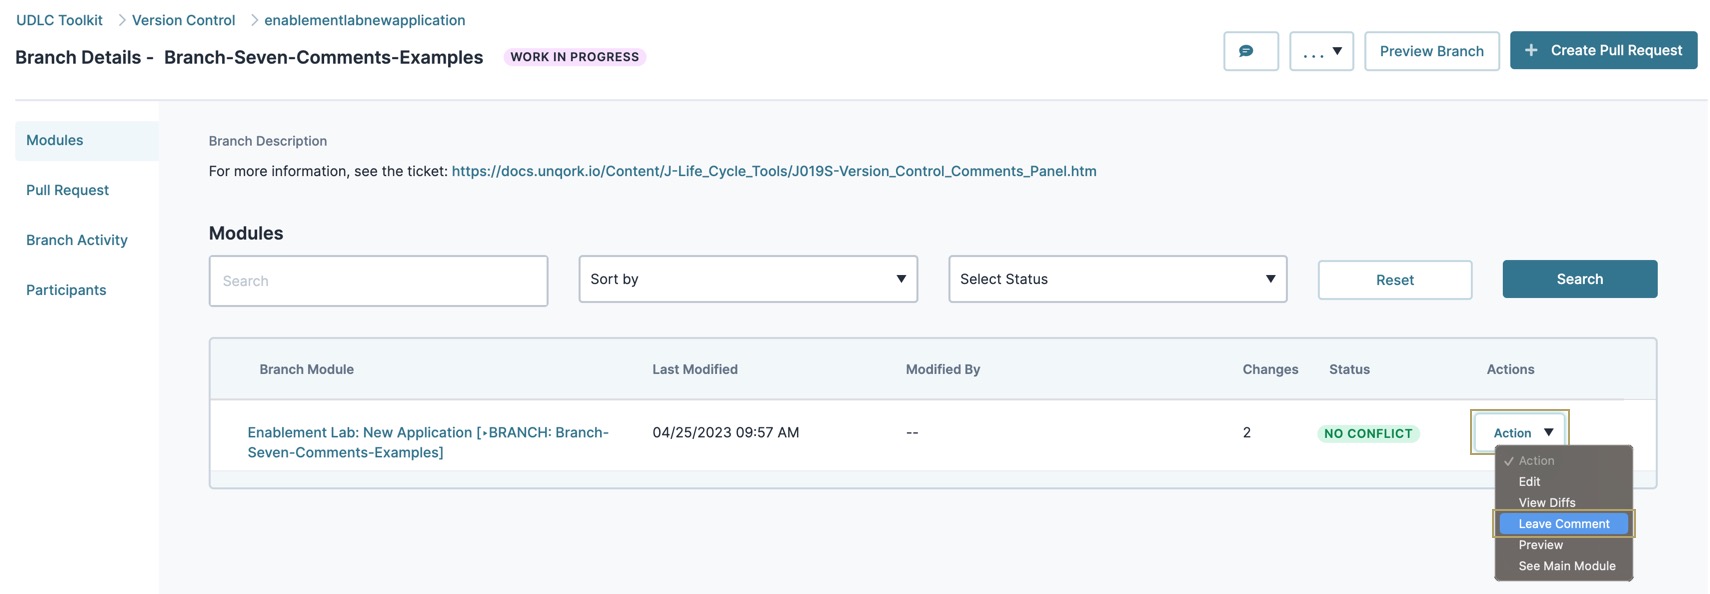
To access module-specific comments from the Branch Details Modules page:
| 1. | From the Modules list, find the branch module you want to view or comment on. |
| 2. | Click Action |
| 3. | Click Leave Comment. The Comments panel displays, the Scope is set to Module Comments Only, and the Module filter is set to the branch module. |
(click image to expand)
Pull Request Page
Creators can access the Pull Request page when the branch has an active or previously active Pull Request.
To access Pull Request-specific comments from the Branch Details Pull Request page:
| 1. | From the Pull Request Activity list, find an event you wish to view or comment on. |
| 2. | Click |

(click image to expand)
View Diffs Page
Similar to the Branch Details header, Creators access the Comments panel from the View Diffs header. Click the ![]() (comments) button to display the Comments panel. The Scope is set to Module Comments Only, and the Module filter is set to the branch module displaying in View Diffs.
(comments) button to display the Comments panel. The Scope is set to Module Comments Only, and the Module filter is set to the branch module displaying in View Diffs.

(click image to expand)
Resolve Conflicts Page
Like the Branch Details and View Diff pages, Creators access the Comments panel from Resolve Conflicts header. Click the ![]() (comments) button to display the Comments panel. The Scope is set to Module Comments Only, and the Module filter is set to the branch module displaying in Resolve Conflicts.
(comments) button to display the Comments panel. The Scope is set to Module Comments Only, and the Module filter is set to the branch module displaying in Resolve Conflicts.

(click image to expand)
Understanding Comment Scope
Branch Comment Scope acts as a filter for organizing branch comments based what is being commented upon. There are five different scopes Creators can use to filter comments by, and some scopes include additional fields to filter the comment results by.
-
All Comments: Displays all comments in the branch.
-
Branch Comments Only: Displays comments created at the branch level.
-
Pull Request Comments Only: Displays comments created from Pull Request.
-
Module Comments Only: Filters comments by individual modules.This filter level displays the Module filter to further refine the results.
-
Component Comments Only: Displays comments created for specific components. Use the Module and Component filters to further refine the results.
About the Comments Panel
The Comments panel allows Creators to communicate with each other while working on an application branch. Creators can leave comments
Best Practices
-
Only include modules with changes when submitting a Pull Request. Merging a branch module without changes creates a new version of the main module even though there are no changes.
-
Comment early and comment often while using the Unqork VCS tool. The Comments tool is ideal for Contributors and Owners to communicate with Reviewers and Approvers.
Resources
- Community Hub [Perform a search in Community Hub for any valuable content and insert a Hyperlink.]
-
Academy Learning Paths [Perform a search in Academy for any valuable content and insert a Hyperlink.]
-
In-Product Help [Perform a search in In-Product Help for any valuable content and insert a Hyperlink.]
-
Only include the most valuable resources; no more than 5 total.
-
To insert a hyperlink: Type the article title in the Resources bulleted list. Highlight the text > right-click > select Insert Hyperlink. Link to: Website. Enter the URL in the Website field. Set the Target Frame to New Window/Tab. Click Save.
