Navigating UDesigner
Overview
UDesigner promotes collaboration with your team members, adding greater personalization, announcements, and faster navigation. This article will guide you through the various features of UDesigner and how to use them.
What You'll Learn
In this
UDesigner Homepage
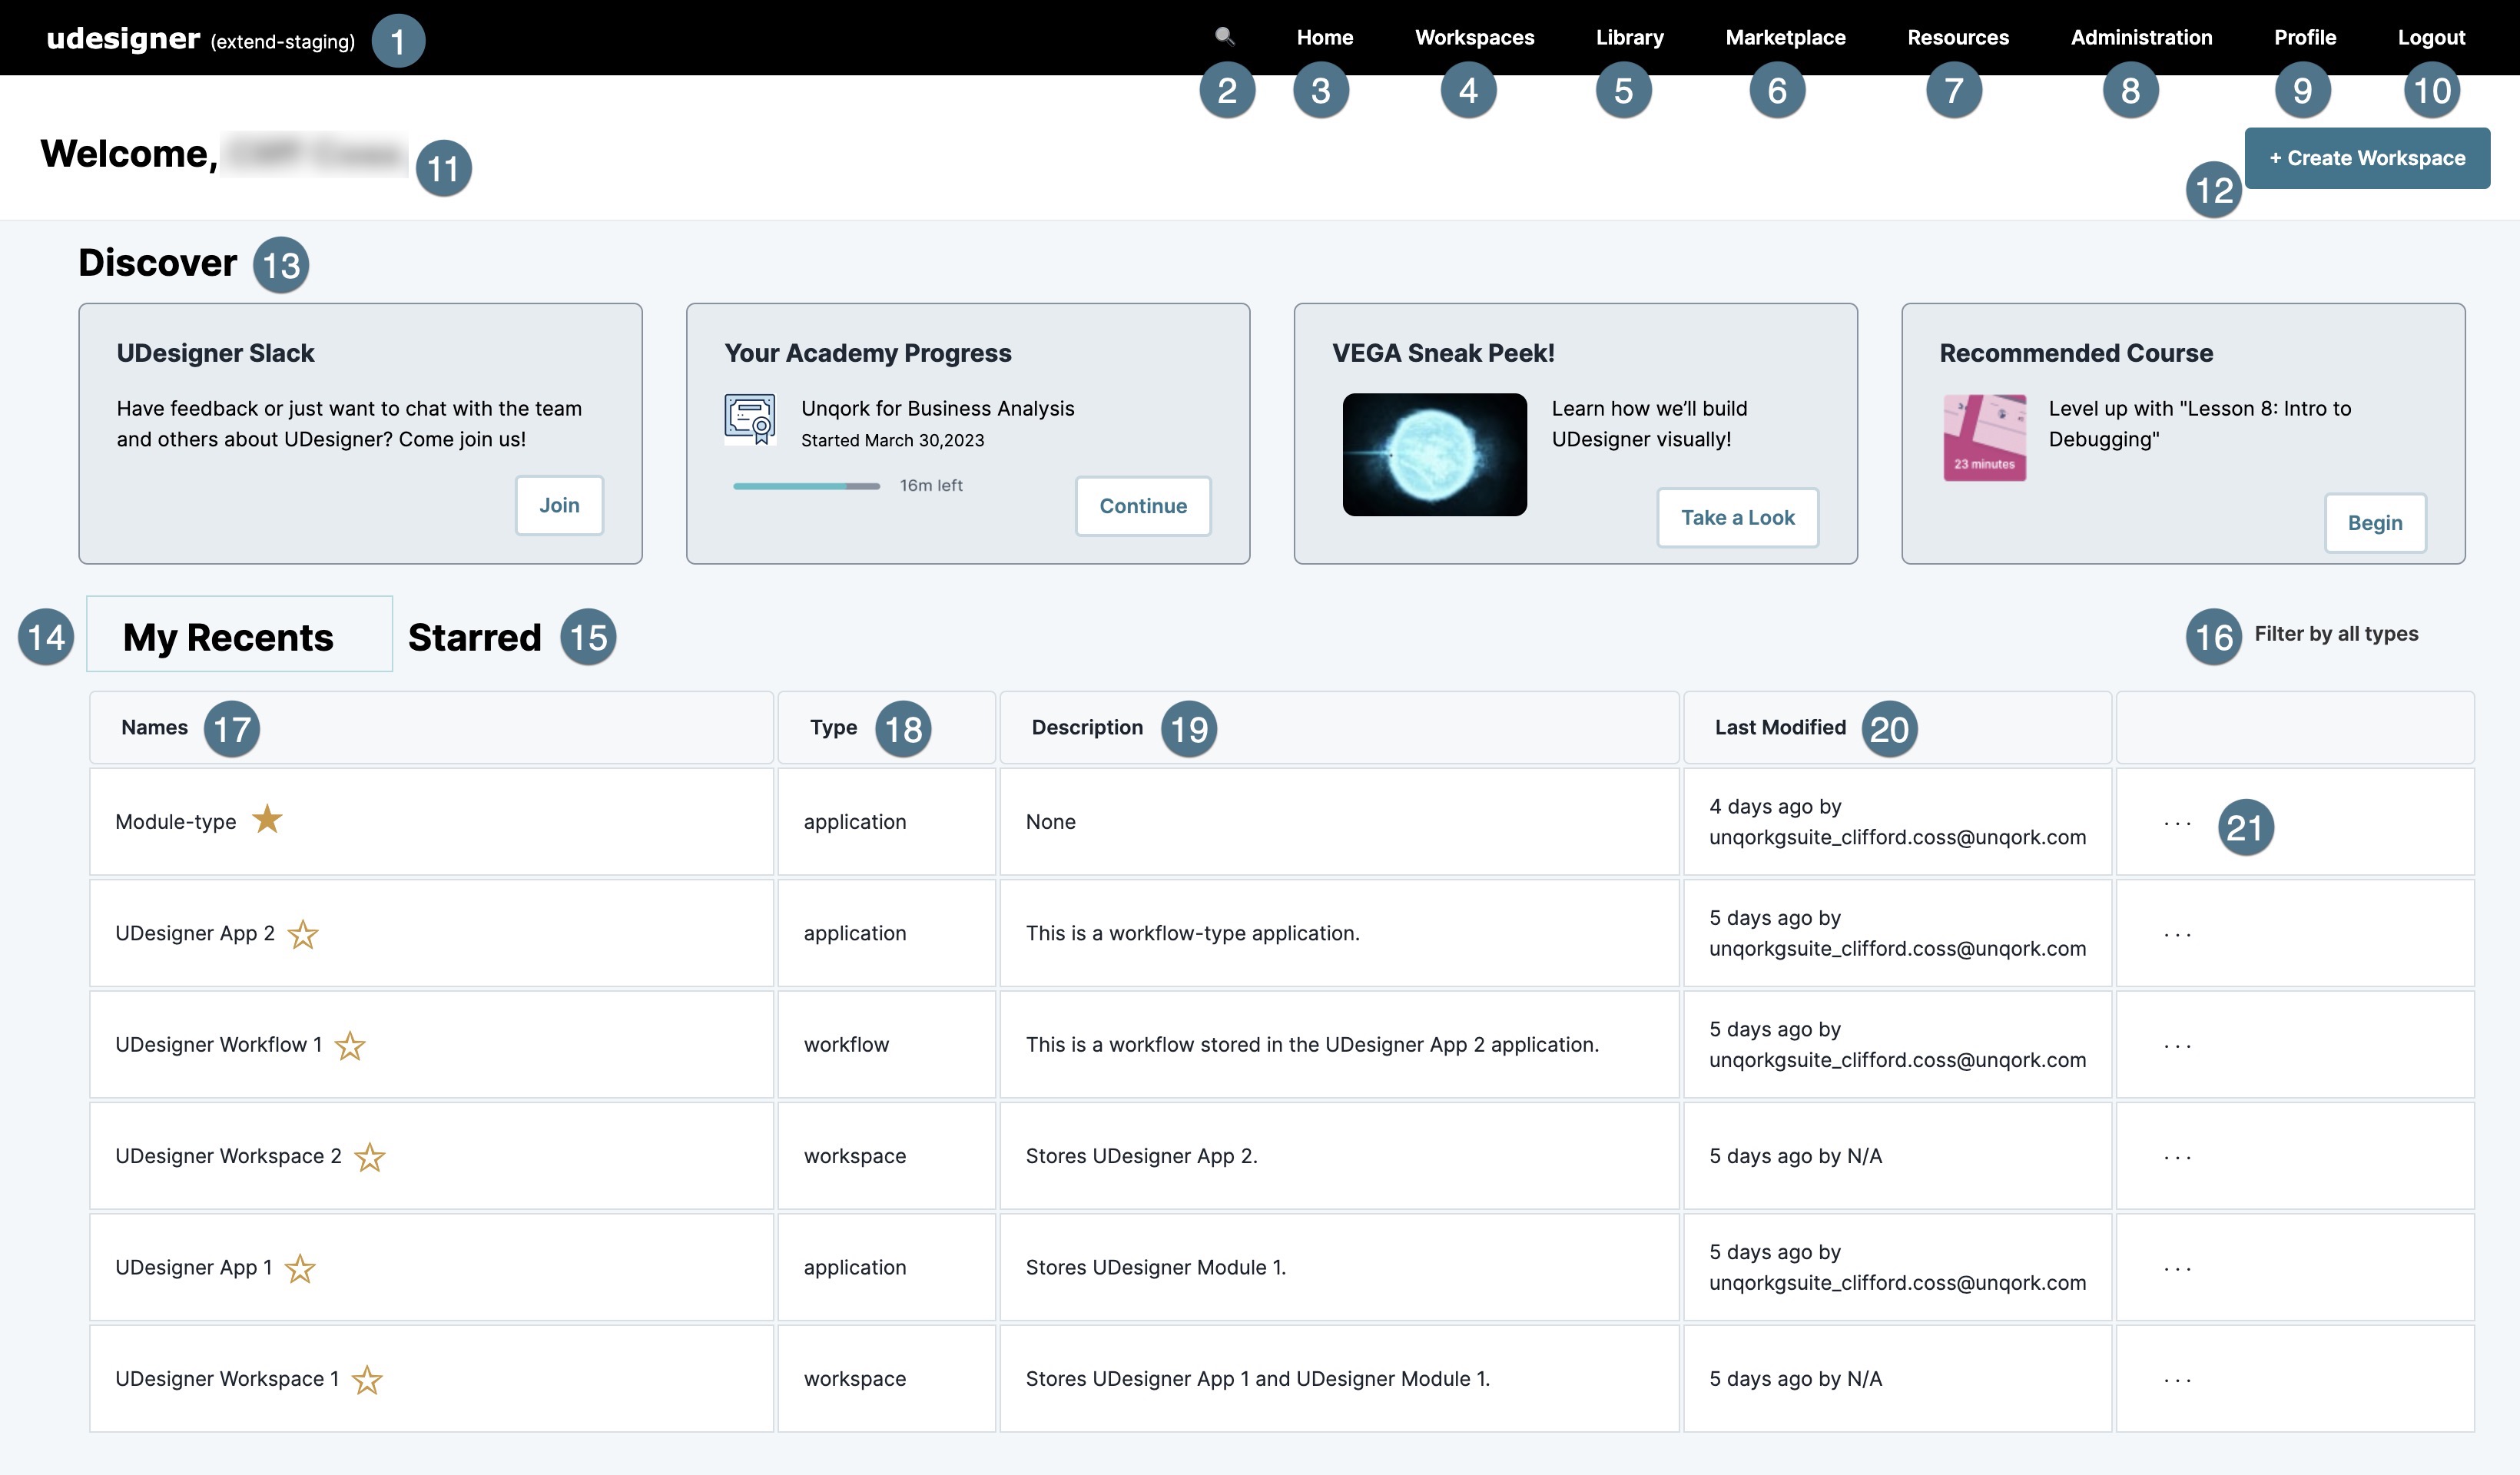
After logging into UDesigner, you'll navigate to your UDesigner homepage. Along with navigation options and announcements, you'll find a grid displaying all your elements Elements are are what you use to build Unqork applications. Elements include modules, workflows, Data Collections, Data Schema, and Record Collections.. On your homepage, you'll find the following actions and organization:
| Setting | Description | |
|---|---|---|
|
1 |
Environment Name |
The name of the current environment where you are logged in. |
|
2 |
|
Global Search lets you search your company environment from any navigation level. You can search for workspaces, apps, and app elements. |
|
3 |
Home |
Takes you to your UDesigner homepage. |
|
4 |
Workspaces |
Displays a grid of all workspaces in your environment. |
|
5 |
Library |
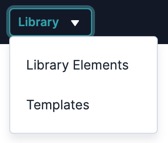
This drop-down lets you view shared Library Elements and Marketplacesnippets and templates.
|
|
6 |
Marketplace |
Takes you to the Unqork Marketplace. Unqork's Marketplace offers application blueprints in preconfigured packages, including assets and common configurations. |
|
7 |
Resources |
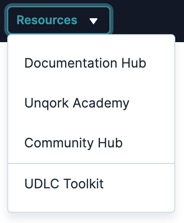
This drop-down lets you view all Unqork resources for guidance and help with your configurations.
|
|
8 |
Administration |
Takes you to our Administration page. This is where you can manage roles and permissions, Designer access, integrations, environment settings, and so on. To learn more about Unqork Administration, view our Administration articles. |
|
9 |
Profile |
Takes you to your Unqork user profile. Customize your profile by adding a business role, a profile image, and display all your Academy certifications and Community badges. To learn more about user profiles, view our User Profile article. |
|
10 |
Logout |
Logs you out of UDesigner. |
|
11 |
User Name |
Displays the name of the user logged into this environment. |
|
12 |
+ Create Workspace |
Click this button to create a new workspace. New workspaces display in the My Recents tab. To learn more about creating workspaces, view our Introduction to Workspaces article. |
|
13 |
Discover |
This is a dynamic section where you can explore Platform, Community, and Enablement announcements. Use this section to learn about upcoming changes, see your Academy course progress, and level up with other Academy courses. |
|
14 |
My Recents |
This tab displays a grid of all recently-accessed app elements. These include:
|
|
15 |
Starred |
This tab displays a grid of all your starred workspaces. Star Starring elements stores them in the Starred tab of your UDesigner homepage for quick access. You can star any element, regardless if it's yours or belongs to another team member. the most important workspaces so you can easily locate them using this tab. |
|
16 |
Filter by All Types |
Click this button to filter My Recents or Starred elements by type. Types include:
|
|
17 |
Name |
The name of the element you created. Click the |
|
18 |
Type |
The element type you created. Available types include:
|
|
19 |
Description |
The description of the element. |
|
20 |
Last Modified |
The last time the element was modified, and the user who made the change. The most recently modified elements display at the top of your My Recents or Starred grids. |
|
21 |
Actions |
The unique actions you can take on your elements. The next section explores these actions based on the element type. |
Actions
Depending on the element type, there are various actions you can take on it. The following are the available actions for each element type:
Application
|
Workflow
|
Workspace
|
Resources
