Overview
In this how-to guide, you'll learn how to Add an Express User using the Express User Administration page. Express Users are end-users that are granted a specific role(s) and group to access Unqork applications in Express View.
What You'll Learn
In this how-to guide, you'll learn about the Express User Administration's Add User page and how to add a new user.
Navigating the Add User Page
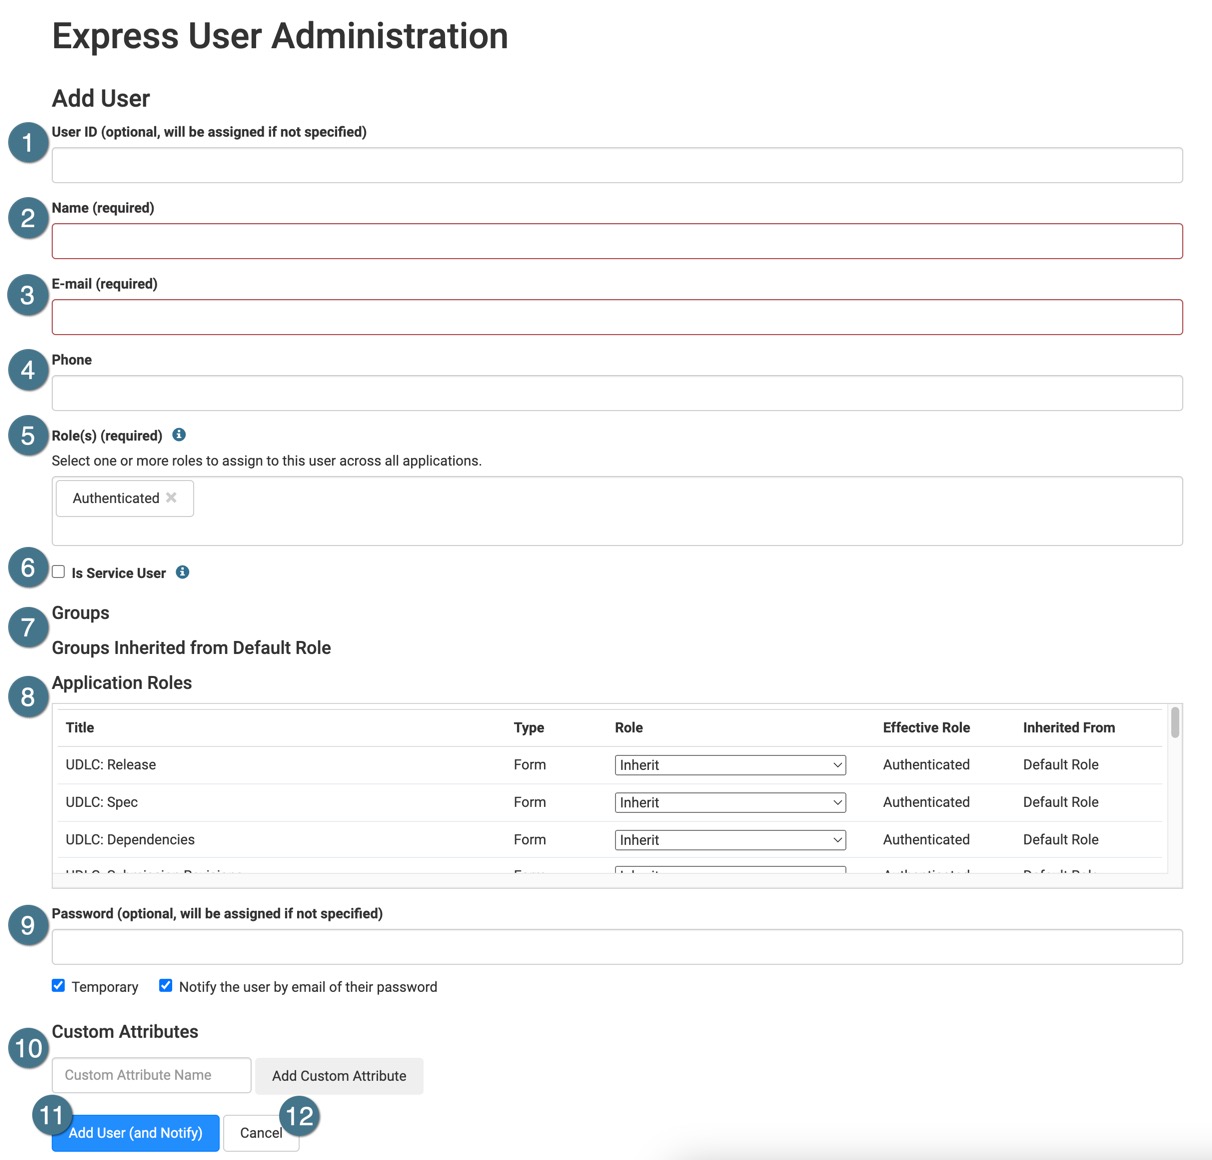
Located inside of the Express User Administration page, Administrators can use the Add User page to create individual Express Users for Express View.
To add multiple users simultaneously, see the Express User Administration - Adding Express Users in Bulk article.
| Setting | Description |
|---|---|---|
1 | User ID | Enter a custom value, or leave this field blank to let Unqork assign a random value. Random User IDs begin with the letters uq, followed by a randomized value. For example: uq5bf44ae98eab5e002ef8d484. User IDs are permanent and cannot be modified once the Express User account is created. |
2 | Name* | Enter a name for the Express User account. Names can be modified later using the Edit User page. *The name field is required to create an Express User. |
3 | E-Mail* | Enter a valid email address. The Express User's account password is sent to this address. Emails can be modified later using the Edit User page. *The E-Mail field is required to create an Express User. |
4 | Phone | Enter a phone number. The phone number can be modified later using the Edit User page. The Phone field is optional. |
5 | Role(s)* | Click on the Role(s) field to add one or more roles. Create and manage roles using the Express Role Administration page. *Assign at least one Role to create an Express User.
|
6 | Is Service User | Check this setting to make the account a Service User. Service Users acts as a placeholder for integrations with external API (application programming interface) services.
|
7 | Groups(Groups Inherted from Default Role) | Click the bottom half of the Groups field to display a drop-down of available groups. Selecting a group adds it to the user's account. Multiple groups can be added. Set up groups and Group Types in Express Group Administration. Groups control what data your Express User can see.
|
8 | Application Roles | By default, users inherit their application roles from the Default Role. Use the Application Roles list to assign new, application-specific roles. This sets an Express role's active role for a specific application. This active role replaces the default role when your Express User accesses that application. |
9 | Password | Enter a custom password for the end-user. If the Temporary and Notify the User by Email of their Password settings are not checked, the Administrator must notify the end-user of their custom password by other means. Custom passwords must be at least eight characters long.
|
Temporary | When this setting is By default, this setting is | |
Notify the User by Email of their Password | When this setting is By default, this setting is | |
10 | Custom Attributes | Adding Custom Attributes creates a new header in the Express Users List. A Custom Attribute refers to a data point specific to your user. For example, a data point could be a broker's commission rate, a user's office location, or an employee type. Custom Attributes do not display on the Express User Administration page but are visible when exporting the Express User List. |
11 | Add User (and Notify) | Click to create a new Express User using the values entered on the Add User page. After clicking the button, the Express User Administration page displays, and the new user is added to the Express User List. |
12 | Cancel | Cancels the creation of the user and returns the Administrator to the Express User Administration page. |
.png)
Adding an Express User
After receiving your login ID and password, you can add the rest of your team to your Unqork environment. There are two ways to add Express Users in Unqork. One way is to add each user individually. Or, you can add users in bulk.
To add an individual Express User:
At the top right of the Unqork Designer Platform, click the Settings ▾ drop-down.
Click Administration.
Under Express Permissions, select Express User Administration.
Click the Add User button.
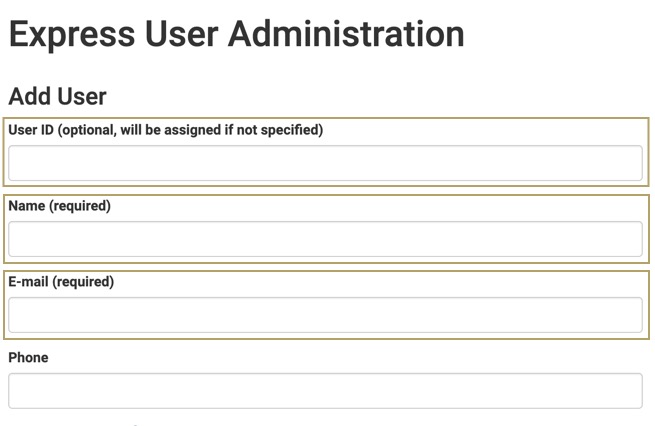
In the User ID field, enter a unique ID. Or, leave the field blank, and Unqork will assign one.
Once assigned, the User ID is permanent. This is important to remember if you want all User IDs to follow a specific format.
In the Name field, enter a name for the user.
In the E-mail field, enter a valid email address.
The email address cannot be more than 64 characters. Consecutive periods, quotes, and special characters, like
"(),:;<>@[]\, are not supported.You can only add an email address to the system once, tied to a single user.
From the Role(s) (required) field, select one or more roles for the Express User. Administrator is the best choice for Express Users who need full submission access.
If you've set up groups, assign the relevant role settings:
To learn more about Express Groups, view our Express Group Administration article.
Use the Temporary Password field to set a password. Or, leave the field blank, and Unqork will assign one.
The Temporary Password field is only available to older environments. All Express Users set their own passwords in newer environments.
To add a Custom Attribute to a user, enter it into the Custom Attributes field and click Add Custom Attribute. You can also leave the field blank and revisit it later.
A Custom Attribute refers to a data point specific to your user. A data point could be a broker's commission rate, a user's office location, an employee type, and so on.
Here's a tip if you want to store user information without adding multiple Custom Attributes. You can create a module in the Module Builder with the fields you want an Express User to answer. Then, you can create a Plug-In component that's triggered after the user submits their answers. You can set up the Plug-In to add the submissionId as a Custom Attribute.
Click Add User (and Notify).
By default, the new user gets a notification email with their login details from no-reply@unqork.com. You can deselect Notify the User by E-mail of Their Temporary Password to disable this action.
Resources
Navigate and understand the Express User Administration page.
Discover more about Express User administration in the Community Hub.