Overview
Your application design goes beyond pretty colors. The styles you choose are the key to a memorable, user-friendly journey. After creating your design in CSS, you'll upload the file using CSS Upload. CSS is a style sheet language used to customize the look and feel of a website. While HTML provides a website's structure, CSS applies all things style-related.
With CSS Upload, you have more control over your branding and custom designs. Here are a few reasons you might use CSS Upload:
Apply your design without boundaries: Your uploaded CSS is available to all the applications in your environment.
Control is in your hands: Does your brand’s primary color need to switch from blue to green? In a matter of minutes, you can change your CSS file and reupload it. Your changes automatically cascade throughout your application.

Adding a New Style
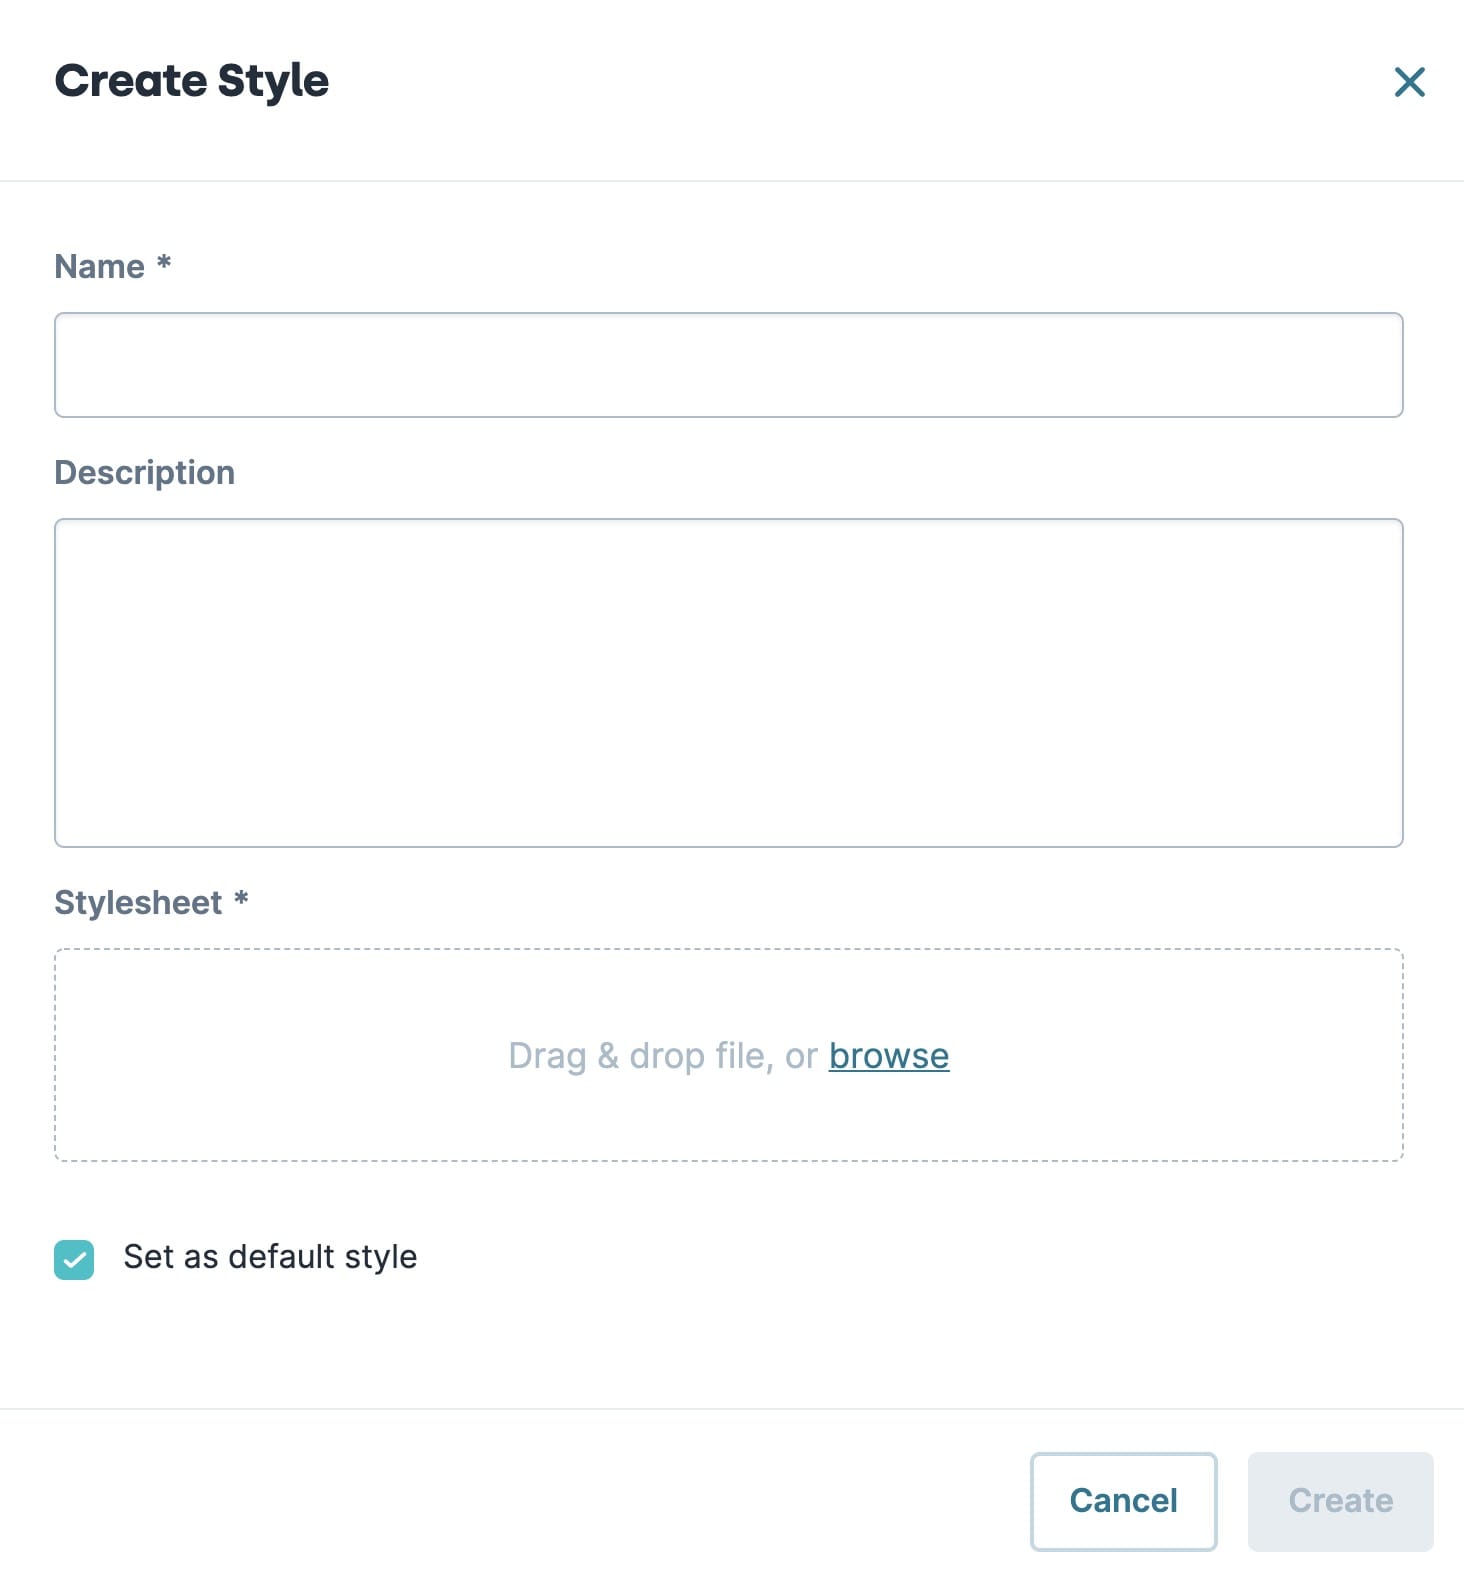
A valid .CSS file and its assets (which you'll learn about later) make up a style. To create a new style, you'll first upload your CSS in the Create Style pop-up modal. Then, you'll complete additional details.
Setting | Description |
|---|---|
Style Name | Enter a name for your new style. Choose something that helps you and your team quickly locate your style. It doesn't have to be the same name as your .CSS file. |
Description | Enter notes about your stylesheet. Everyone with access to your environment can see these notes. You can edit the description in the future to add change notes or link to other documents. This field is optional. |
Stylesheet | This is where you upload your stylesheet. The uploader only accepts files with the .CSS extension. |
Set As Default style | Select this checkbox to make this your default style. The default style displays when you preview your application. By selecting this box, your new style is active throughout your environment. It overrides the current default if there is one. By default, this checkbox is clear. |
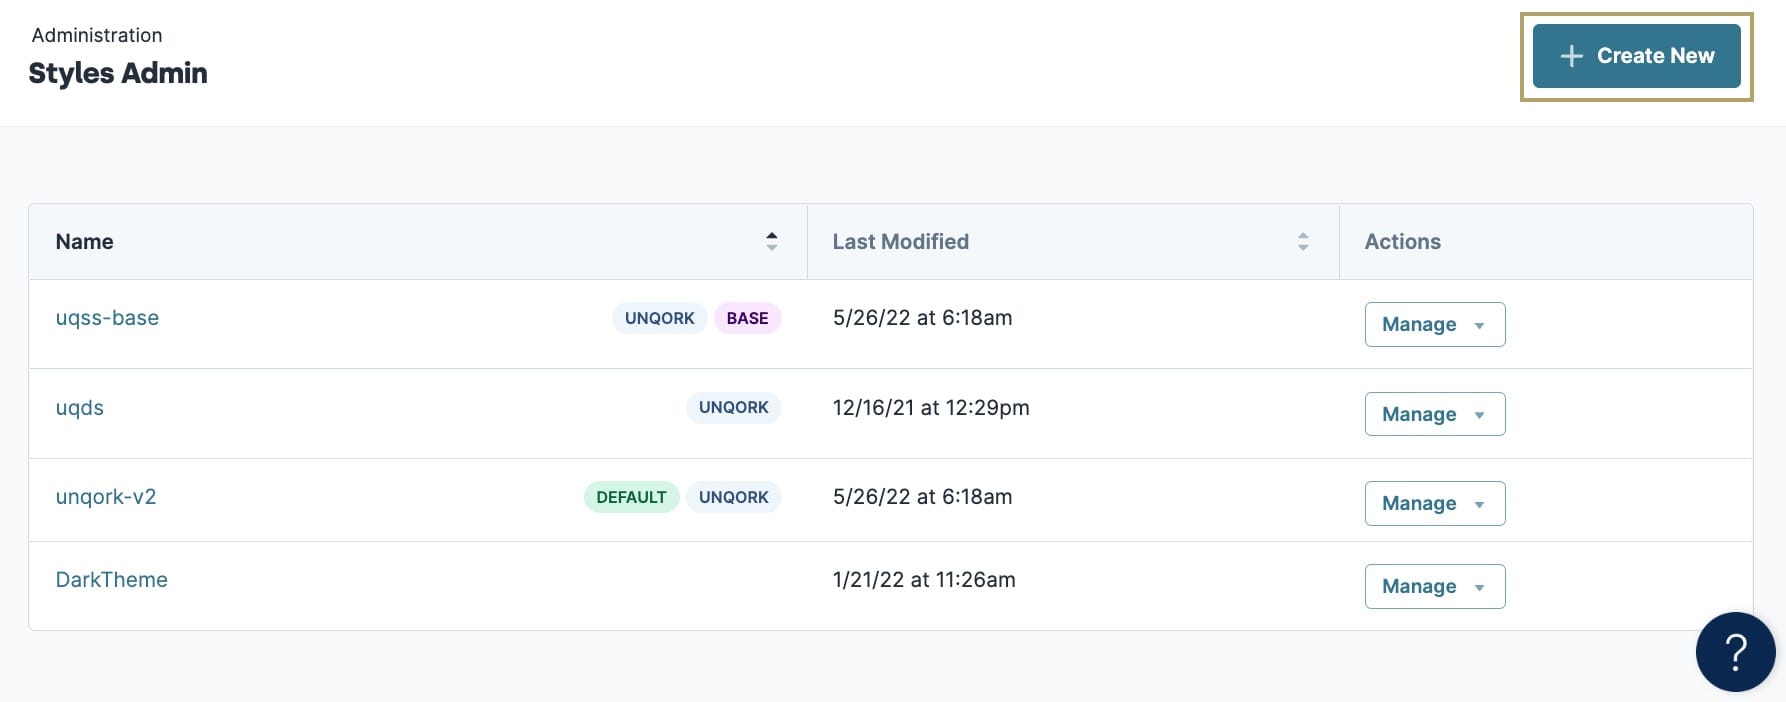
To add a new style to your environment:
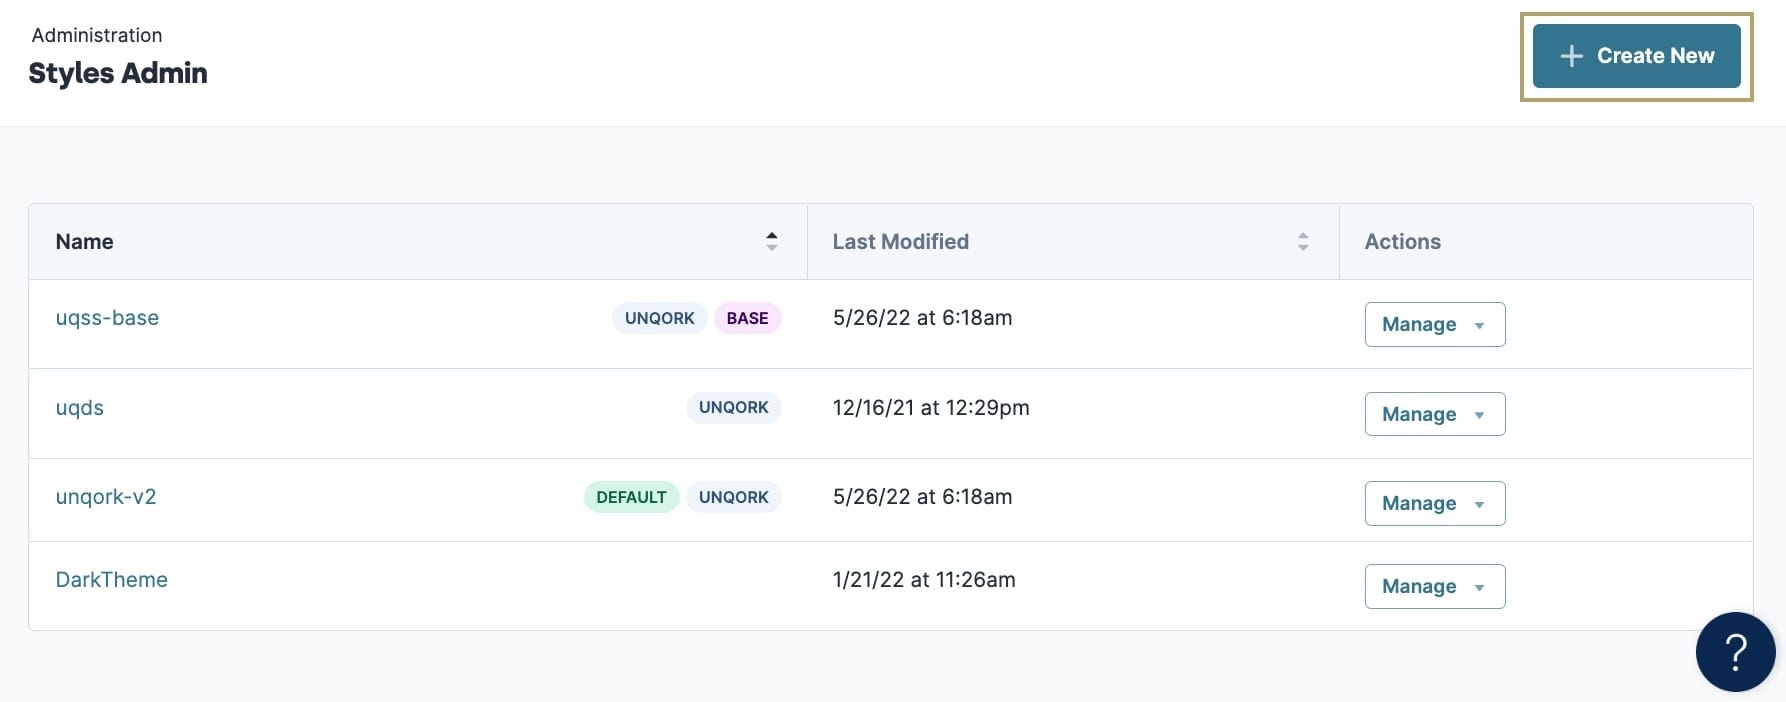
Above the Styles Admin table, click + Create New.
On the Create Style pop-up modal, upload your stylesheet and configure your settings.
Click Create.
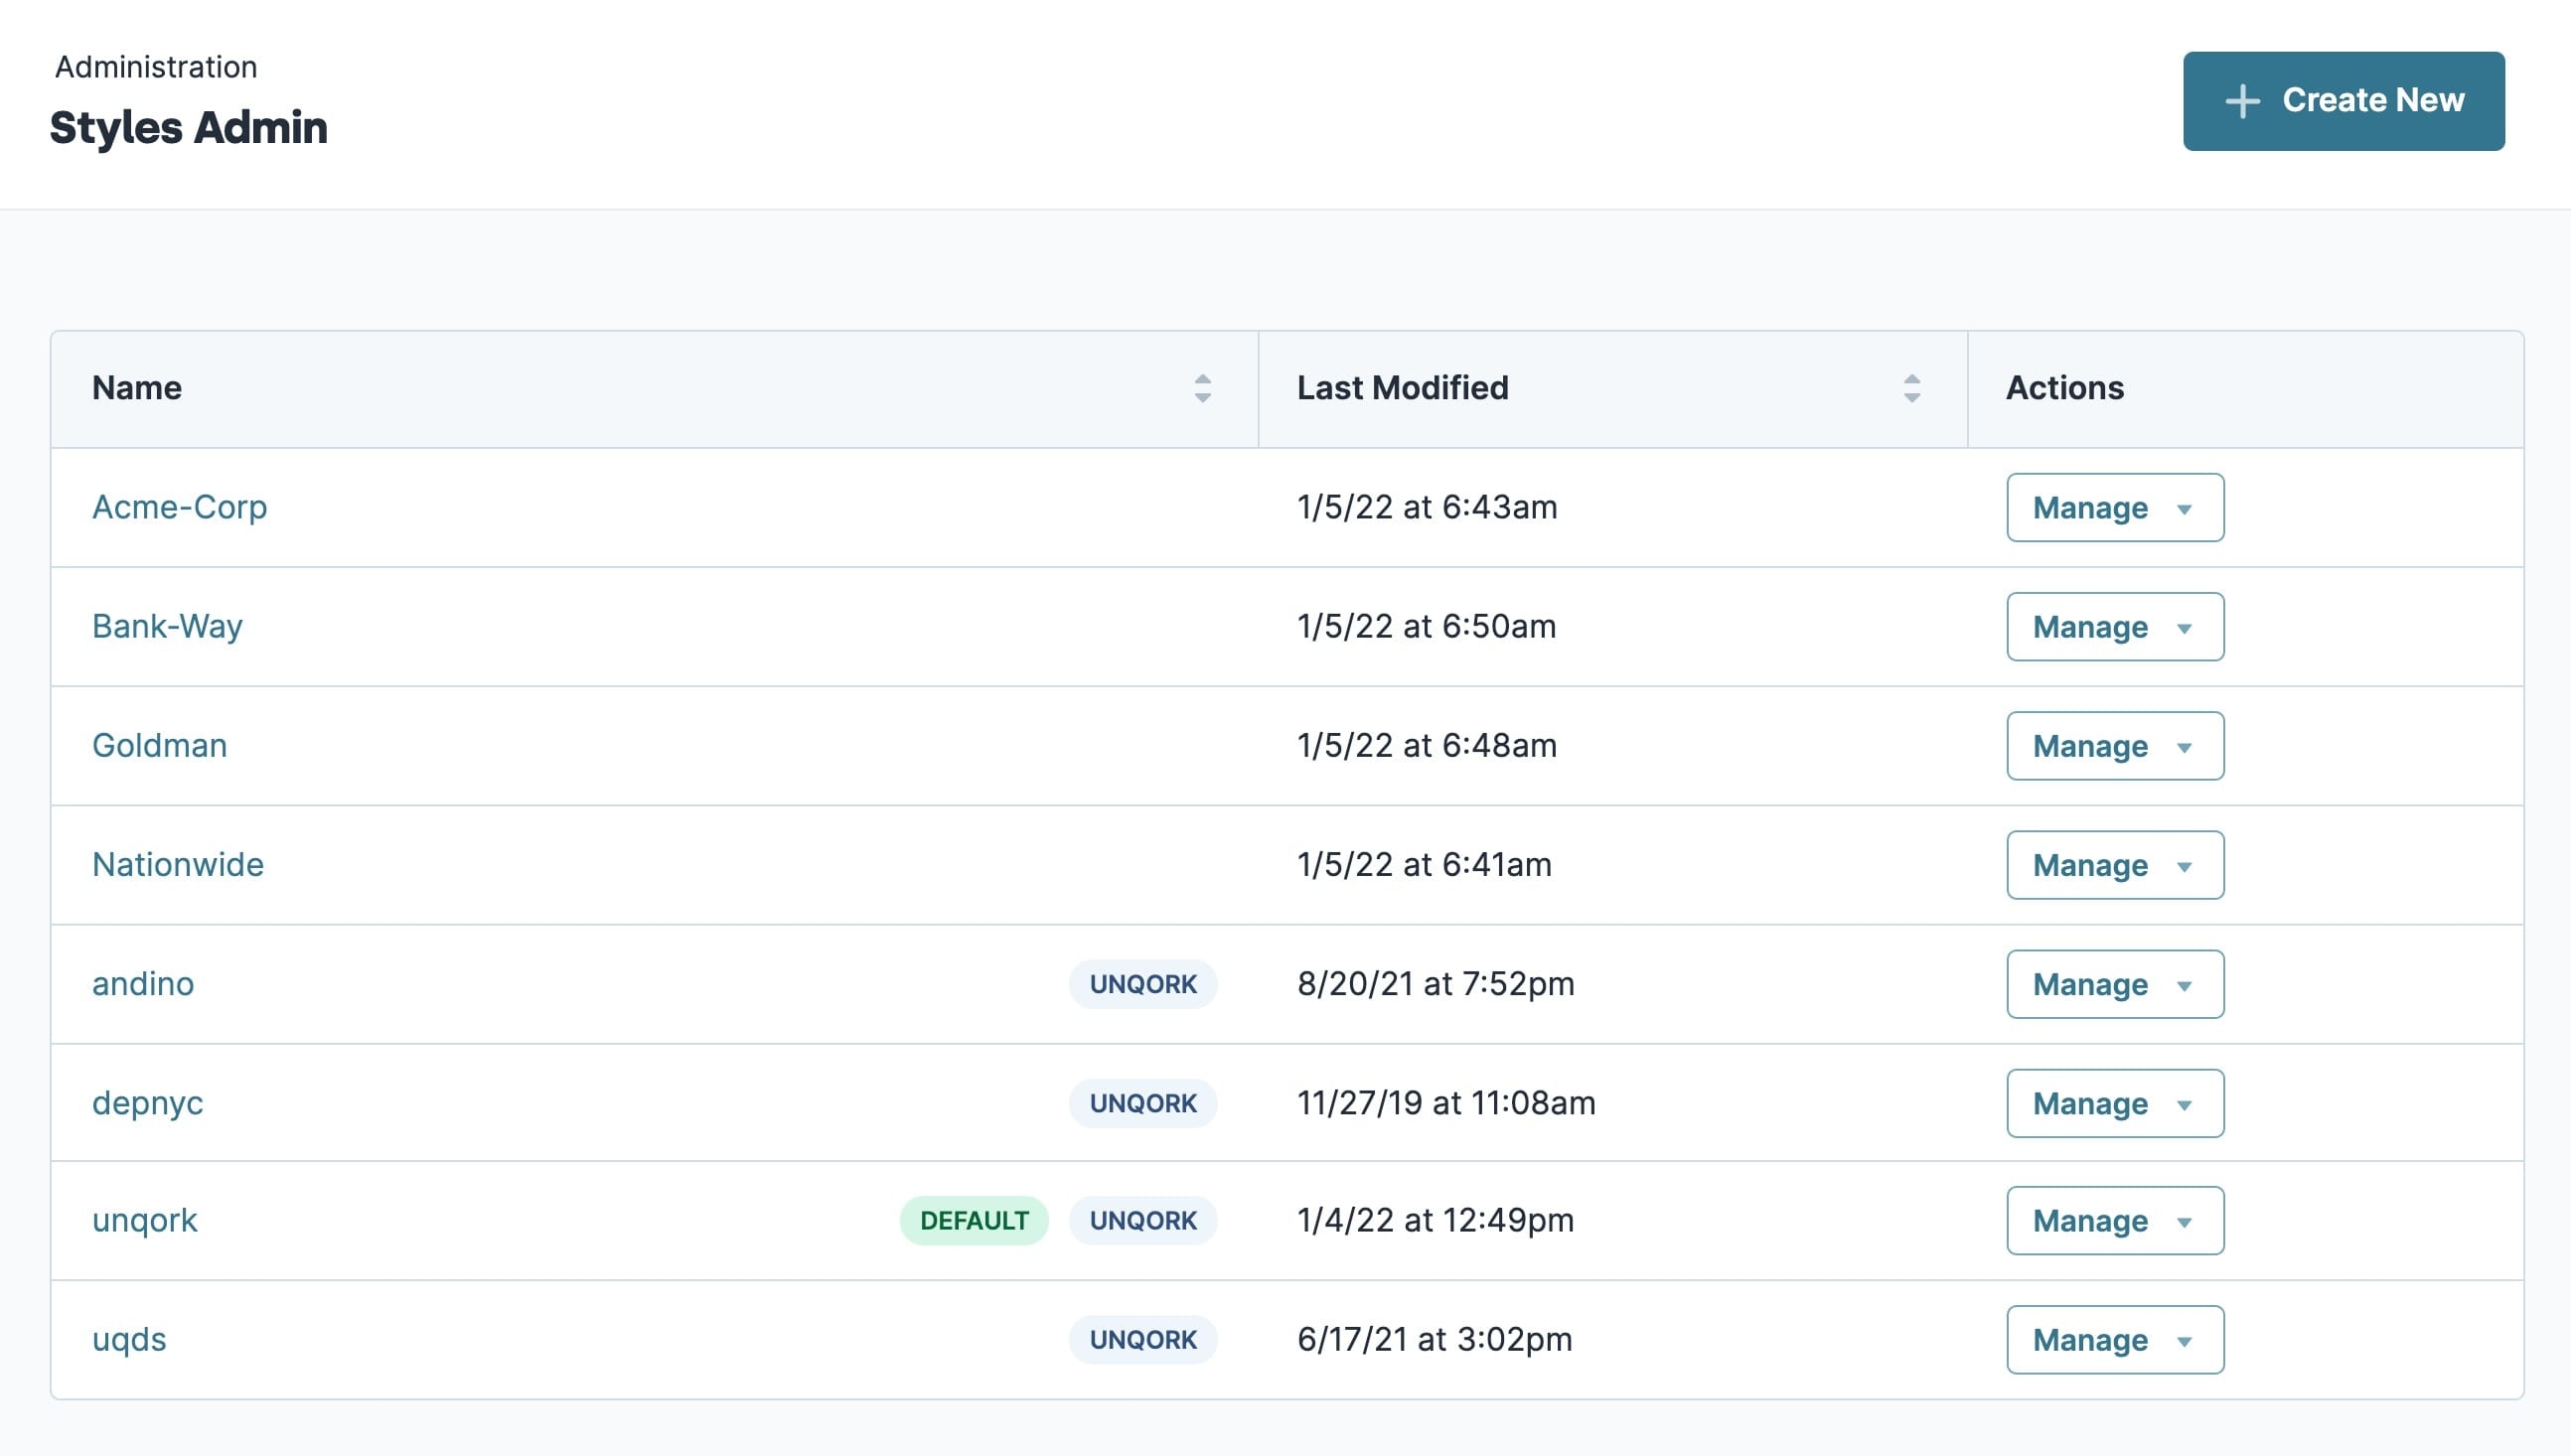
On the Styles Admin page, existing styles are denoted by the Unqork badge. New styles you create do not display the Unqork badge.
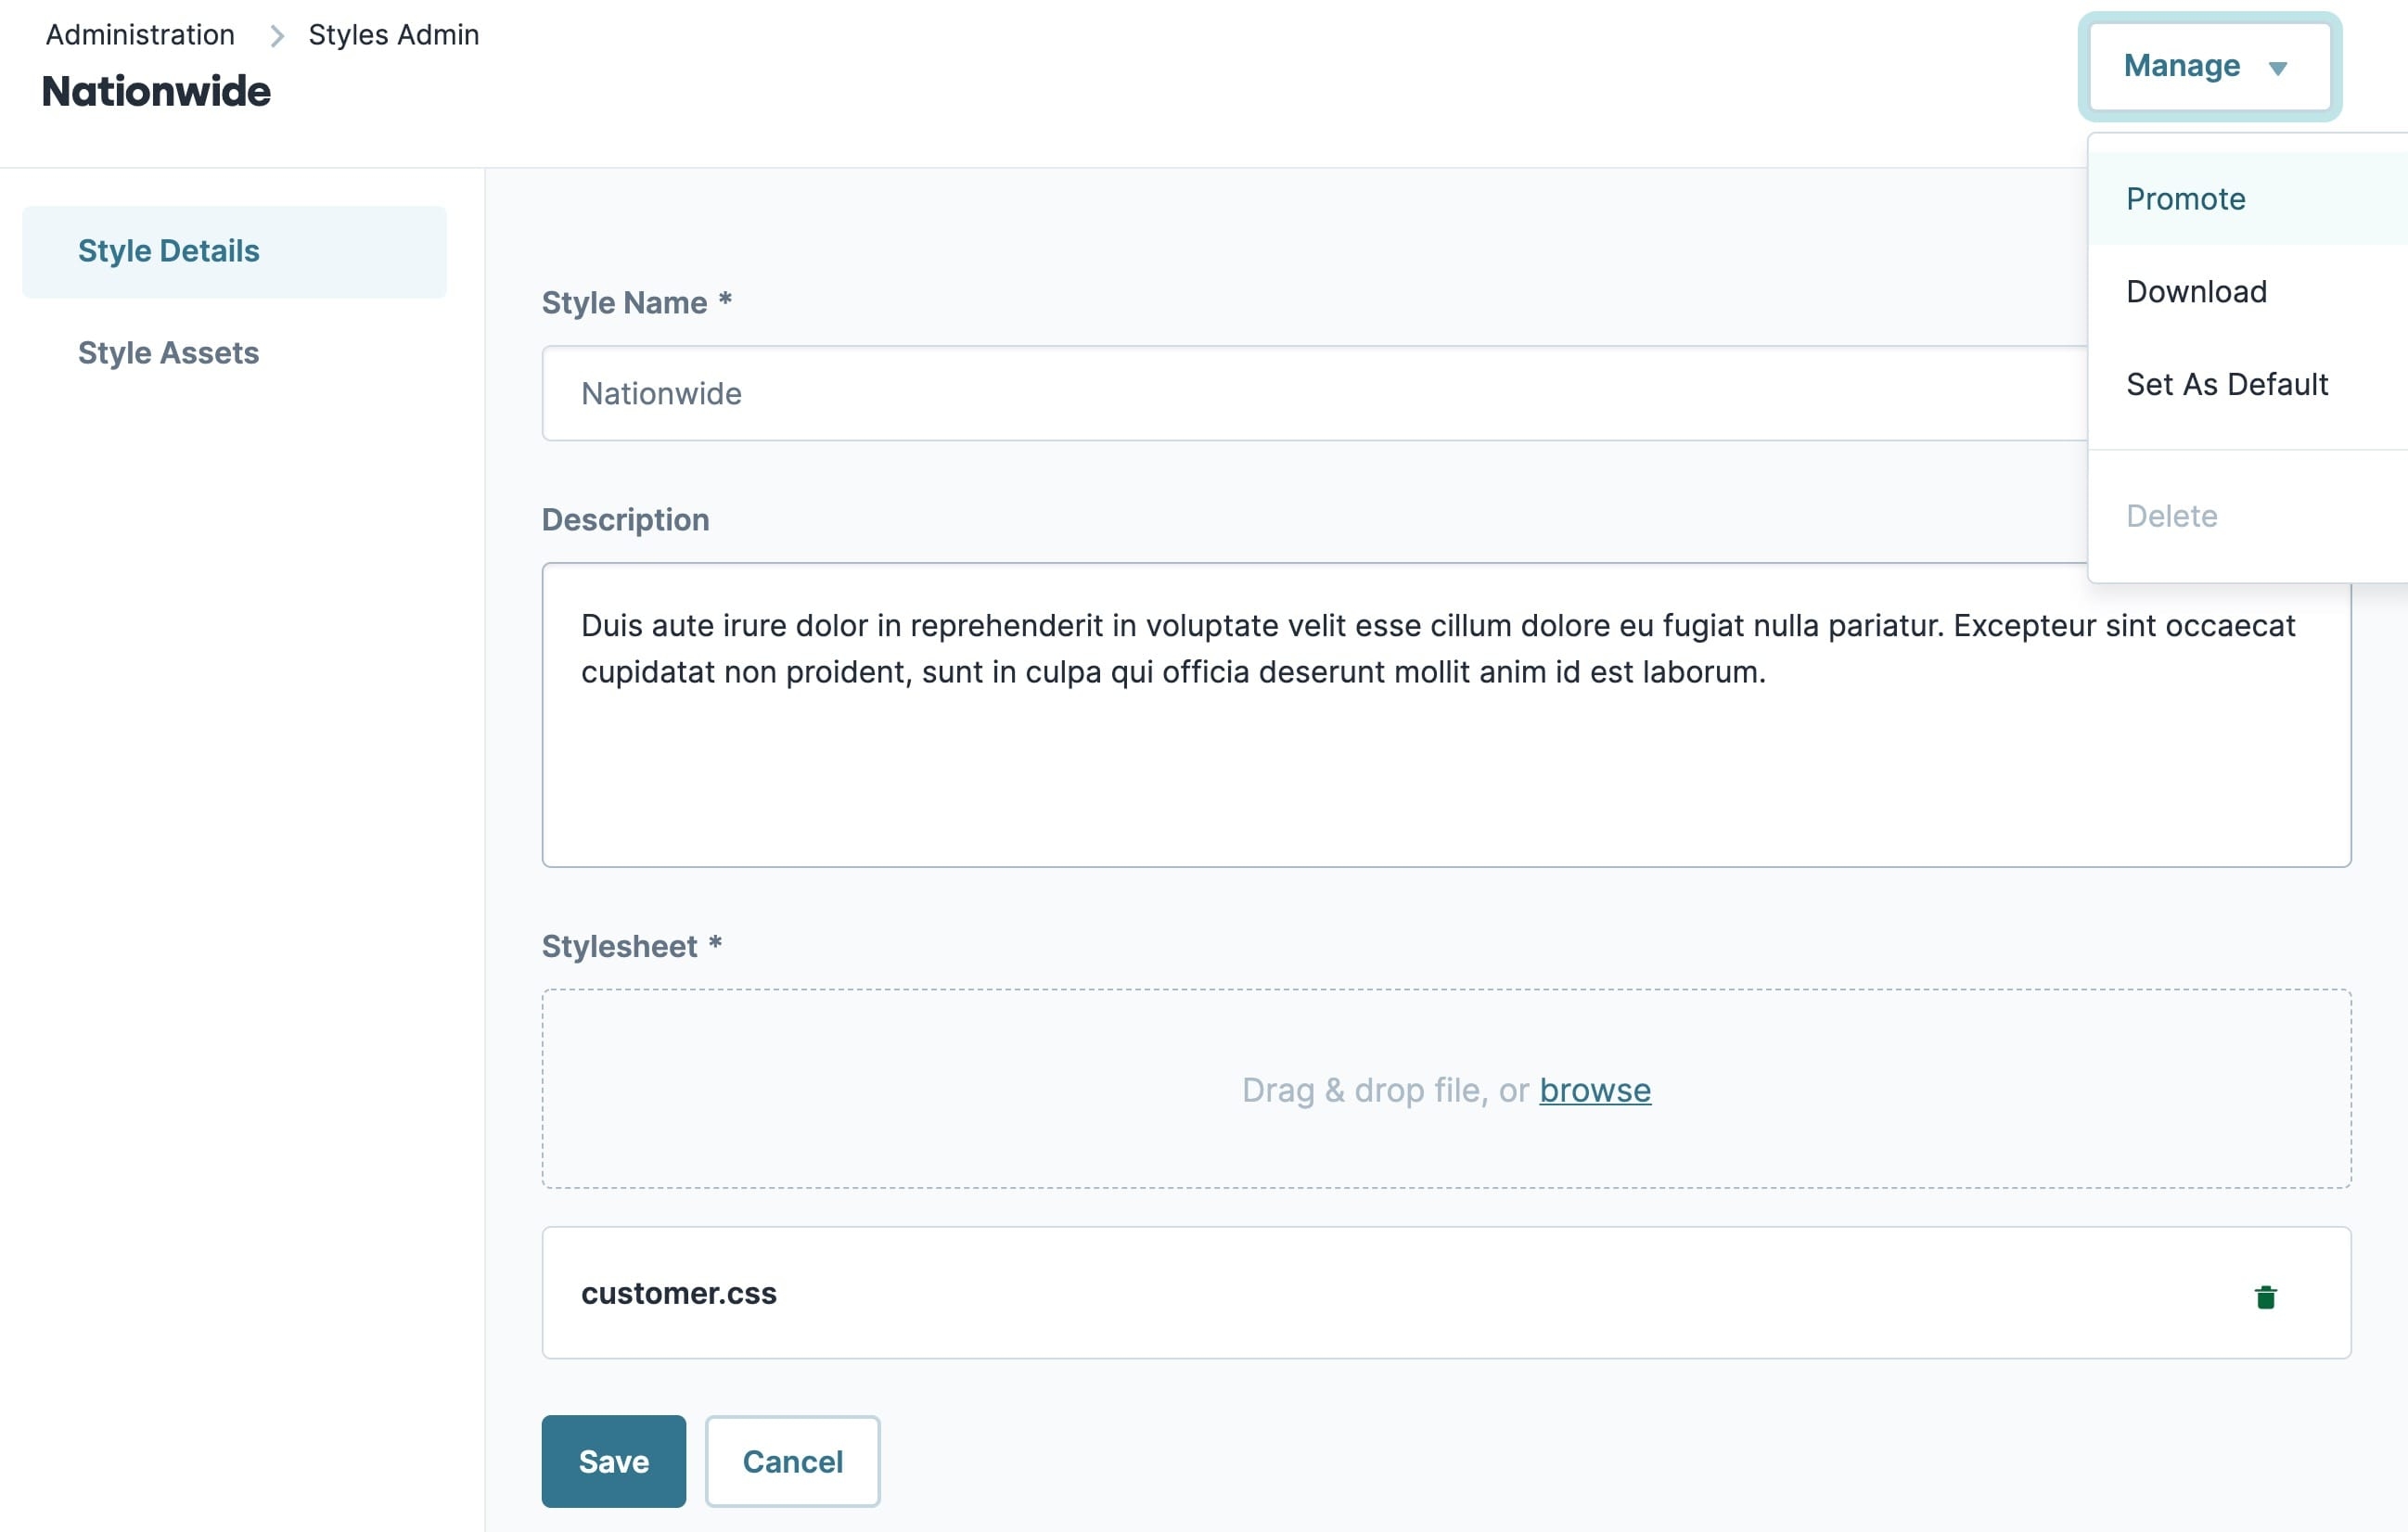
Editing a Style
On the Style Details page, you can revisit and make changes to your style. It has similar features to the Create New pop-up modal, and lets you:
Edit the Description
Download the style’s stylesheet
Upload a new stylesheet
Uploading a new stylesheet overrides the existing stylesheet.

To edit a style:
Find the style that you want to edit.
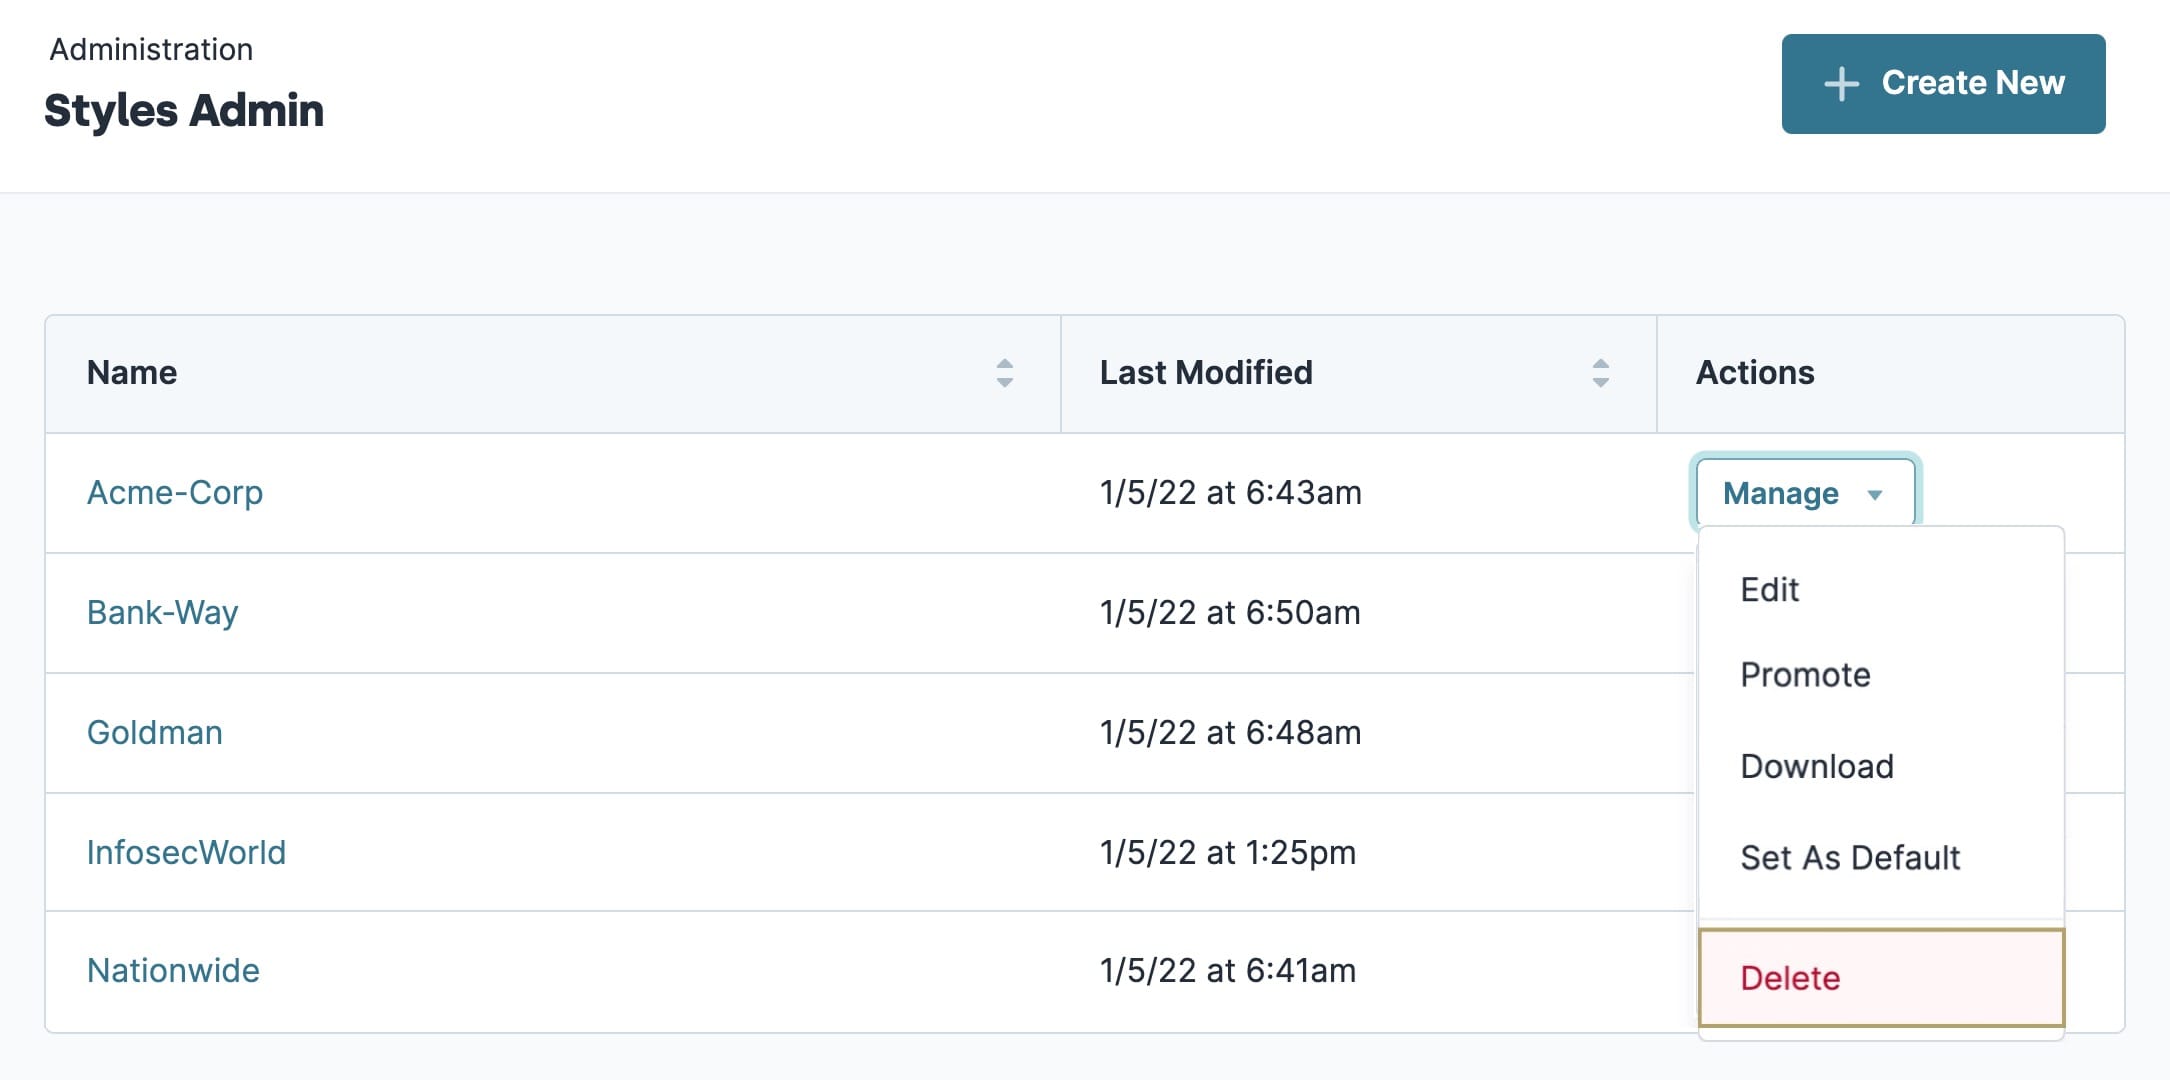
Under the Actions column, open the Manage drop-down.
Select Edit.
Make changes to the style as needed.
Click Save.
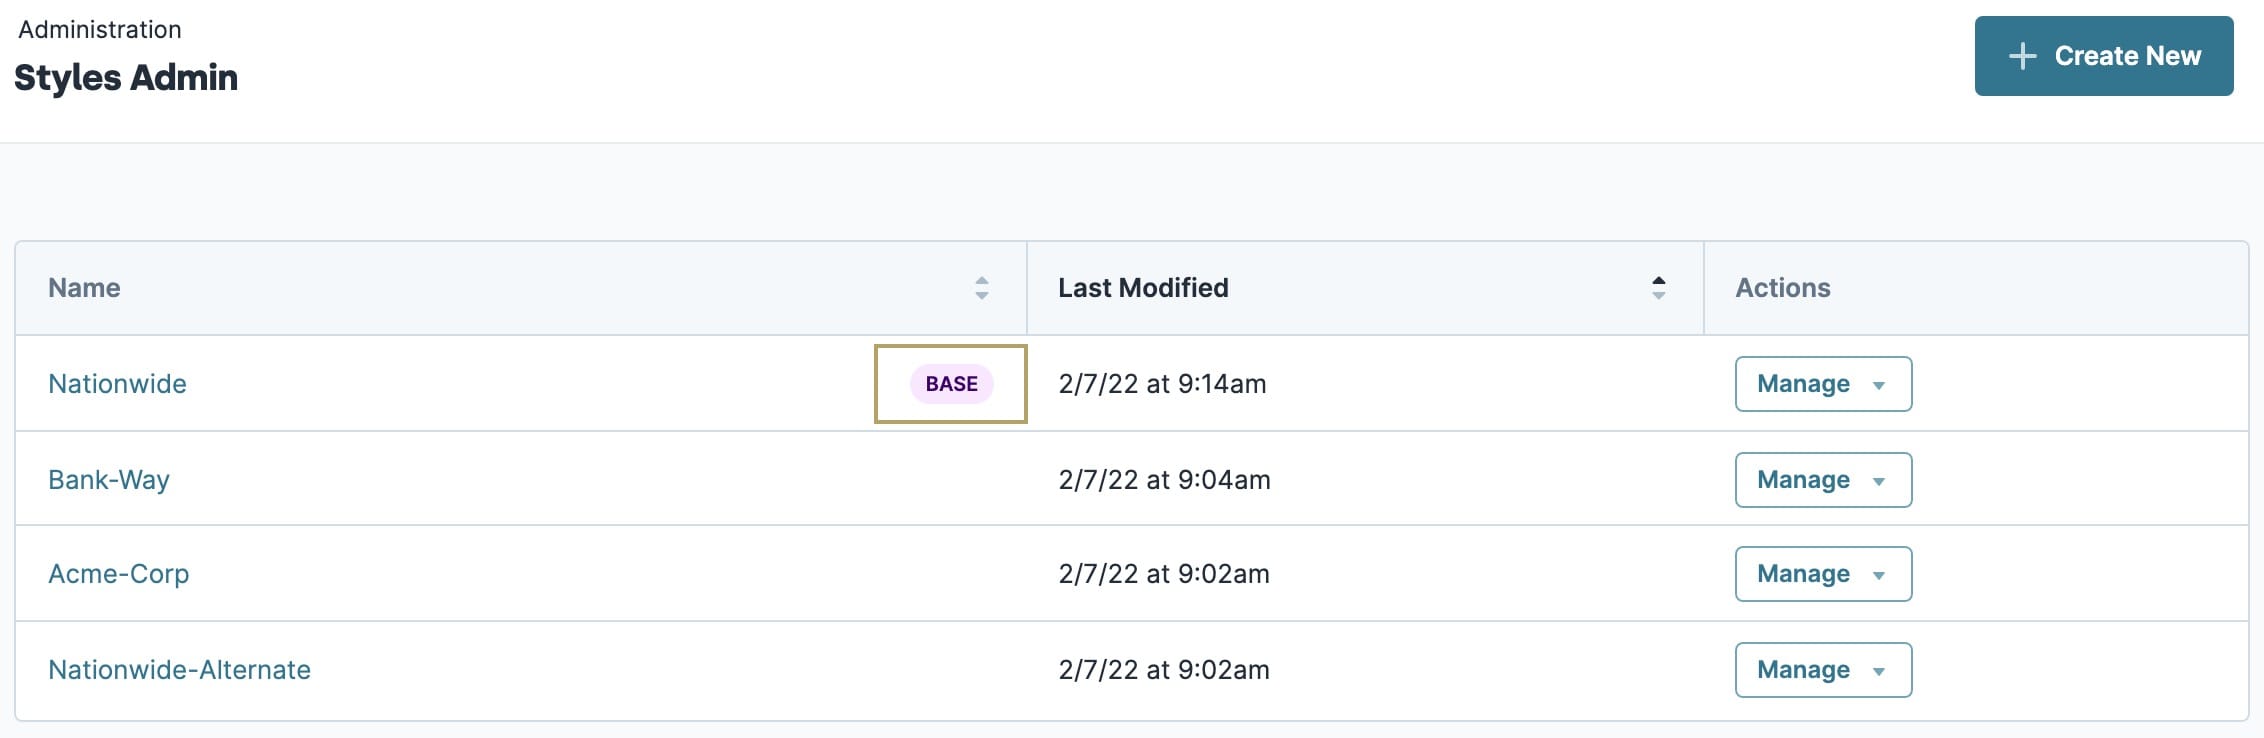
Setting an Existing Style as a Base for Other Styles
You can use an existing style as a base to build new or existing styles around. Base styles take an existing style's CSS file and use it as a foundation. The other style's CSS file then applies itself on top of the base style. This allows you to create or prototype new styles without having to start from scratch. A style used as a base displays the BASE badge in the Styles Admin page.
If there is a conflict between the base style CSS and the style it is being applied to, the other style overrides the base style's CSS.
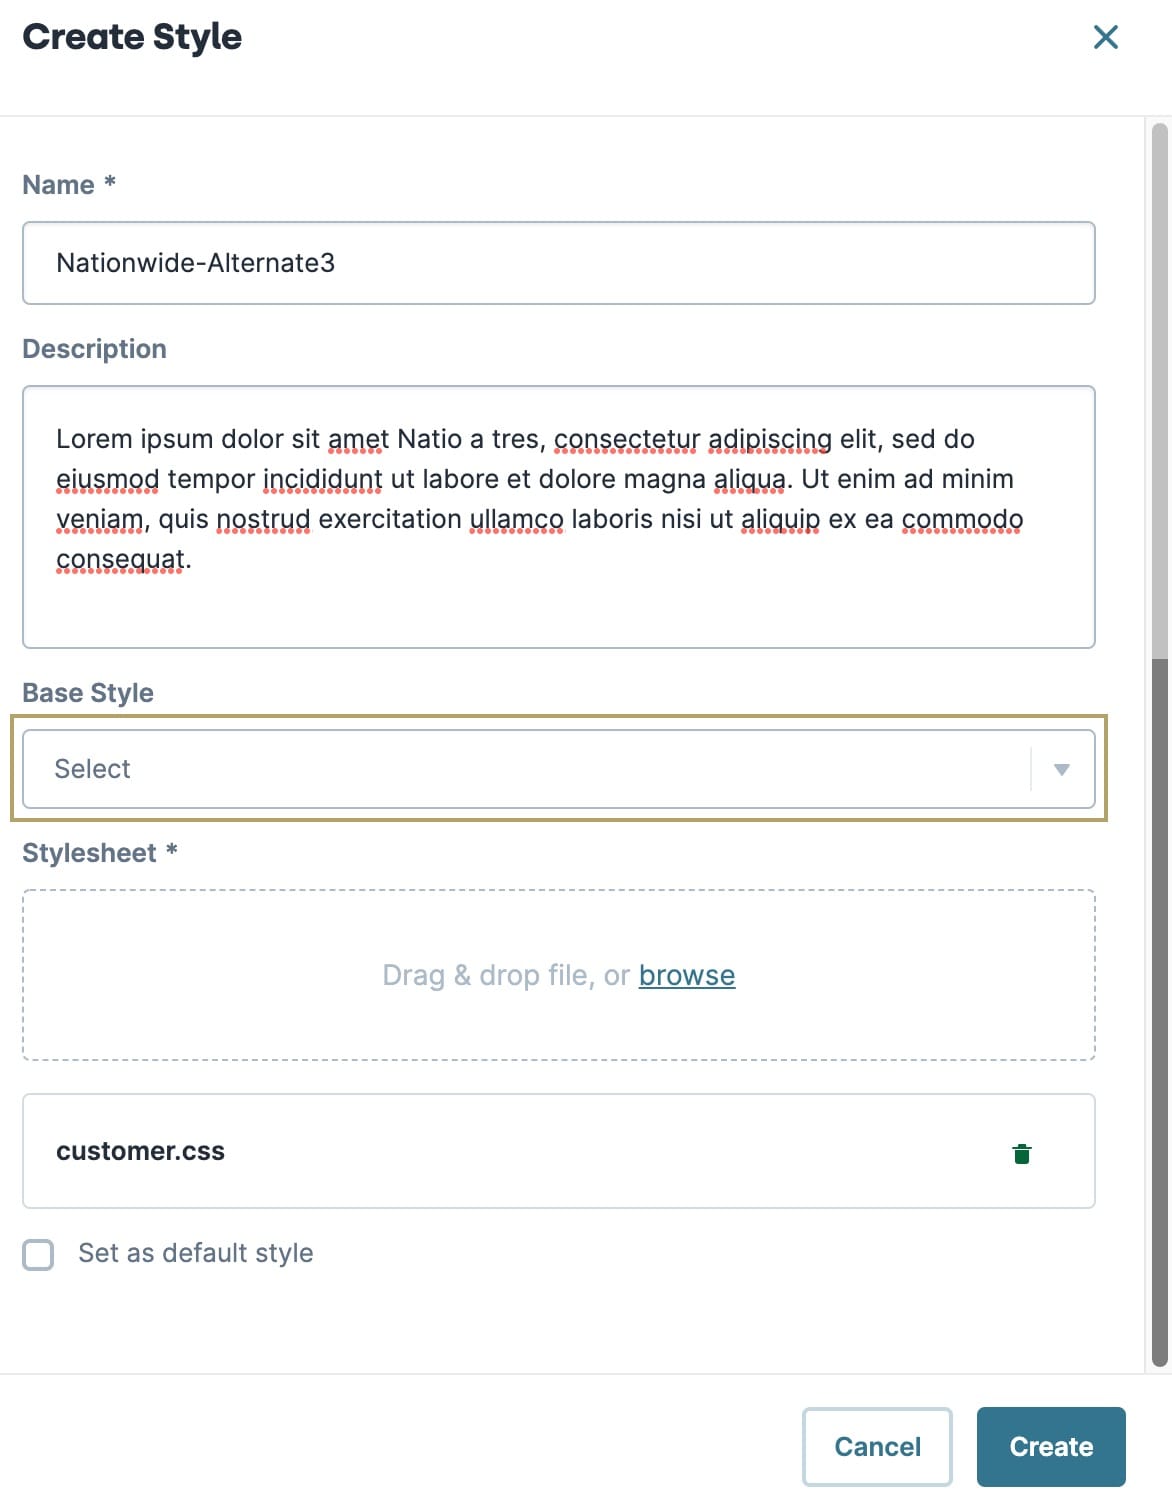
To set a base style when you create a new style:
At the top right of the Unqork Designer Platform, click the Settings drop-down.
Click Administration.
Under Environment, select Style Administration.
Above the Styles Admin table, click + Create New.
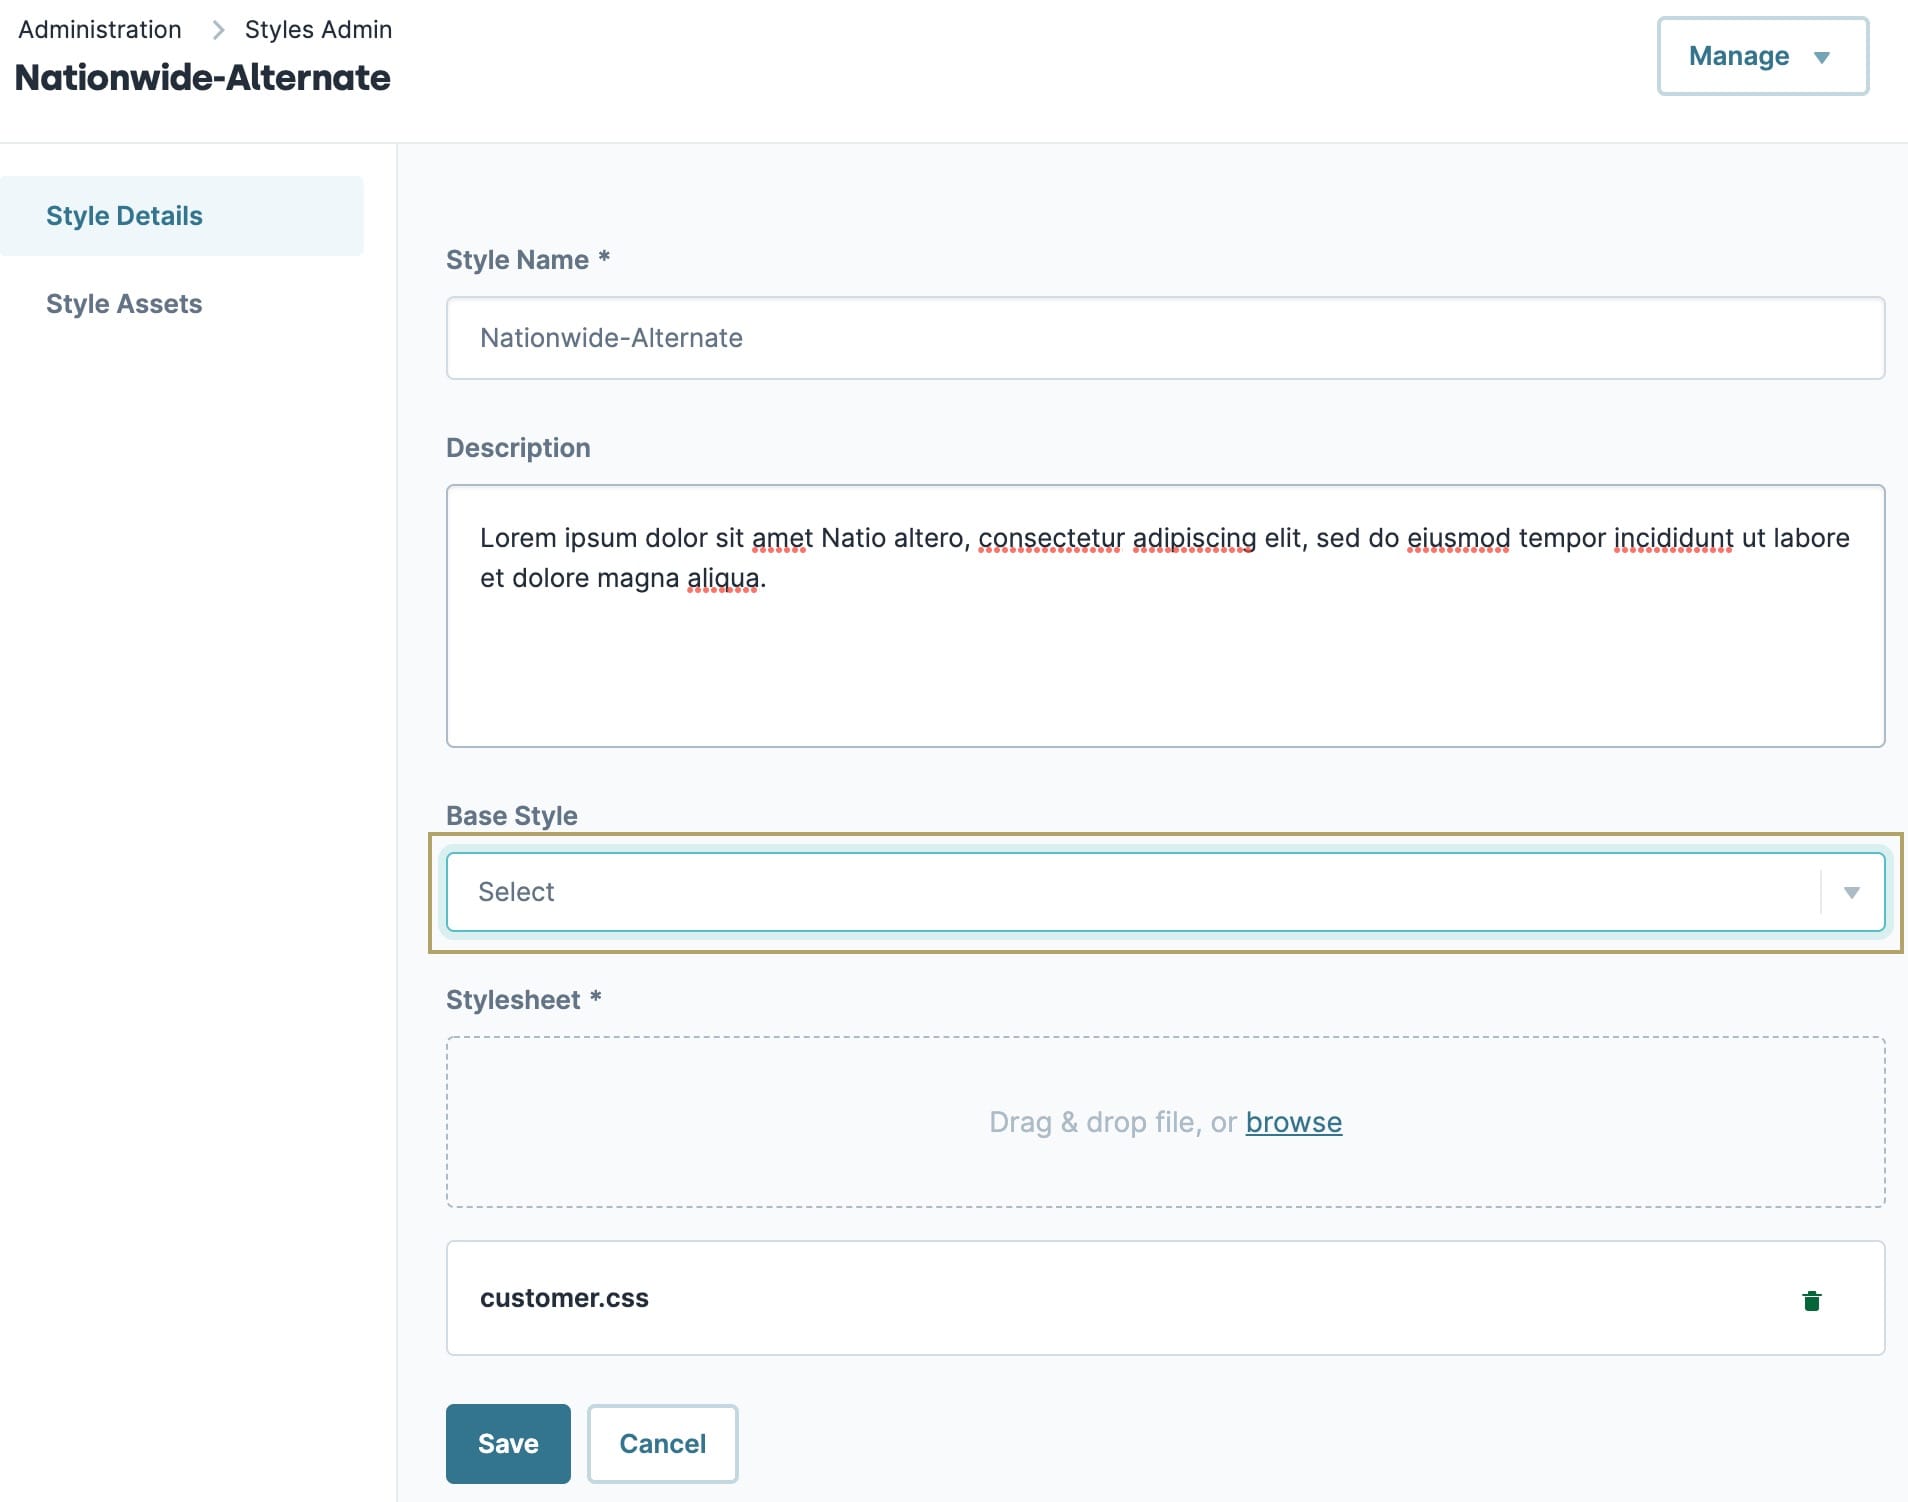
Fill out the information required for the new style.
When creating a new style, you must upload a CSS stylesheet in addition to selecting a base style.
Under Base Style, click the drop-down and select an existing style you want to use as a base.

Click Create.
Setting a Base Style for an Existing Style
To set a base style for an existing style:
Existing styles that are assigned a base style cannot be used as a base for other styles.
At the top right of the Unqork Designer Platform, click the Settings drop-down.
Click Administration.
Under Environment, select Style Administration.
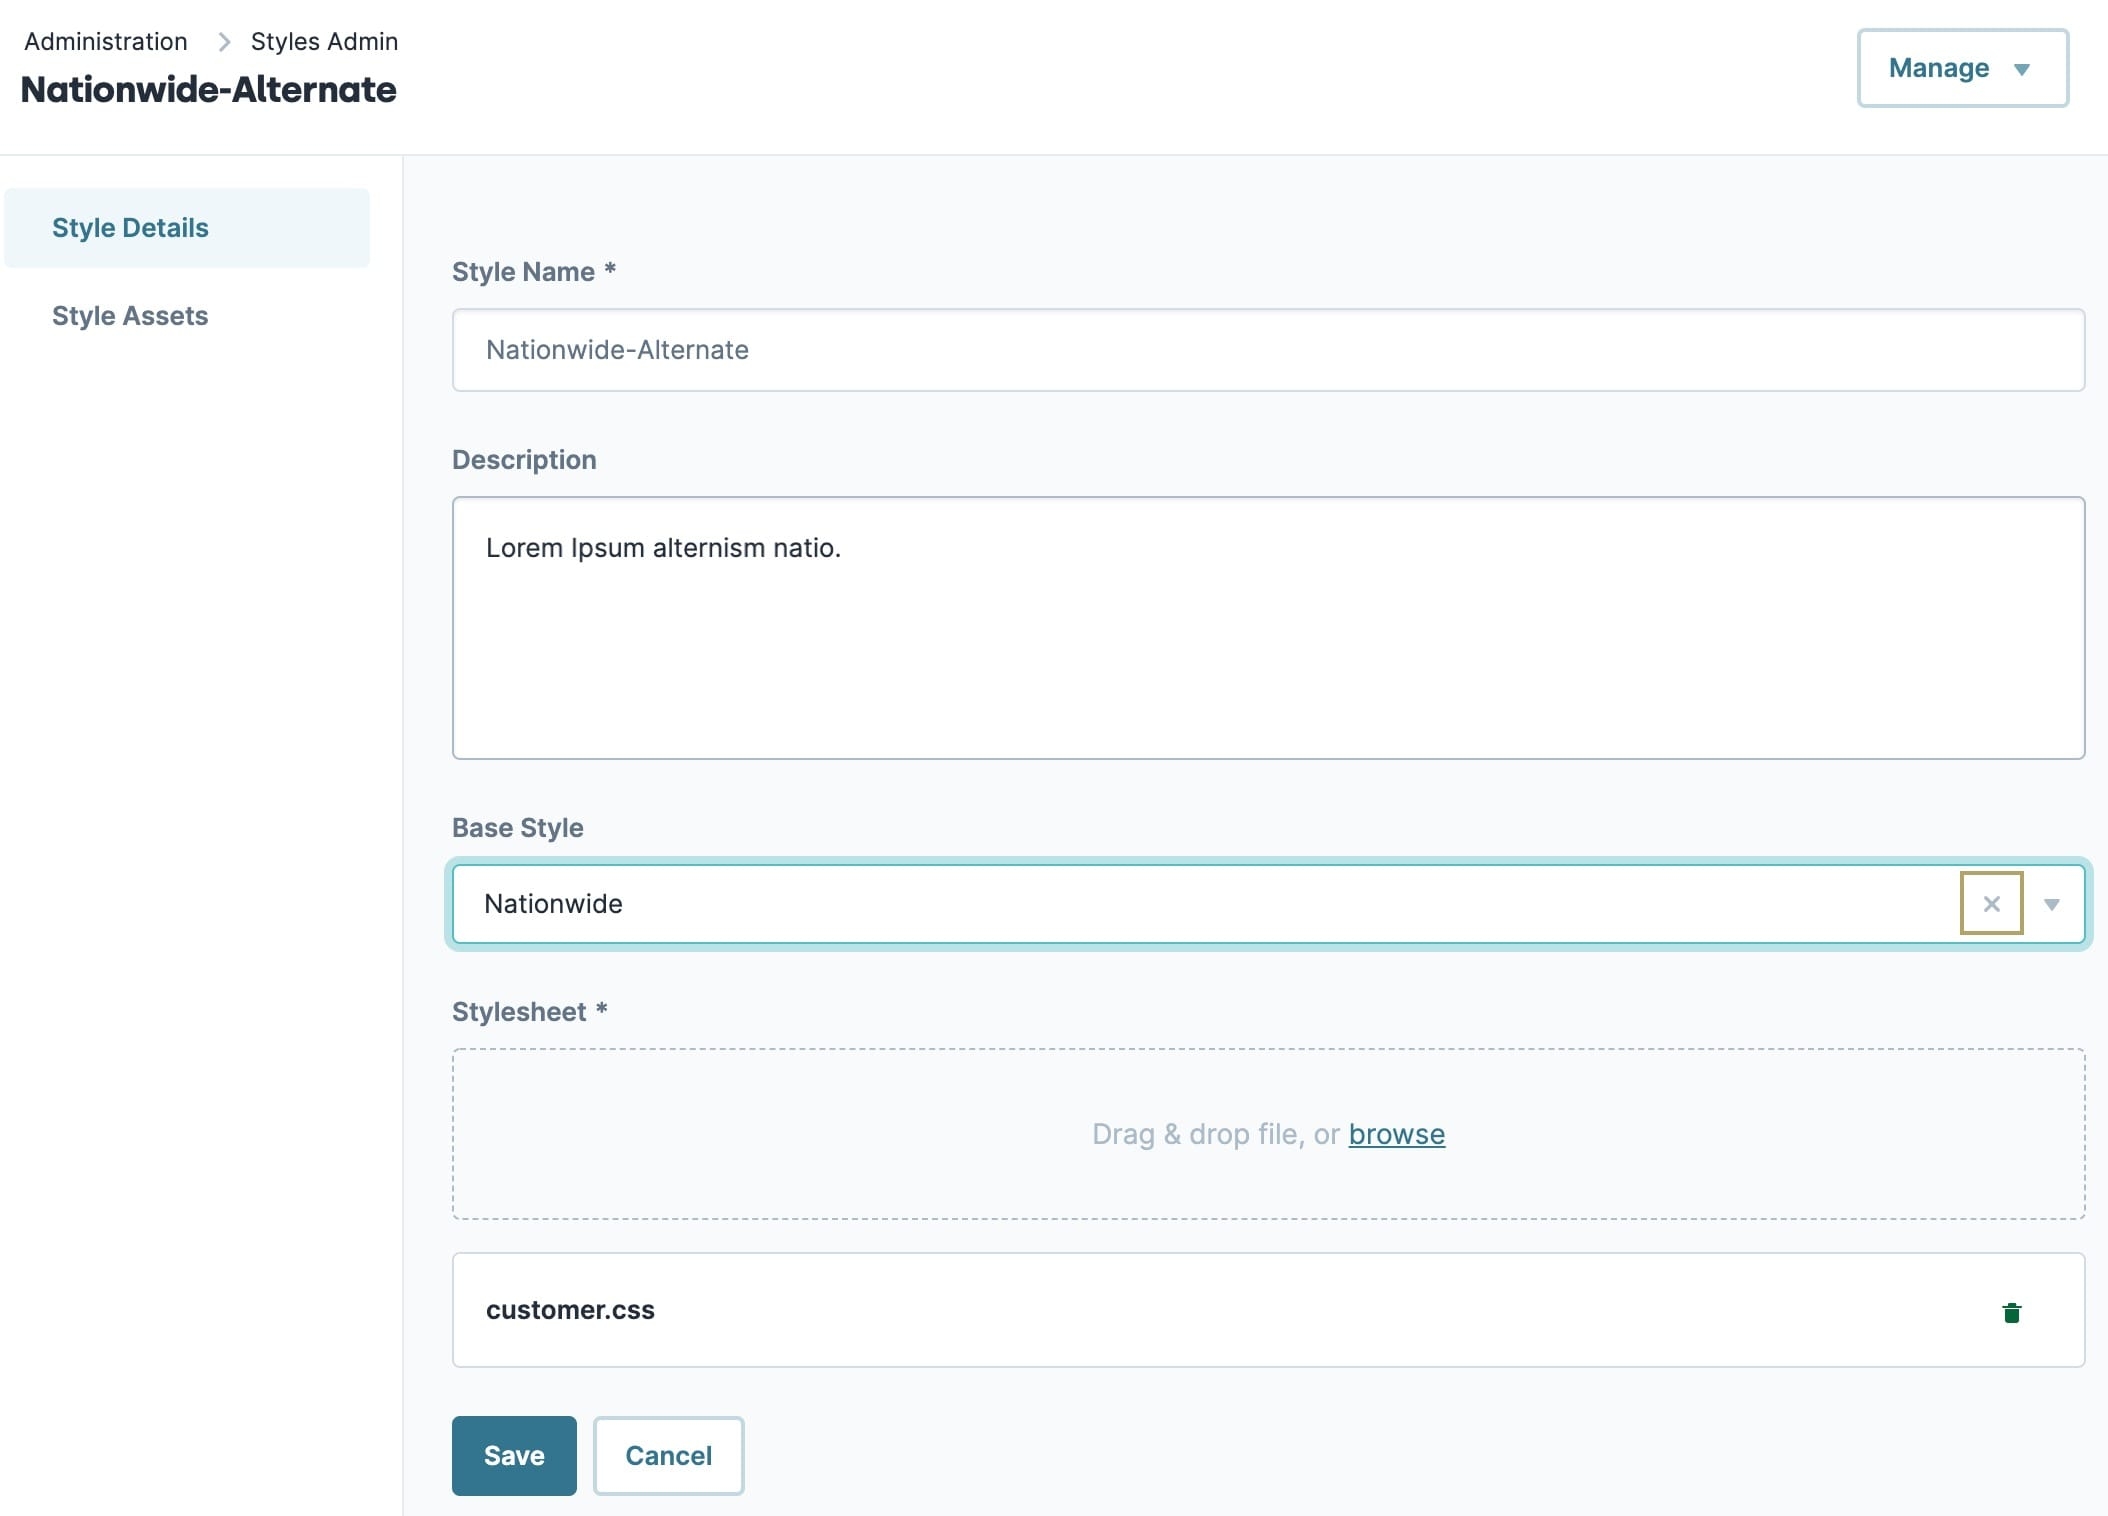
Find and click the name of the style you want to add a base style to.
Under Base Style, click the drop-down and select an existing style you want to use as a base.

Click Save.
Setting a Temporary Base Style in Express View
To temporarily set a base style in Express View:
At the top right corner of Express View, click the Preview Style drop-down.
Select a style you want to temporarily add a base style to.
In the URL bar of your browser, after the
style={styleName}text, insert the & symbol followed bybaseStyle={baseStyleName}. For example:unqork.io/?style=unqork-v2#/becomesunqork.io/?style=unqork-v2&baseStyle=baseStyleName#/.Press Enter to refresh the page.
This method allows you to rapidly test a combination of styles. Base styles applied through the browser URL are not retained if you navigate away from the Express View page.
Disconnect a Base Style From an Existing Style
If your style no longer requires a base style, you can disconnect it. This removes the base style's CSS from the chosen style.
To disconnect a base style from an existing style:
At the top right of the Unqork Designer Platform, click the Settings drop-down.
Click Administration.
Under Environment, select Style Administration.
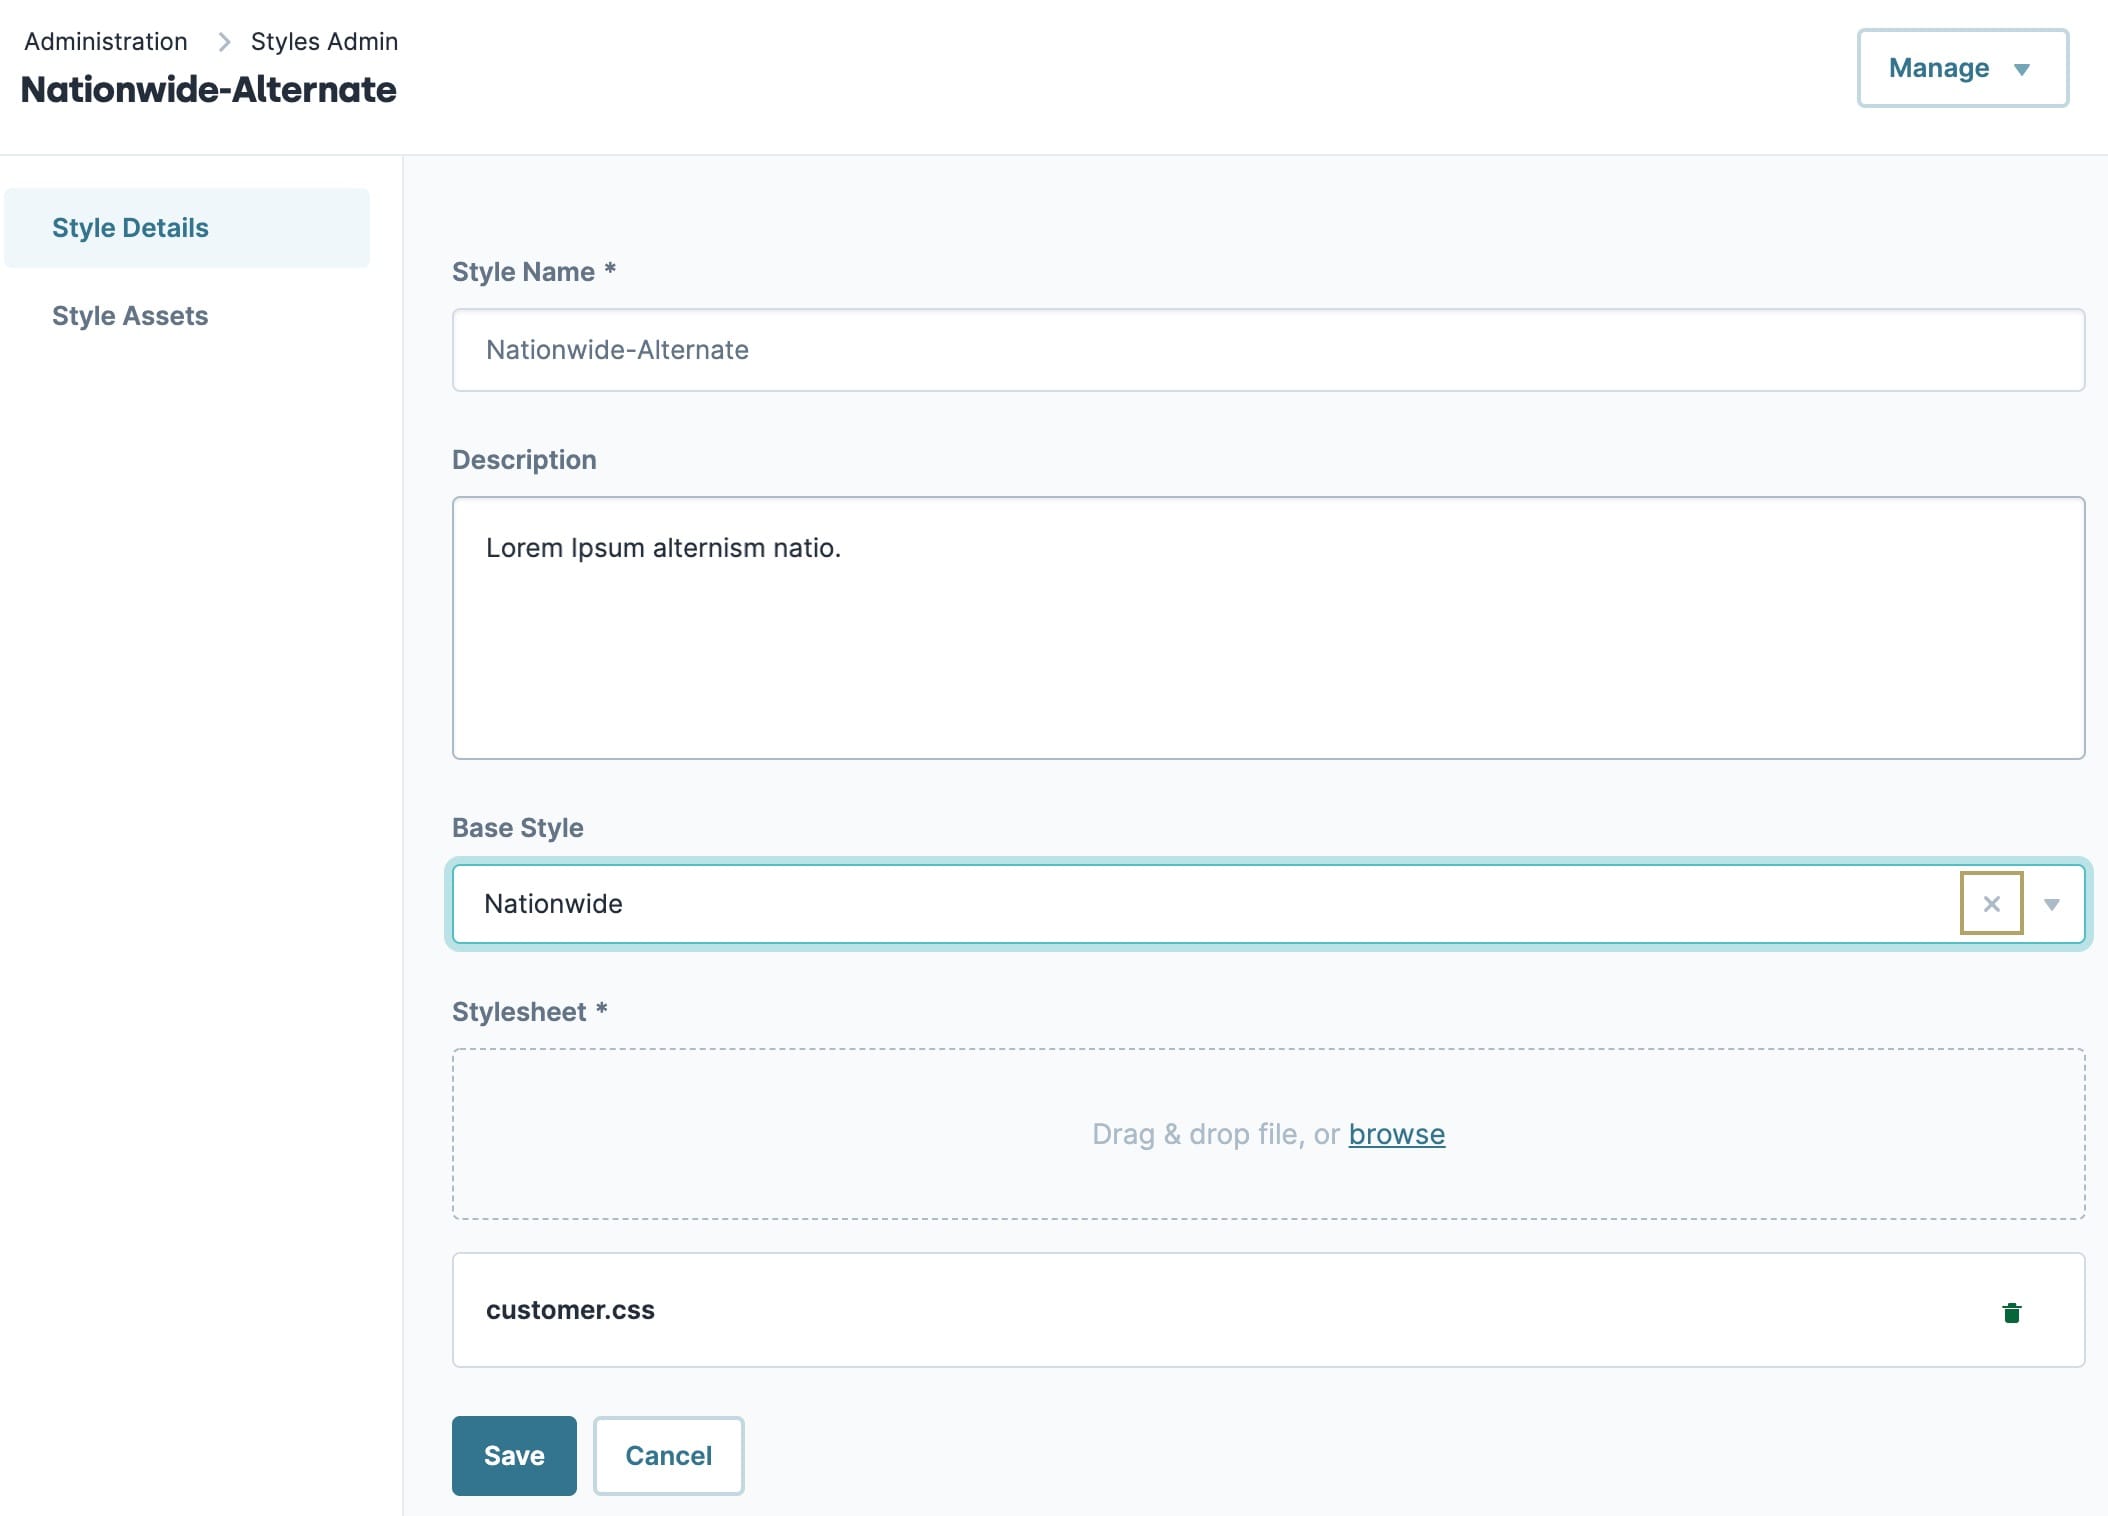
Find and click the name of the style you want to disconnect the base style from.
Under Base Style, to the right side of the drop-down, click the X (Remove) button.
Click Save.
To delete a style currently in use as a base, you must first disconnect it from all other styles.
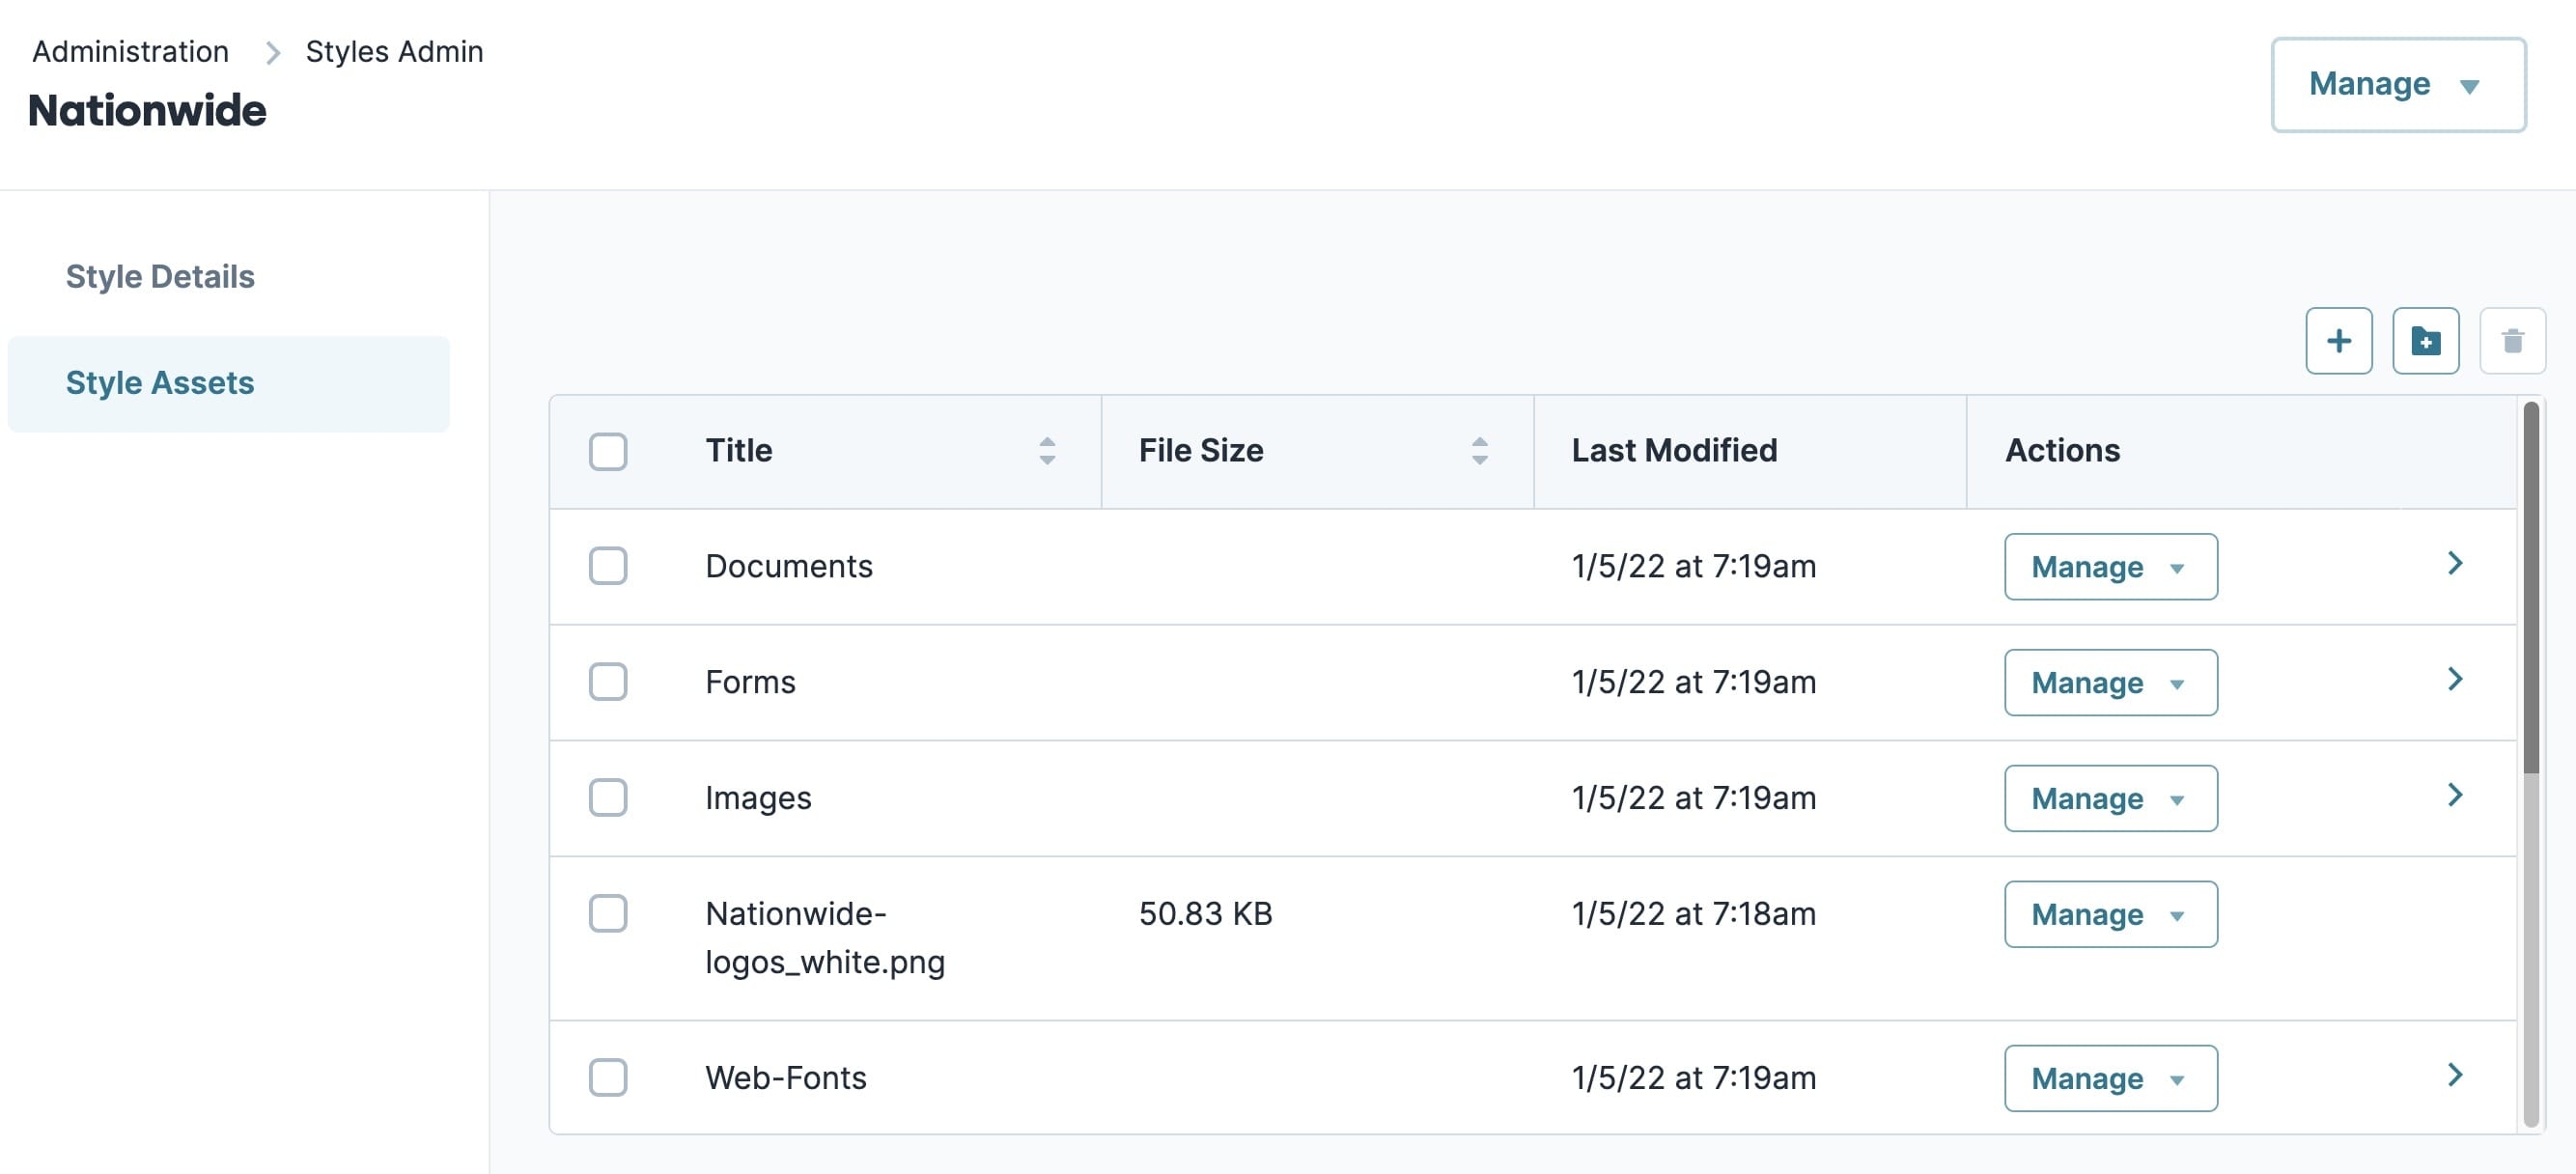
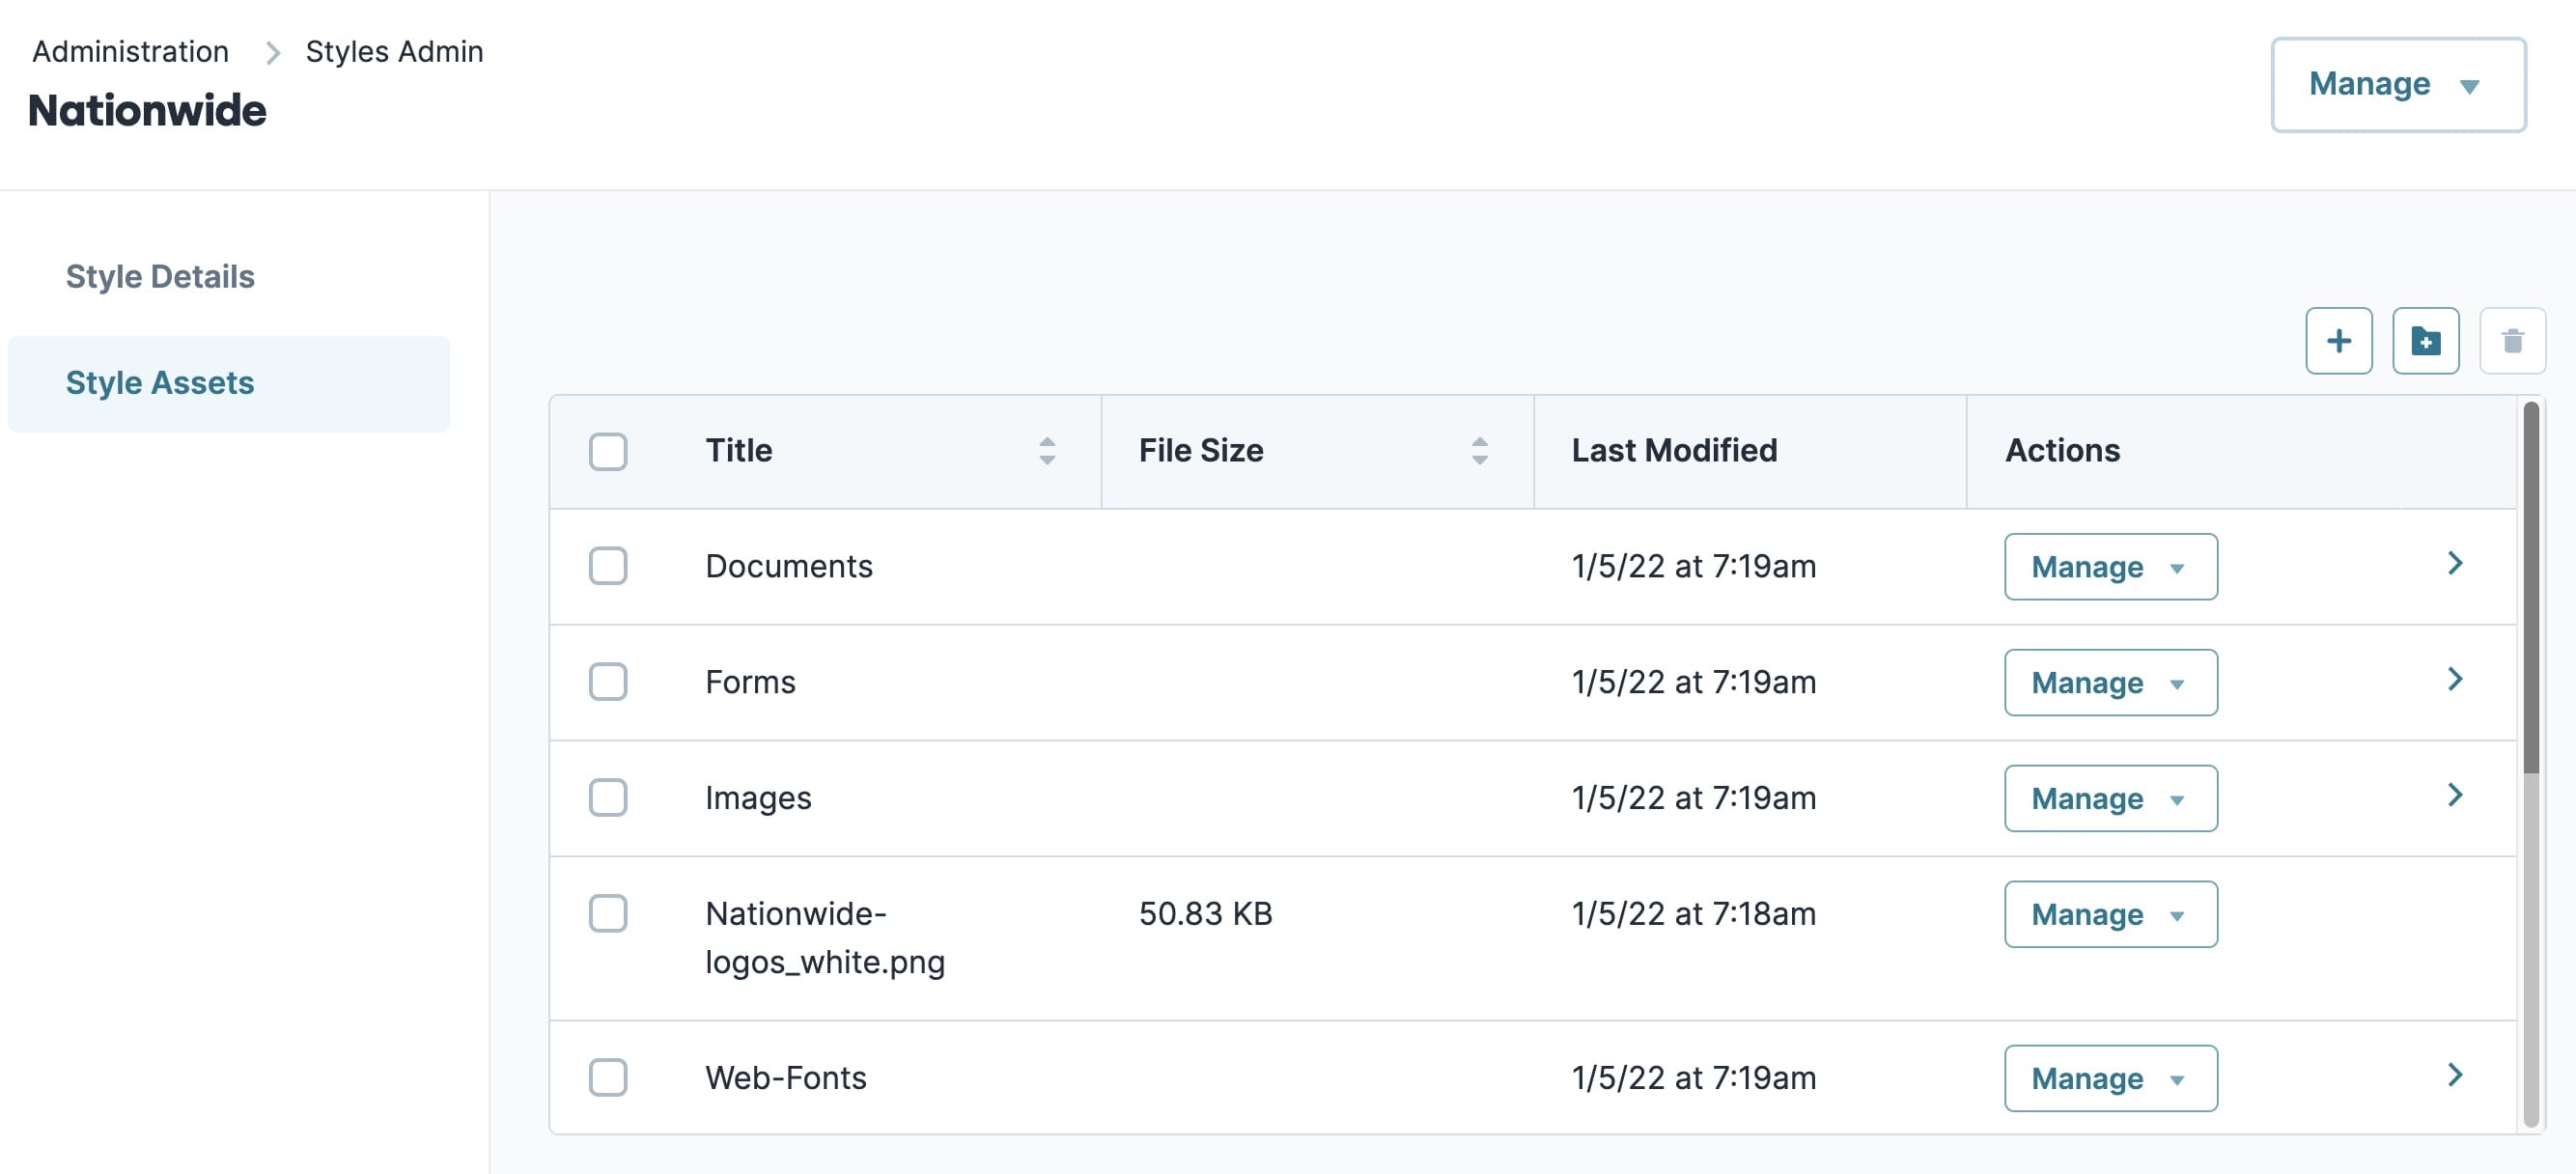
Managing Style Assets
Assets are what make up your style. They include documents, web fonts, forms, images, and more! Since your CSS references assets, you'll keep them in the Style Assets section.
The Style Assets page lets you:
Create new asset folders
Upload new style assets
Delete folders and style assets
Download an asset
Copy an asset file's path
Setting | Description |
|---|---|
Title | The name you give your file or folder. |
File Size | The size of your file or folder. |
Last Modified | Shows the date and time that a file was uploaded, or a folder of files was changed. |
Actions | The Manage button allows you to download, copy path, or delete the selected asset. |
Upload icon | Opens a file uploader to select the assets you want to add. |
Folder icon | Opens a pop-up modal for you to create and name a new folder. |
To create a new asset folder:
On the Style Assets page, navigate to the right side of the page and click the Folder icon.
On the pop-up modal, enter a name for the folder.
Click Create.
To upload individual assets:
On the Style Assets page, navigate to the right side of the page and click the Upload icon.
On the navigation pane, find and select the file.
Click the Open button to upload the file.
Uploading an asset with an existing file name displays a pop-up modal that asks you to replace the previous file.
To download individual assets:
On the Style Assets page, find the file you want to download.
To the right of the file, under the Actions column, open the Manage drop-down.
Click Download.
To delete a style asset:
On the Style Assets page, find the file or folder you want to remove.
To the right of the file or folder, under the Actions column, open the Manage drop-down.
Click Delete.
Copying and Inserting an Asset's Relative Path
Once you upload an asset to your style, you can copy the relative path of the asset to use in your .CSS file. You can also use asset relative paths in a Content component for your module.
To copy an asset's relative path:
On the Style Assets page, find the file you want to copy the relative path of.
To the right of the file, under the Actions column, open the Manage drop-down.
Click Copy Path.
To insert an asset's relative path into a Content component:
On the Module Editor View page, find the Content component you want to insert the path into.
In the Content component field, Paste in the asset relative path.
Delete the CSS selector "." from the asset path.

Append the asset path with the style location.
Style locations in Unqork begin with 'styles/{styleName}/' where {styleName} is the name of the style the asset belongs to.

Insert the CSS rule-set that utilizes the style asset.

Click Save.
To learn more about how to use CSS in a Content component, click here: https://docs.unqork.io/Content/A04-ModEditor-Display_Layout/A04002B-Content_CSS.htm


Setting Up a Remote Root
Now, you can connect your CSS to your environment and test it in real-time. This happens in your root folder structure. It acts as a local server to host your customer.CSS file. Unqork's remoteRootCustomer query then finds your file and inserts it into the environment. Without a remote root, Unqork can't find and display your CSS.
Before you start, you need to name your compiled CSS file customer.CSS. This is the specific file name that remoteRootCustomer looks for.
Run a localhost server to serve up your compiled CSS file. Your local server is available at the following addresses:
http://0.0.0:8000/
http://127.0.0.1:8000/
http://localhost:8000/
To change your port number, enter the number to the end of the command. For example, $python -m SimpleHTTPServer 3002. By default, this HTTP server runs on port 8000.
SimpleHTTPServer is a quick and easy way to serve your CSS file locally. All you need to do is install python2 and run this command: $ python -m SimpleHTTPServer
Place your customer.CSS file inside the directory structure styles/STYLE-NAME.
Complete this path with your own information: ?style=STYLE-NAME&remoteRootCustomer=http://localhost:8000/
Option Label
Value to Store in Submission Data
STYLE-NAME
The name you give your folder. The best practice is to use lowercase letters. Your name can't contain any spaces.
http://localhost:8000
The address of your port. Make sure the number here matches your port number if it isn't the default.
Add your new path to the remaining application path before the hashtag (#). So, your URL looks like this: https://YOUR-ENVIRONMENT-stagingx.unqork.io/?style=STYLE-NAME&remoteRootCustomer=http://localhost:8000/#/display/a0s9d8a0s9d8a70dssd.
Now, your locally-hosted CSS file is incorporated into your environment.
Promoting a Style
You promote applications between environments after you make changes. You'll do the same for styles.
Unqork can share styles across applications. Be mindful when promoting an application and its styles. Consider how promoting your style might affect other applications in your target environment.
To learn more about how promotion works, search Promoting Applications in our In-Product Help.
Style promotions and updates are not instantaneous. You might experience a delay before changes go into effect.
To promote a style:
On the Styles Admin page, find the style that you want to promote.
Under the Actions column, open the Manage drop-down.
Select Promote.

Make a selection from the Environment drop-down.
Click Promote.
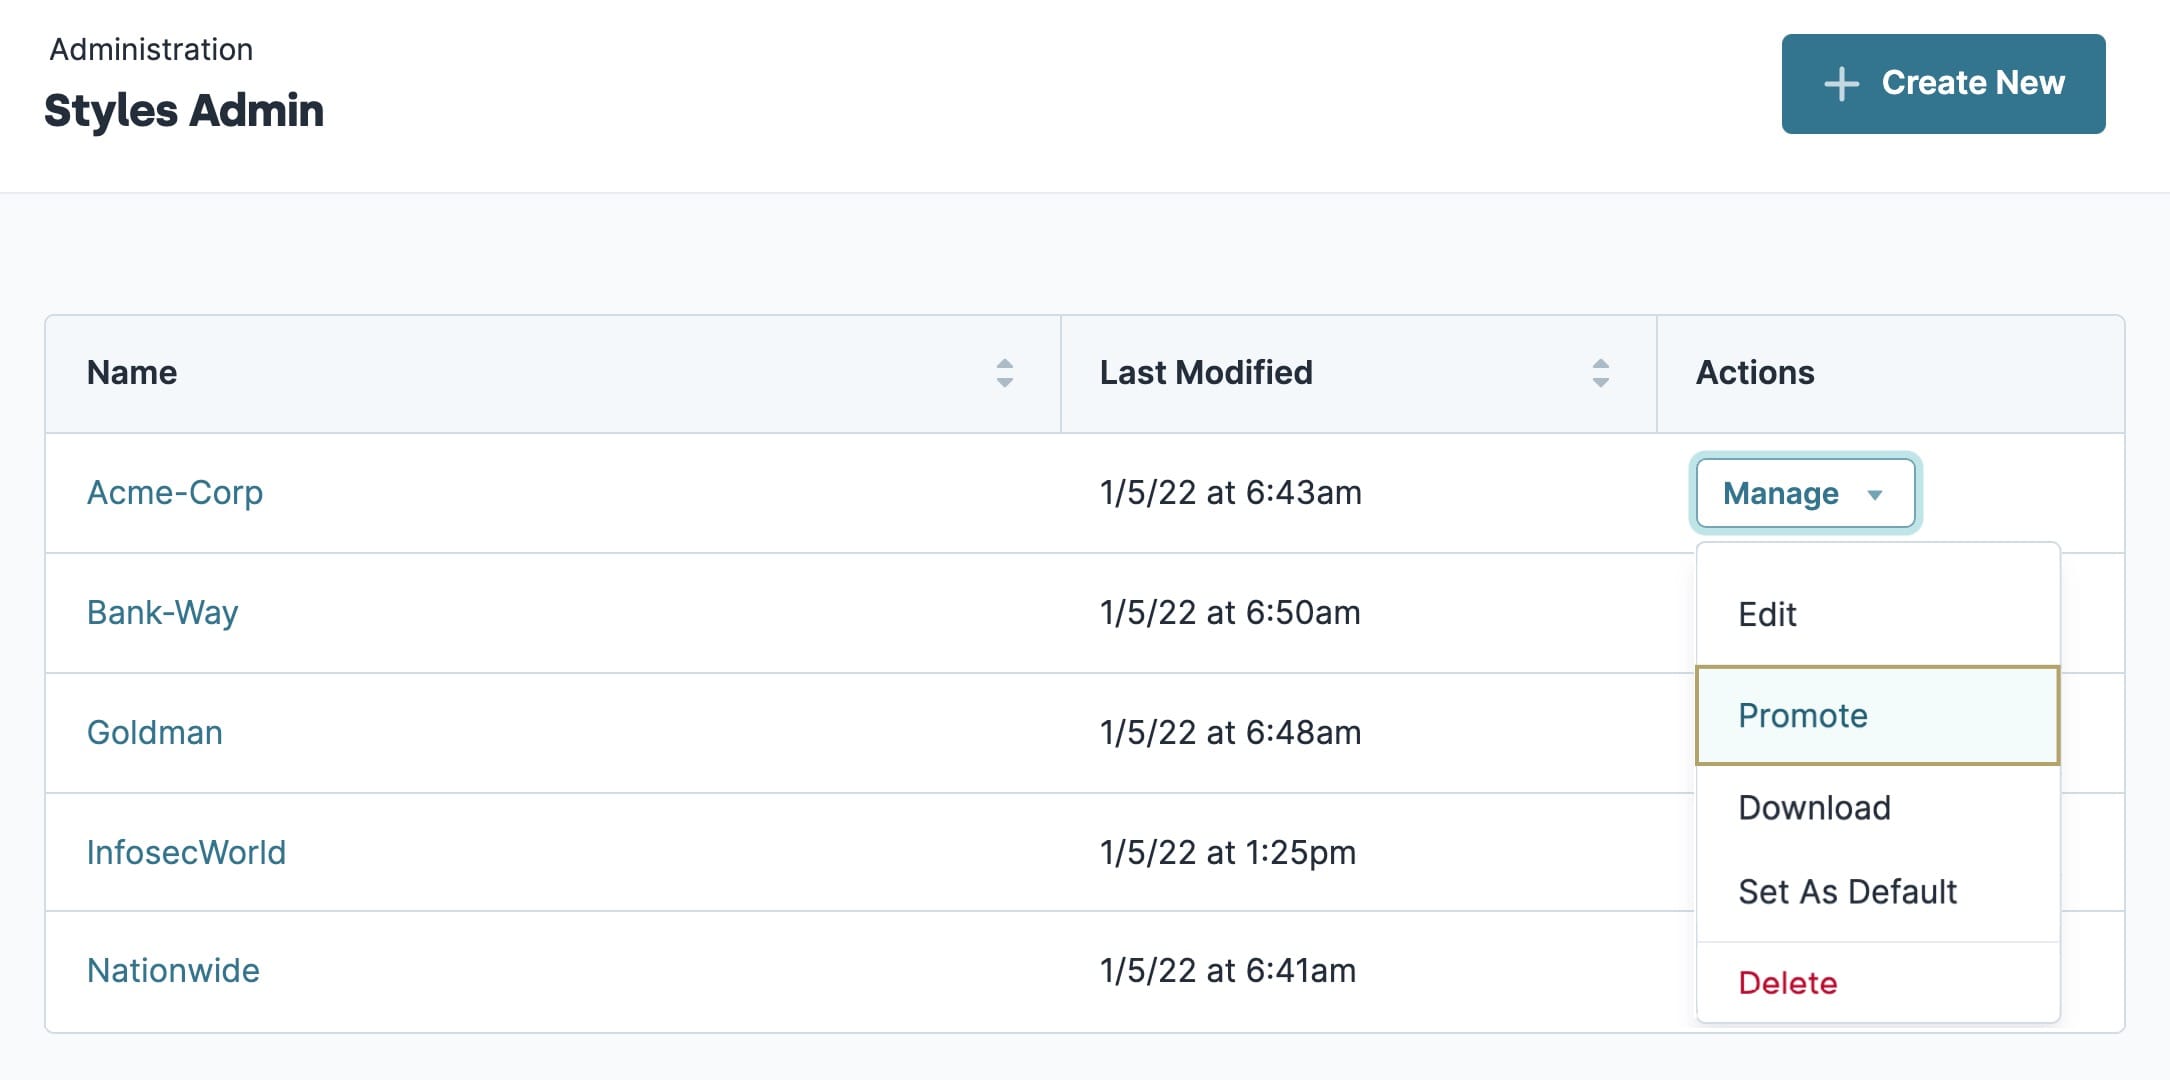
Promoting a style also promotes associated base styles and style assets with it.
Deleting a Style
From time to time, you might clean up styles you no longer need. A delete option makes this quick and easy.
This also deletes all assets saved in the style.
To delete a style:
On the Styles Admin page, find the style to delete.
Under the Actions column, open the Manage drop-down.
Select Delete.

Enter the style's name to confirm you want to delete it.
Click Delete.