How to: Move Applications From the Default Workspace to Your Workspace
Estimated Reading Time: 3 minutes
Introduction
To improve the security and performance of the Training environment, the Unqork Enablement team is implementing Workspaces RBAC (role-based access control). Going forward, you can only edit applications in your designated workspace. You will have view access to resources related to Unqork Community and Unqork Academy labs. Users will not be able to edit other workspaces in the environment.
This environmental change also affects the Default Workspace. As part of this new transition, the Default Workspace will no longer be available in the Training environment. If you have applications in the Default Workspace, there’s still time to move them to your workspace so you don’t lose work. This article will help ensure you don’t lose your work before the Default Workspace is removed from the Training environment.
The Default Workspace will temporarily have view only permissions, so users can move their applications into their designated workspace.
What You’ll Learn
In this how-to guide, you’ll learn how to move your applications out of the Default Workspace and into your own Unqork Workspace.
Locating Your Application
The first step to ensure you don’t lose your work is to locate your application in the Default Workspace, so you can move it. To begin, log into the Training environment using the following link: https://www.training.unqork.io.
There are a couple of ways to locate the application you want to move out of the Default Workspace and into your own workspace.
Default Workspace
To locate your application in the Default Workspace:
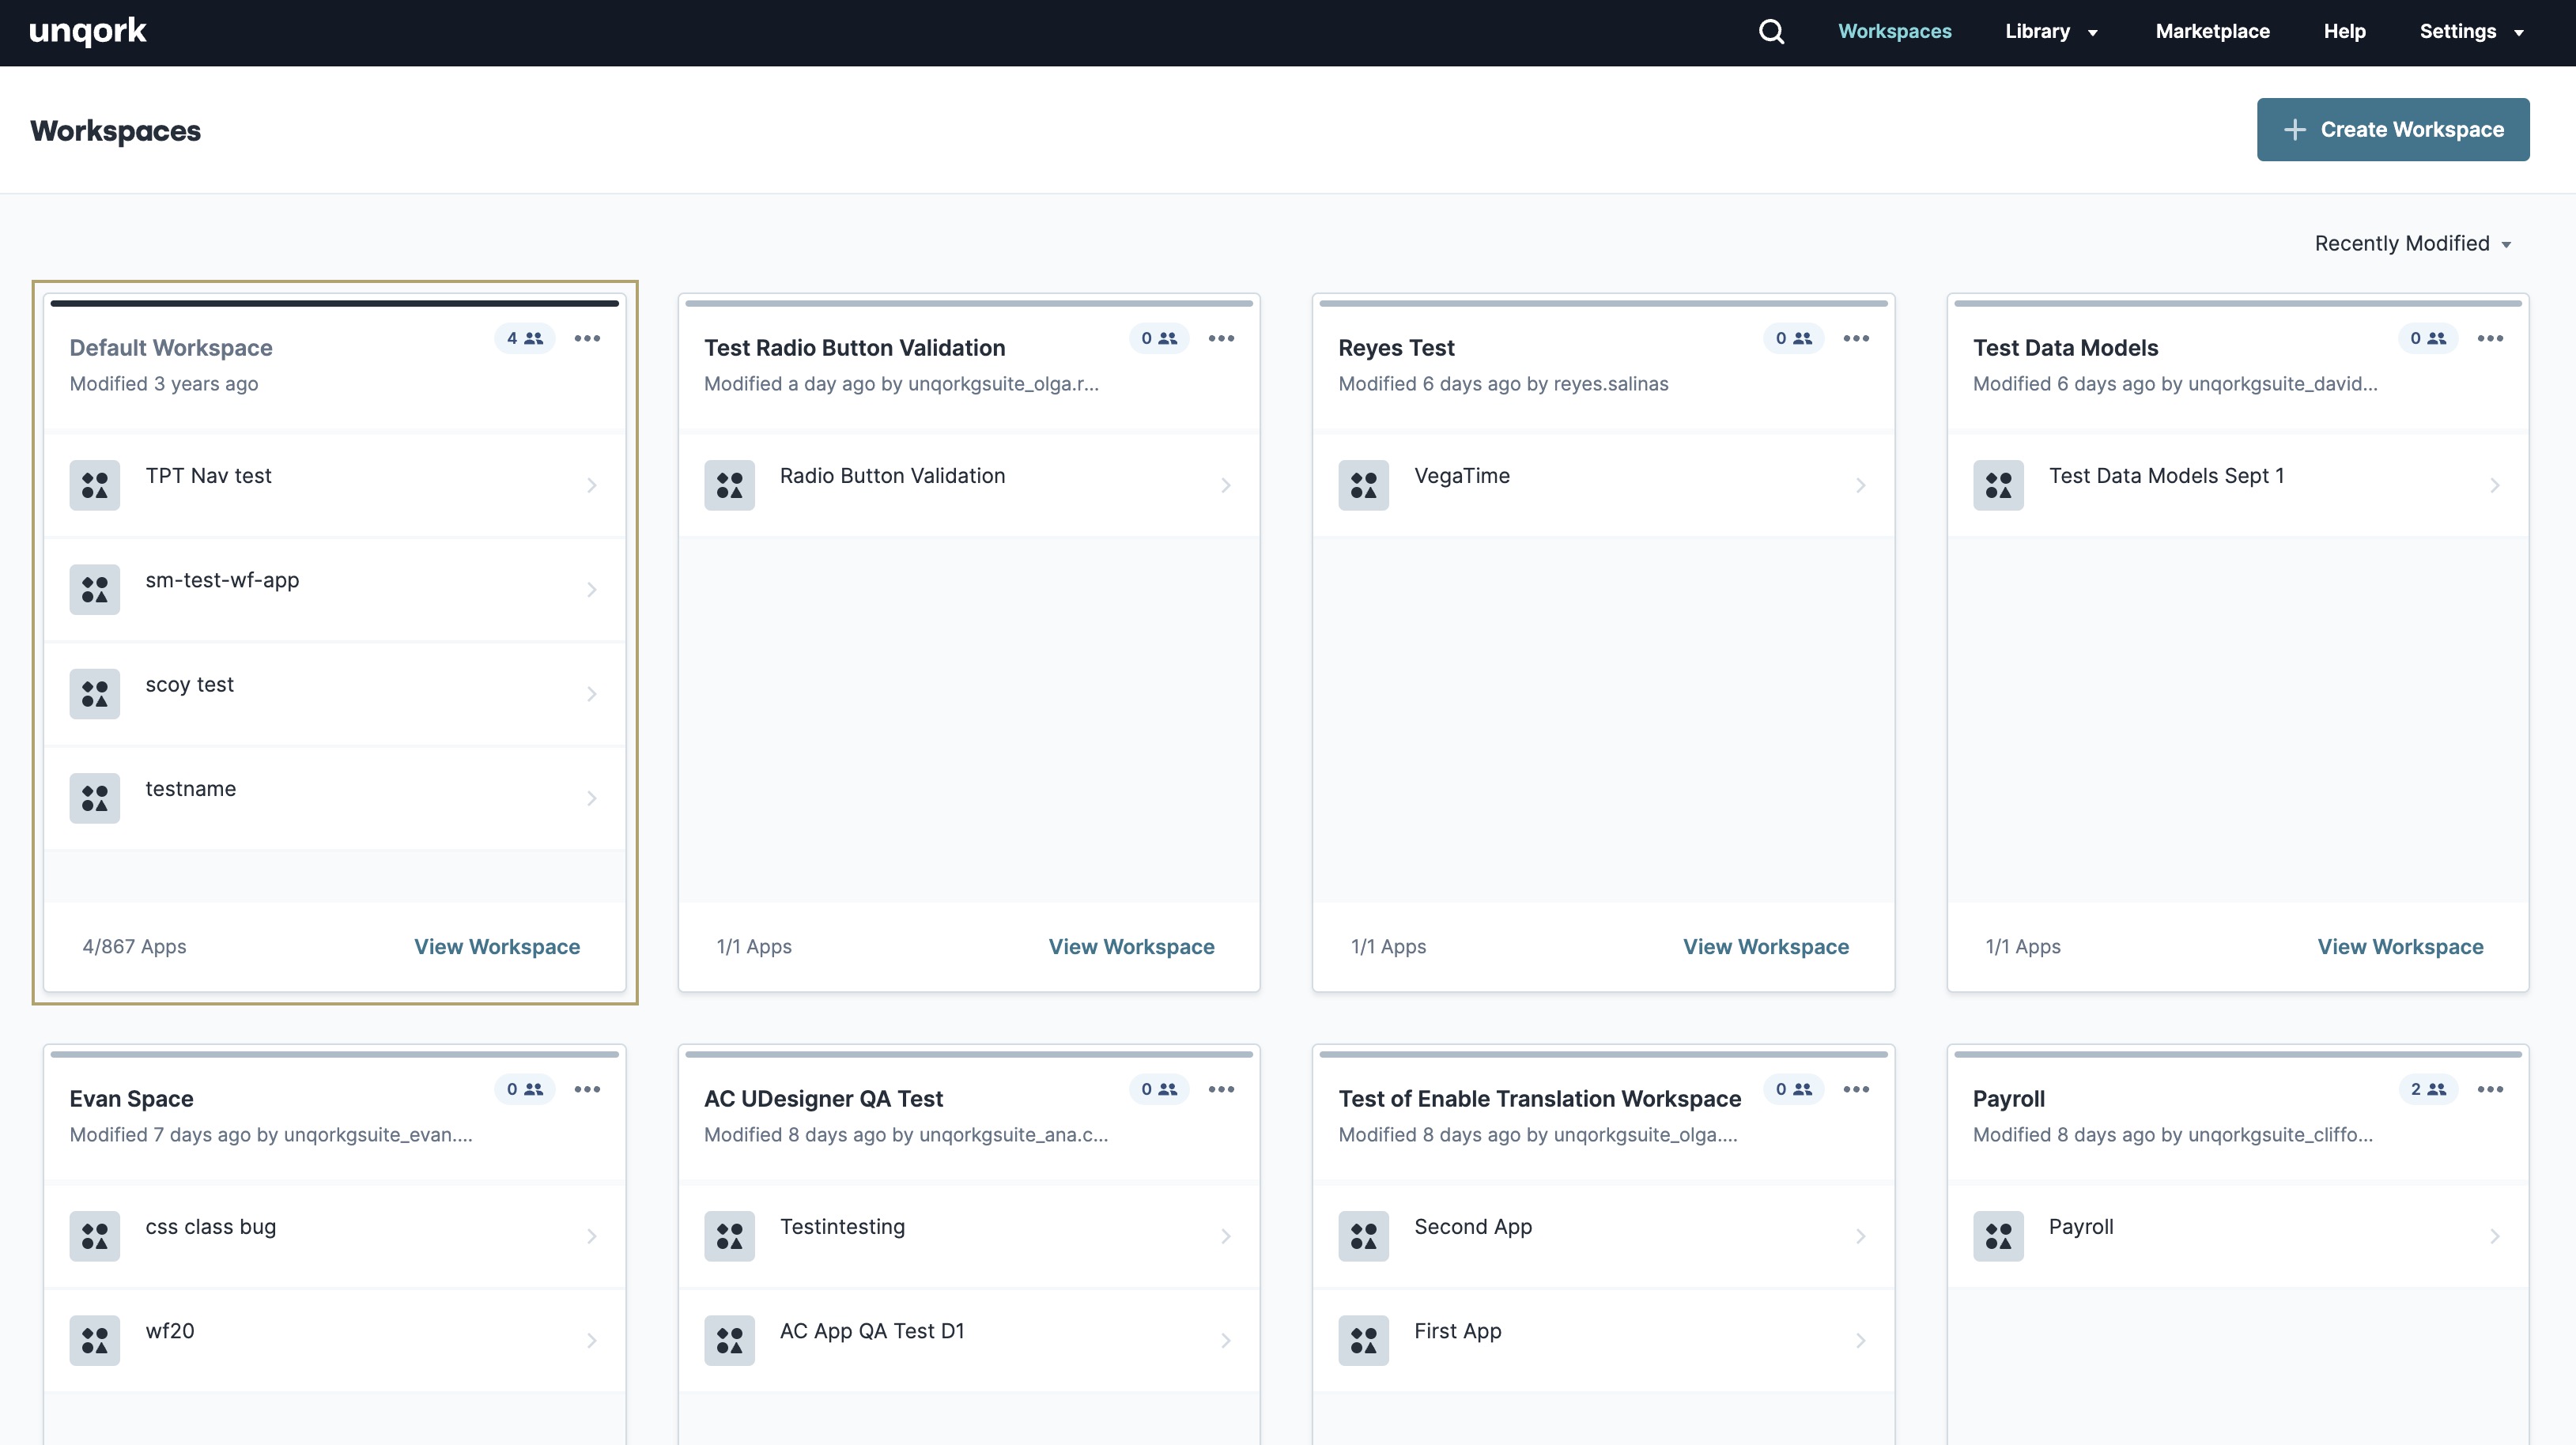
| 1 | In the Training environment, navigate to the Default Workspace tile and click View Workspace. |
| 2 | Use the pagination at the bottom of the Workspace page to locate your application. |
| 3 | Once you locate your application, click View App. |
Global Search
To locate your application using Global Search:
| 1 | At the top of the page, click |
| 2 | In the search field, enter the name of your application. |
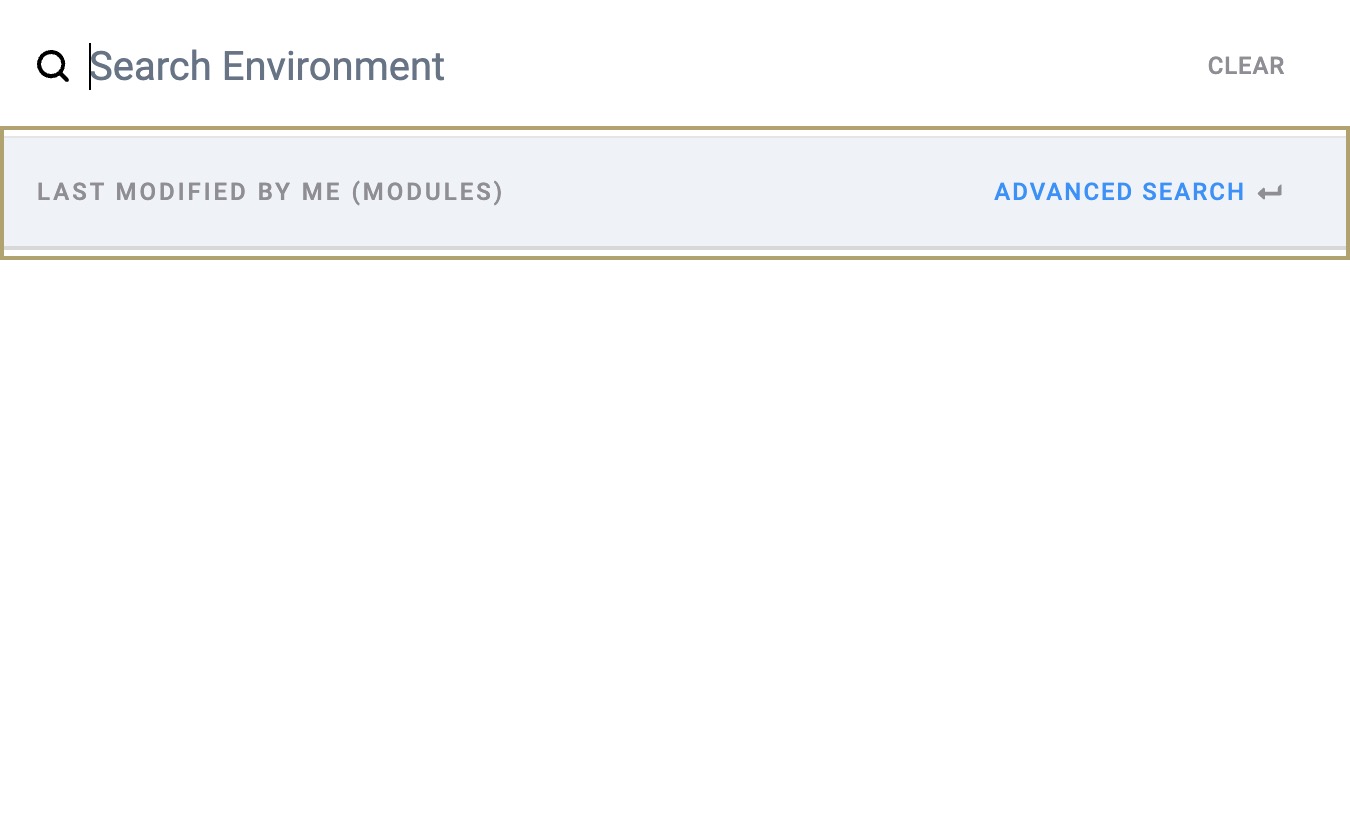
| 3 | Click on the application to open it in the Default Workspace. |
Moving Your Application
Now that you’ve located and opened your application in the Default Workspace, let’s move it to your workspace.
To move your application from the Default Workspace to your workspace:
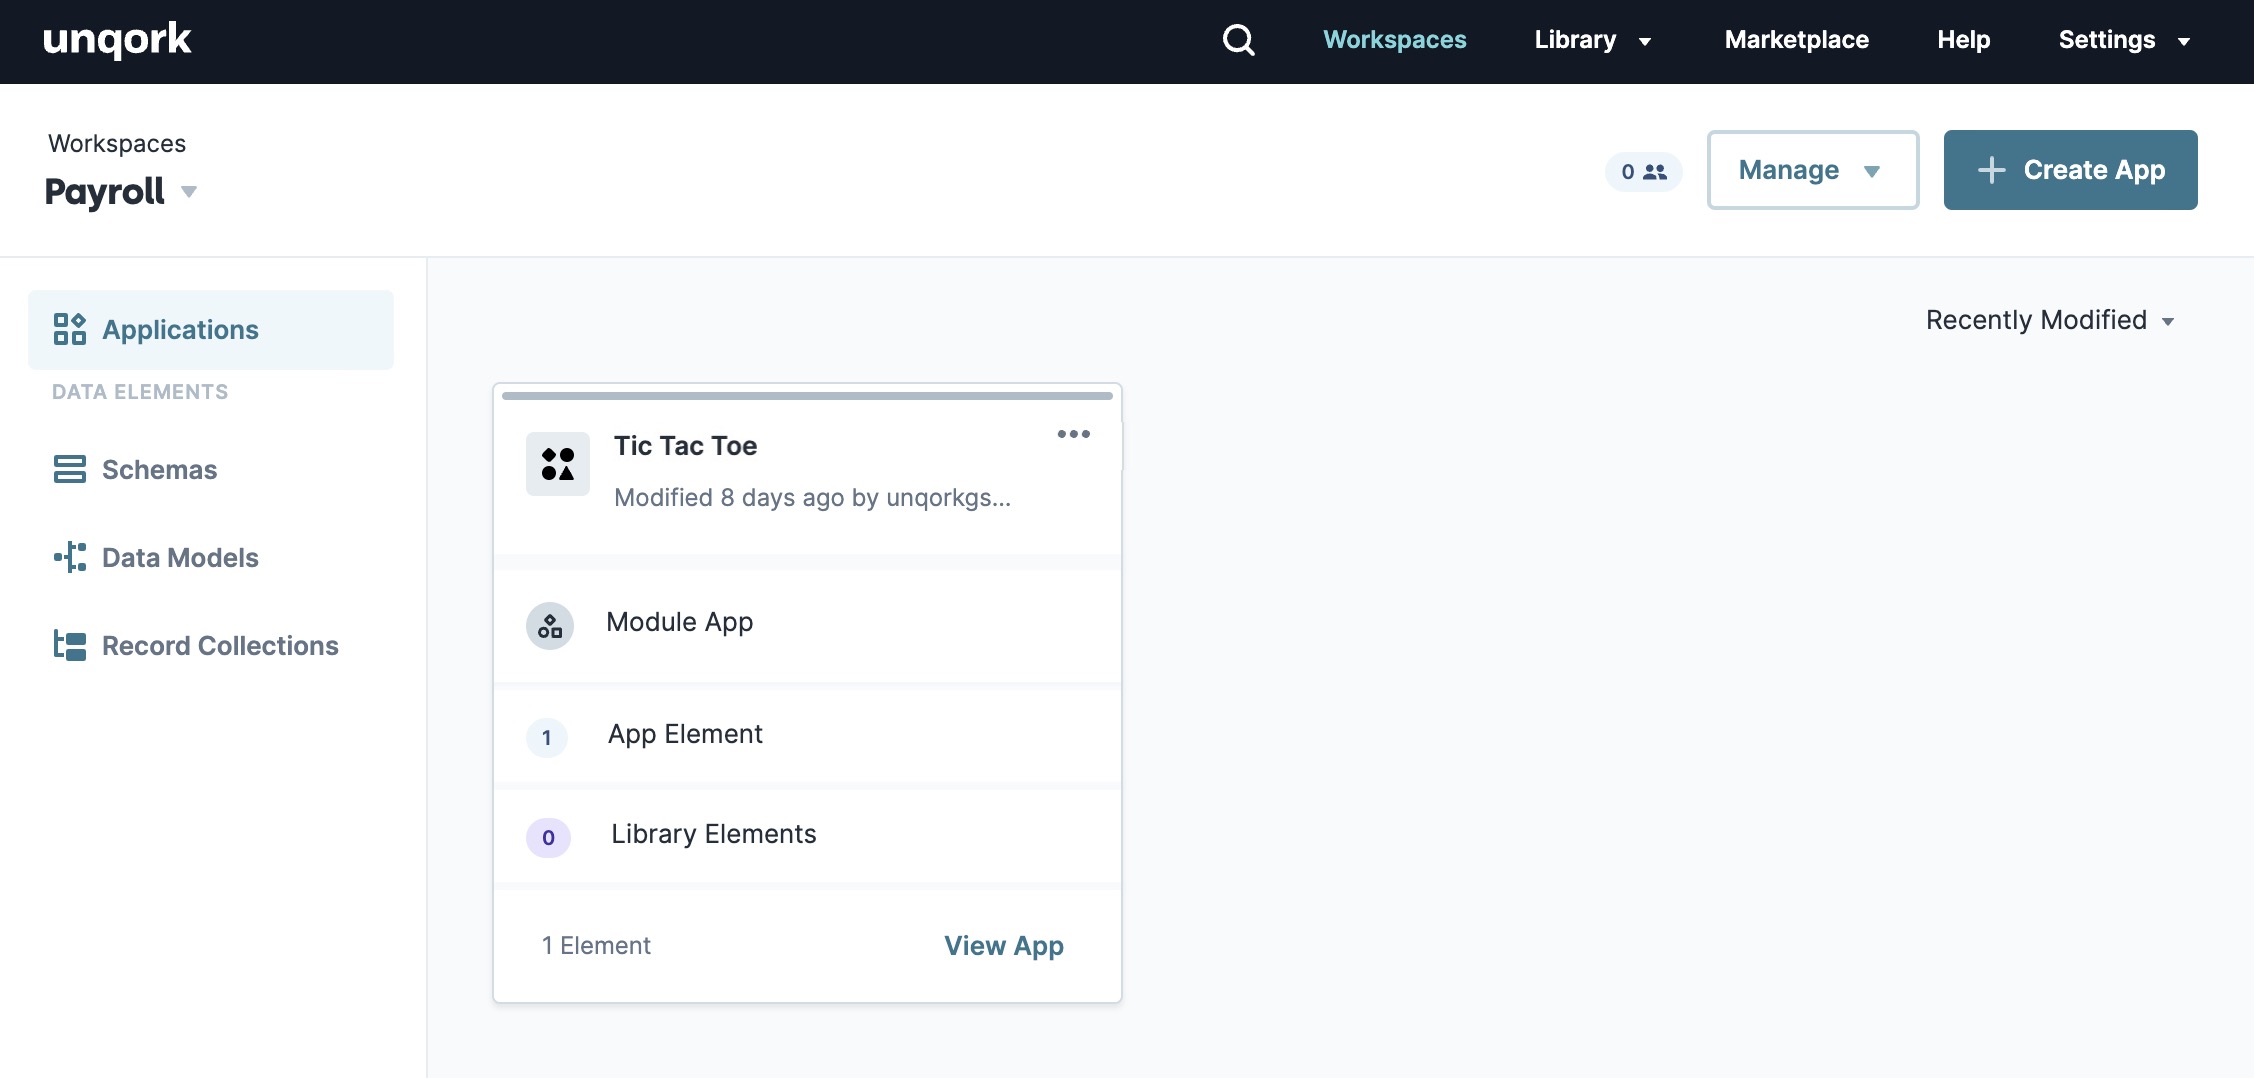
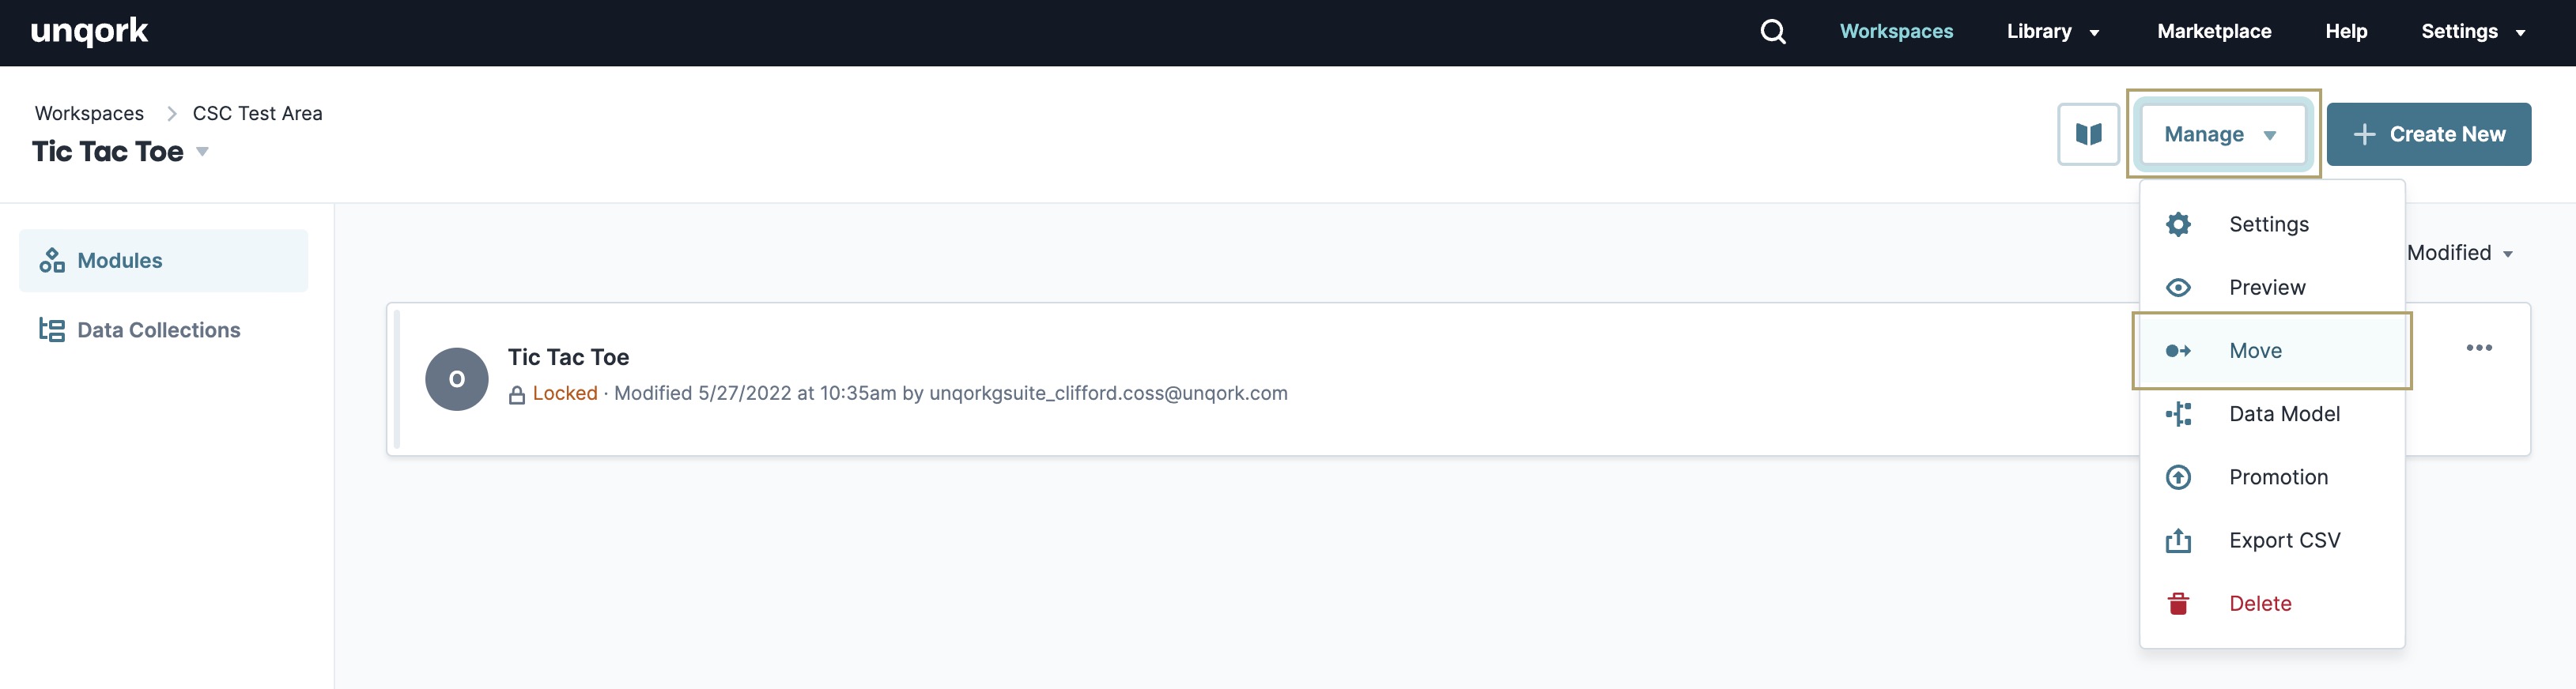
| 1 | Inside your application, click Manage ▾. |
| 2 | Select |
| 3 | From the Set Destination Workspace* drop-down, select or search for your workspace. |
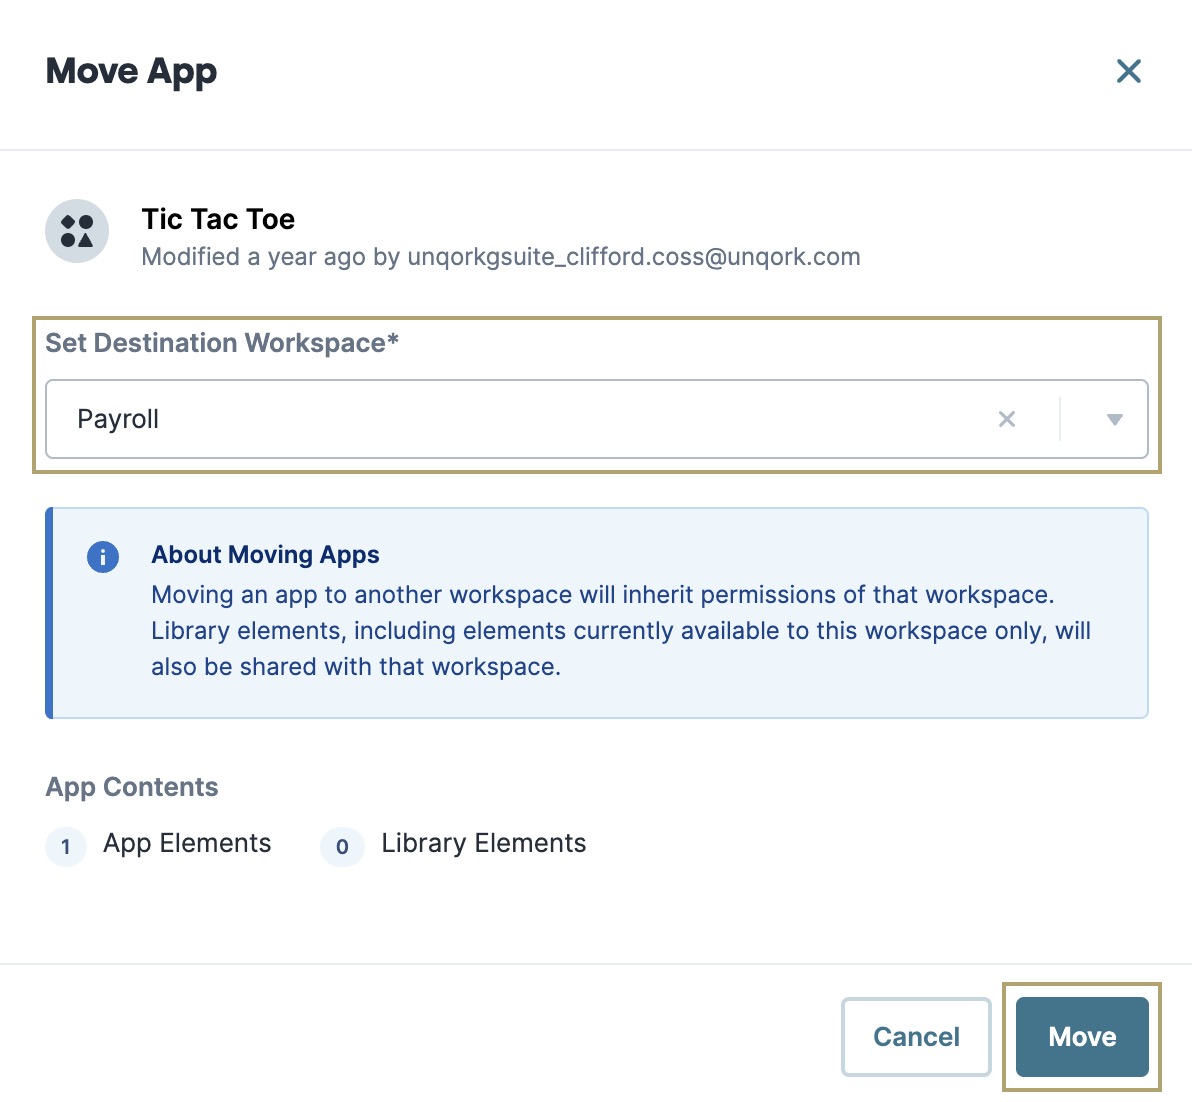
| 4 | Click Move. |
You have now successfully moved your application from the Default Workspace to your own. You can now continue working where you left off.