Setting Up Self-Signed and Certificate Authority Certificates
This article is being deprecated and documents older functionality. For more up-to-date documentation, see the following article: Generating a PFX Certificate Bundle for mTLS.
Overview
In any enterprise application, security is key. Certificates, a type of digital document, help make application security possible. Certificates contain a key and the identity of the certificate owner. The certificate authenticates the certificate owner. Authentication lets you know you're sending your information to the correct site. Certificates can be self-signed or created by a trusted CA (certificate authority). A self-signed certificate certifies the identity of the same entity who signed it. For example, an Unqork self-signed certificate identifies Unqork. A self-signed certificate is one signed with its own private key, as opposed to a public key. The process for setting up self-signed or CA certificates in Unqork is the same.
There are 3 basic steps involved in setting up a self-signed or CA certificate:
| 1. | Whitelist the IP addresses used to make calls from Unqork. |
| 2. | Verify your certificate is in the right format. |
| 3. | Set up the certificate in your environment's Services Administration page. |
What You'll Learn
In this article, you’ll learn how to set up a self-signed or CA certificate.
What You'll Need
-
A list of IP addresses to whitelist.
-
An IDE (integrated development environment) text and code editor.
-
Your self-signed or CA certificate.
-
Your self-signed or CA certificate's password.
-
Your intended API endpoint.
Whitelisting IP Addresses (Customer-Side)
Whitelisting IP addresses for an API (application programming interface) lets you set which IP addresses can access an API. Whitelisting your Unqork environments' IP addresses makes sure your firewall doesn't block API calls coming from Unqork. Blocking can happen even with a valid certificate.
| 1. | Connect with your Unqork representative to get a list of all IP addresses used for hosting your environments. |
| 2. | Add these IP addresses to your API Whitelist. |
You may need to contact your network administrator to make this happen if you don't have access to your API's Whitelist settings.
Verifying the Certificate Format
The certificate must be in PFX (personal information exchange) format to be valid. PFX is a format for storing the certificate and private key in one password-protected file. If you're unsure of a certificate’s format, it's best to take a moment to verify. You can check a certificate's format using an IDE program such as Atom or Sublime Text.
Text editors such as Notepad won't work. Notepad reads text, but not code.
| 1. | Go to the certificate's location on your computer. |
| 2. | Open your IDE program. |
| 3. | Drag and drop the certificate into your IDE. |
If the file appears in hexadecimal format, it's in PFX format. For example:
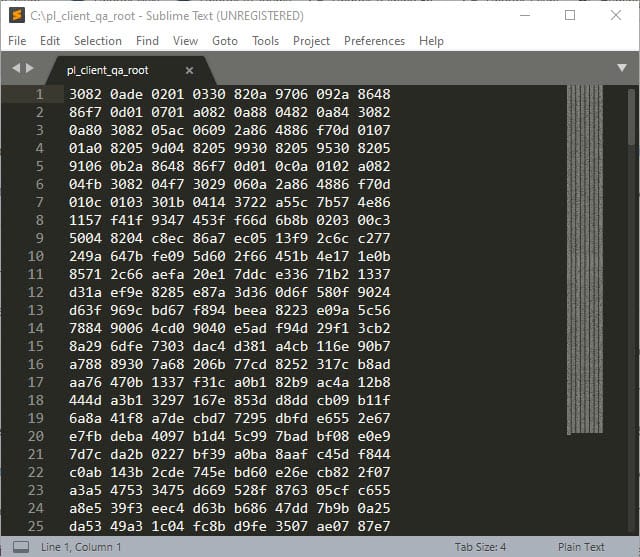
If the file doesn't appear in hexadecimal format, you must convert it using OpenSSL (Secure Sockets Layer).
Adding a Certificate Service to Services Administration
Now that you know your certificate is in the proper format, you can set up a service for the certificate.
| 1. | Click the Settings drop-down at the top right of the Unqork Designer Platform. |
| 2. | Click Administration. |
| 3. | Under Integration, click Services Administration. |
| 4. | Enter a Service Title for the certificate. |
| 5. | Enter a Service Name for the certificate. |
| 6. | Enter the Service Protocol. This is the API endpoint that you’re referencing. |
| 7. | Select Certificate from the Type of Authentication drop-down. |
After selecting the Type of Authentication, prompts appear for more information. Different authentication types have different setup needs. For example, in the case of certificates, you'll enter the contents of the PFX file and its password.
| 8. | Copy and paste the contents of the certificate from your IDE program into the PFX or PKCS12 Encoded (hex) Private Key and Certificate Chain field. |
| 9. | Copy and paste the certificate password into the PFX Passphrase field. |
During authentication, these credentials stay secure. All interaction with the API goes through the Unqork server using these credentials.

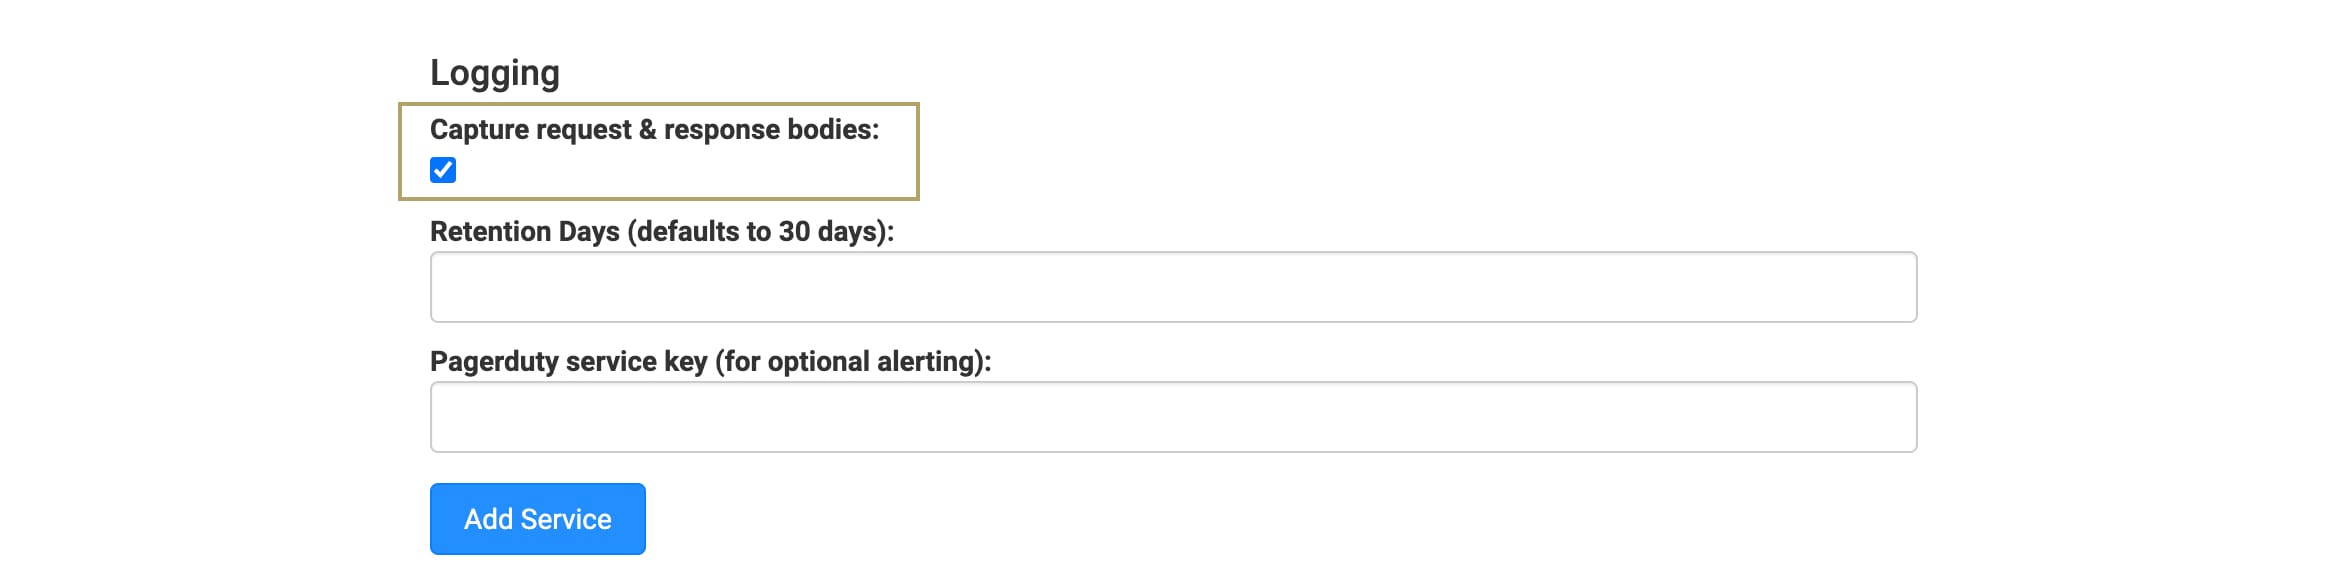
You might want to capture information transmitted in the bodies of both requests and responses. This is optional, but here's how:
| 10. | Scroll down to the Logging section of Services Administration. |
| 11. | Check the Capture Request & Response Bodies checkbox. |
The request body holds the information requested from the service. The response body holds information sent from the service.
| 12. | Click Add Service. |
| 13. | At the Success message, click OK. |
Your Service will show in the Active Services list, found below the Add Service button.
Testing the Connection
After completing the setup process, you can test the certificate connection. You'll configure a Plug-In to call this API endpoint. The setup of the Plug-In depends on which API you're trying to call. With a working connection, you'll receive a 2XX code.
