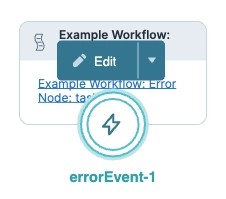
The Error node redirects a workflow when the Plug-In component of an automated Task node module returns an error. In the Workflow Builder, the Error node attaches to that Task node in the Automated swimlane.
It’s important to note that if your Plug-In component already contains an error trigger, your Error node will not catch the error and redirect.
You’ll find the Error node in the list of nodes to the left of the Workflow Builder.
Error Node Settings
After adding an Error node to your workflow, select it to open a Settings Menu. This menu displays as a blue menu bar, either above or below the node itself. The menu has the following options:

Setting | Description |
|---|---|
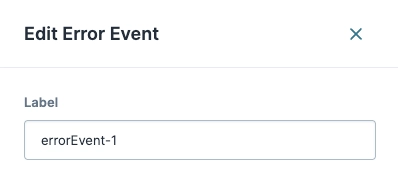
Edit | Takes you to the Edit Error Event drawer, where you can configure related settings. |
Delete (Down Arrow) | Removes the node from the workflow |
Edit Error Event Drawer Description
The following settings are available in the Edit Error Event drawer:

Setting | Description |
|---|---|
Label | Sets the name of your node. By default, the Label displays as Define your labels by associating them with the node’s role. |
Adding an Error Node
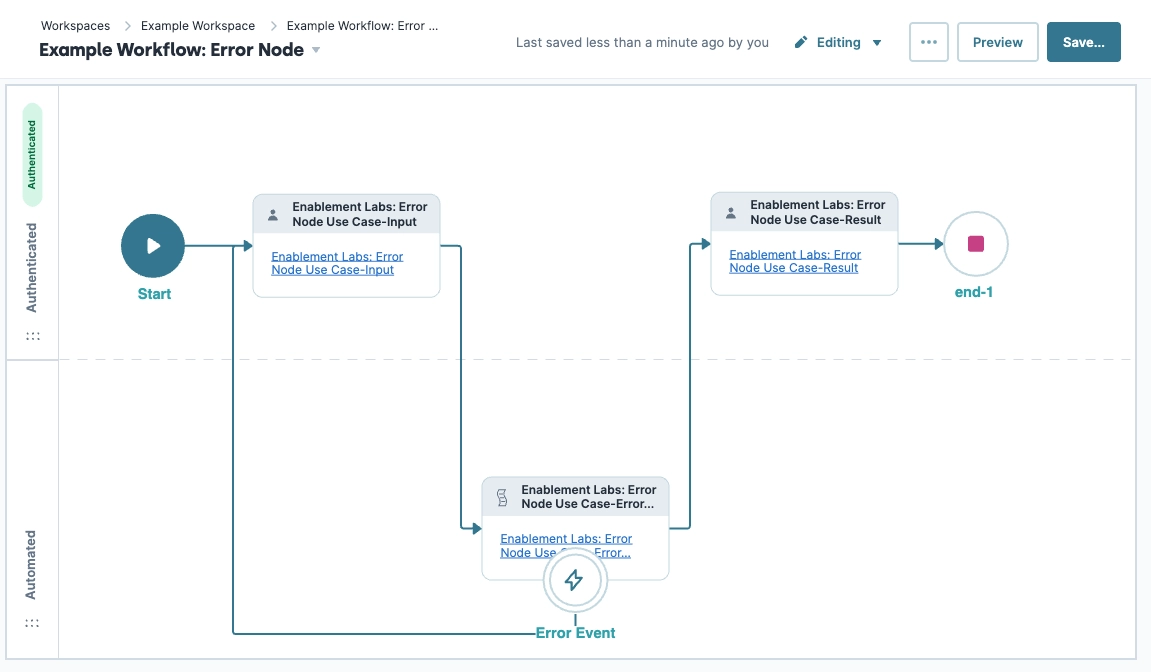
In this example, the workflow confirms if an end-user wants an error returned. If your end-user selects No, your workflow proceeds and returns a message retrieved from a transform. If your end-user selects Yes, the Plug-In component in the second Task node simulates an error. Then, your Error node returns the end-user to the first Task node to answer the question again.
This demonstration is for illustrative purposes only and cannot be replicated due to Training environment security.
Configure the Task Nodes
Add three Task nodes to your workflow. The first Task node connects to the Start node. The second Task node uses Plug-In components to simulate an error response. The final Task node returns a message if no error occurs.
Drag and drop two Task nodes into the Authenticated swimlane.
Select a Task node.
Click Edit.
In the Label field, enter
Input.From the Module drop-down, enter or select
Enablement Labs: Error Node Use Case-Input.This demonstration module asks end-users if they want to generate an error in the next Task node.
Click X (Close).
Select the second Task node.
Click Edit.
In the Label field, enter
Result.From the Module drop-down, enter or select
Enablement Labs: Error Node Use Case-Result.This demonstration module contains two Plug-In components. One Plug-In component functions as expected, the other is configured incorrectly and triggers the Error node.
Click X (Close).
Drag and drop a third Task node into the Automated swimlane.
Click Edit.
In the Label field, enter
Error Check.From the Module drop-down, enter or select
Enablement Labs: Error Node Use Case-Error Check.This demonstration module displays if end-users choose not to trigger the error node.
Click X (Close).
Connect the output port (right) of the Start node to the input port (left) of the
InputTask node.Connect the output port (right) of the
InputTask node to the input port (left) of theError CheckTask node.Connect the output port (right) of the
Error CheckTask node to the input port (left) of theResultTask node.
Configure the Error Node
Next, add an Error node. Your Error node redirects the workflow path if a Plug-In component error occurs.
Drag and drop an Error node onto your
Error CheckTask node.Click Edit.
In the Label field, enter
Error Event.Connect the output port (bottom) of the Error node to the input port (left) of the
InputTask node.Click X (Close).
Configure the End Node
Drag and drop an End node into the Authenticated swimlane.
Click Edit.
In the Label field, enter
End.Connect the output port (right) of the
ResultTask node to the input port (left) of theEndEnd node.Click Save....
Save your workflow.
Your completed workflow looks like the following:
Preview your workflow. From the Error selection, select Yes. The workflow progresses to the Automated lane, and the Error node triggers, redirecting the end-user to the Error selection task. Click No, and the workflow progresses to the Result task.
