Overview
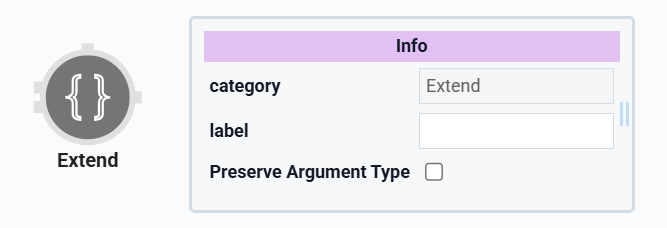 The Extend operator lets you combine two objects into one. You'll often use the Extend operator in combination with the Group Input operator. The Group Input operator lets you create objects in the Data Workflow component. But the Group Input operator can only create an object with up to six fields. To create larger objects, use the Extend operator to combine the input from two Group Input operators.
Let's say you want to collect a lot of information from an end-user. When you create objects, there's a limit to the number of fields you can include. So, you'll have to store data in two objects. You can combine your objects into one using the Extend operator.
You’ll find the Extend operator under the Object Operators group to the left of the Data Workflow canvas.
Similar Data Workflow Operators
The Extend operator is similar to the Append operator. Here’s the comparison:
Extend operator: Combines two objects into a single object. Often used with Group Input operators to create objects with more than six fields.
Append operator: Combines strings or arrays. When appending strings, it acts as a concatenation. When appending arrays, it joins both arrays into one.
About the Info Window
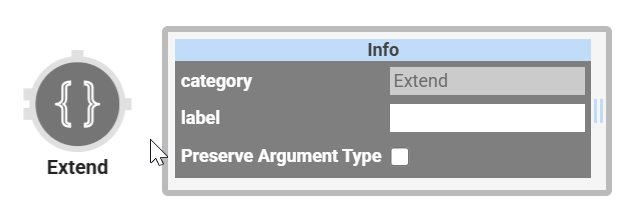
Here's a breakdown of each setting in the Info window:
Setting | Description |
|---|---|
Category | Grayed out and non-adjustable setting indicating the operation type. |
Label | Sets the label for your operator, displaying below the operator on your Data Workflow canvas. This field is optional, but set a label if you use more than one of the same operator type. A label helps you identify your operators without opening any Info windows. |
Preserve Argument Type | When selected, this setting ensures the argument data type is respected when the operator executes. |
Adding an Extend Operator
In this example, an application has several components to collect your end-user's information. You'll convert the end-user's data into objects using Group Input operators. Because there’s a limit to the amount of data you can store in an object, you’ll use the Group Input operator. So, you'll need to create two objects to capture all of the end-user's data. You'll combine these two objects using the Extend operator.
Configure the Text Field Components
First, you'll add four Text Field components to collect your end-user's information.
Drag and drop four Text Field components onto your canvas, placing them one after the other.
Enter the Property ID and Label Text details as follows:
Property ID
Label Text
firstName
First Name
middleInitial
Middle Initial
lastName
Last Name
occupation
Occupation
Click Save Component for each component as you add it.
Configure the Date Input Component
Next, you'll add a Date Input component to collect the end-user's date of birth.
Drag and drop a Date Input component onto your canvas and place it under the
lastNameText Field component.In the Property ID field, enter
dateOfBirth.In the Label Text field, enter
Date of Birth.In the Display (+/-) years from the current date field, enter
-100.Under the Advanced section, complete the following:
Set Disable Calendar View to
.png) (ON).
(ON).From the Restrict Date selection to: drop-down, select Past Only.

Click Save Component.
Configure the Phone Number Component
Configure a Phone Number component to collect the end-user's phone number details.
Drag and drop a Phone Number component onto your canvas, placing it below the
dateOfBirthDate Input component.In the Property ID field, enter
phoneContact.In the Label Text field, enter
Phone Number.Click Save Component.
Configure the Email Component
For the final input field, configure an Email component to collect the end-user’s email address.
Drag and drop an Email component onto your canvas, placing it below the
phoneContactPhone Number component.In the Property ID field, enter
email.In the Label Text field, enter
Email Address.Click Save Component.
Configure the Hidden Component
You'll add a Hidden component to store the output of your Data Workflow.
Drag and drop a Hidden component onto your canvas, placing it below the
occupationText Field component.In the Property ID and Label Text fields, enter
userData.Click Save Component.
Configure the Data Workflow Component
Add a Data Workflow component to create objects from the end-user's input data and combine these objects into one.
Drag and drop a Data Workflow component onto your canvas, placing it above the
userDataHidden component.In the Property ID and Canvas Label Text fields, enter
dwfExtend.
Configure the First Group Input Operator
Next, you'll add a Group Input operator to create objects from your end-user's input data.
Drag and drop a Group Input operator onto your Data Workflow canvas.
Configure the operator's Info window as follows:
Setting
Value
Category
Group Input
Component
firstName
Component 1
middleInitial
Component 2
lastName
Component 3
dateOfBirth
Component 4
phoneContact
Component 5
email
Required
Yes
You'll want every Component field in your first Group Input's Info window assigned. If any fields are left empty, the operator won't work.
Configure the First Console Operator
Add a Console operator to view the progress of the Group Input operator.
Drag and drop a Console operator onto your Data Workflow canvas.
Configure the operator's Info window as follows:
Setting
Value
Category
Console
Label
Group Input 1
Connect the output port (right) of the
firstNameGroup Input operator to the input port (left) of theGroup Input 1Console operator.
Configure the Second Group Input Operator
Drag and drop another Group Input operator onto your Data Workflow canvas.
Configure the operator's Info window as follows:
Setting
Value
Category
Input
Component
occupation
Component 1
Component 2
Component 3
Component 4
Component 5
Required
Yes
Configure the Second Console Operator
Add another Console operator to view the progress of your second Group Input.
Drag and drop another Console operator onto your Data Workflow canvas.
Configure the operator's Info window as follows:
Setting
Value
Category
Console
Label
Group Input 2
Connect the output port (right) of the
occupationGroup Input operator to the input port (left) of theGroup Input 2Console operator.
Configure the Extend Operator
You'll add an Extend operator to combine the data from the two Group Input operators into a single object.
Drag and drop an Extend operator onto your Data Workflow canvas.
Configure the operator's Info window as follows:
Setting
Value
Category
Extend
Label
Combine Data
Connect the output port (right) of the
firstNameGroup Input operator to the upper input port (left) of theCombine DataExtend operator.Connect the output port (right) of the
occupationGroup Input operator to the lower input port (left) of theCombine DataExtend operator.
Configure the Third Console Operator
Add a final Console operator to view the progress of your Extend operator.
Drag and drop another Console operator onto your Data Workflow canvas.
Configure the operator's Info window as follows:
Setting
Value
Category
Console
Label
Extend Group Inputs
Connect the output port (right) of the
Combine DataExtend operator to the input port (left) of theExtend Group InputsConsole operator.
Configure the Output Operator
Drag and drop an Output operator onto your Data Workflow canvas.
Configure the operator's Info window as follows:
Setting
Value
Category
Output
Component
userData
Action
value
Connect the output port (right) of the
Combine DataExtend operator to the input port (left) of theuserDataOutput operator.Click Save Component.
The image below is how your completed Data Workflow looks:
.png)
Configure the Button Component
Lastly, you'll add a Button component that end-users click to submit their information and trigger the Data Workflow.
Drag and drop a Button component onto your canvas, placing it above the Data Workflow.
In the Property ID field, enter
btnCreateObject.In the Label Text field, enter
Submit Information.Under the Actions section, complete the following:
For the Action Type dropdown, select Event.
Under Triggers, in the On Click field, enter
dwfExtend.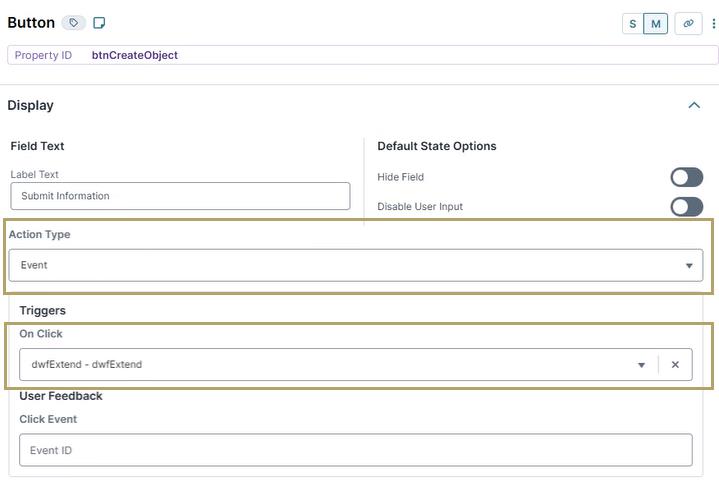
Click Save Component.
Save your module.
Here's how the completed example looks in the Module Builder:
.png)
Here's how the completed example looks in Express View:
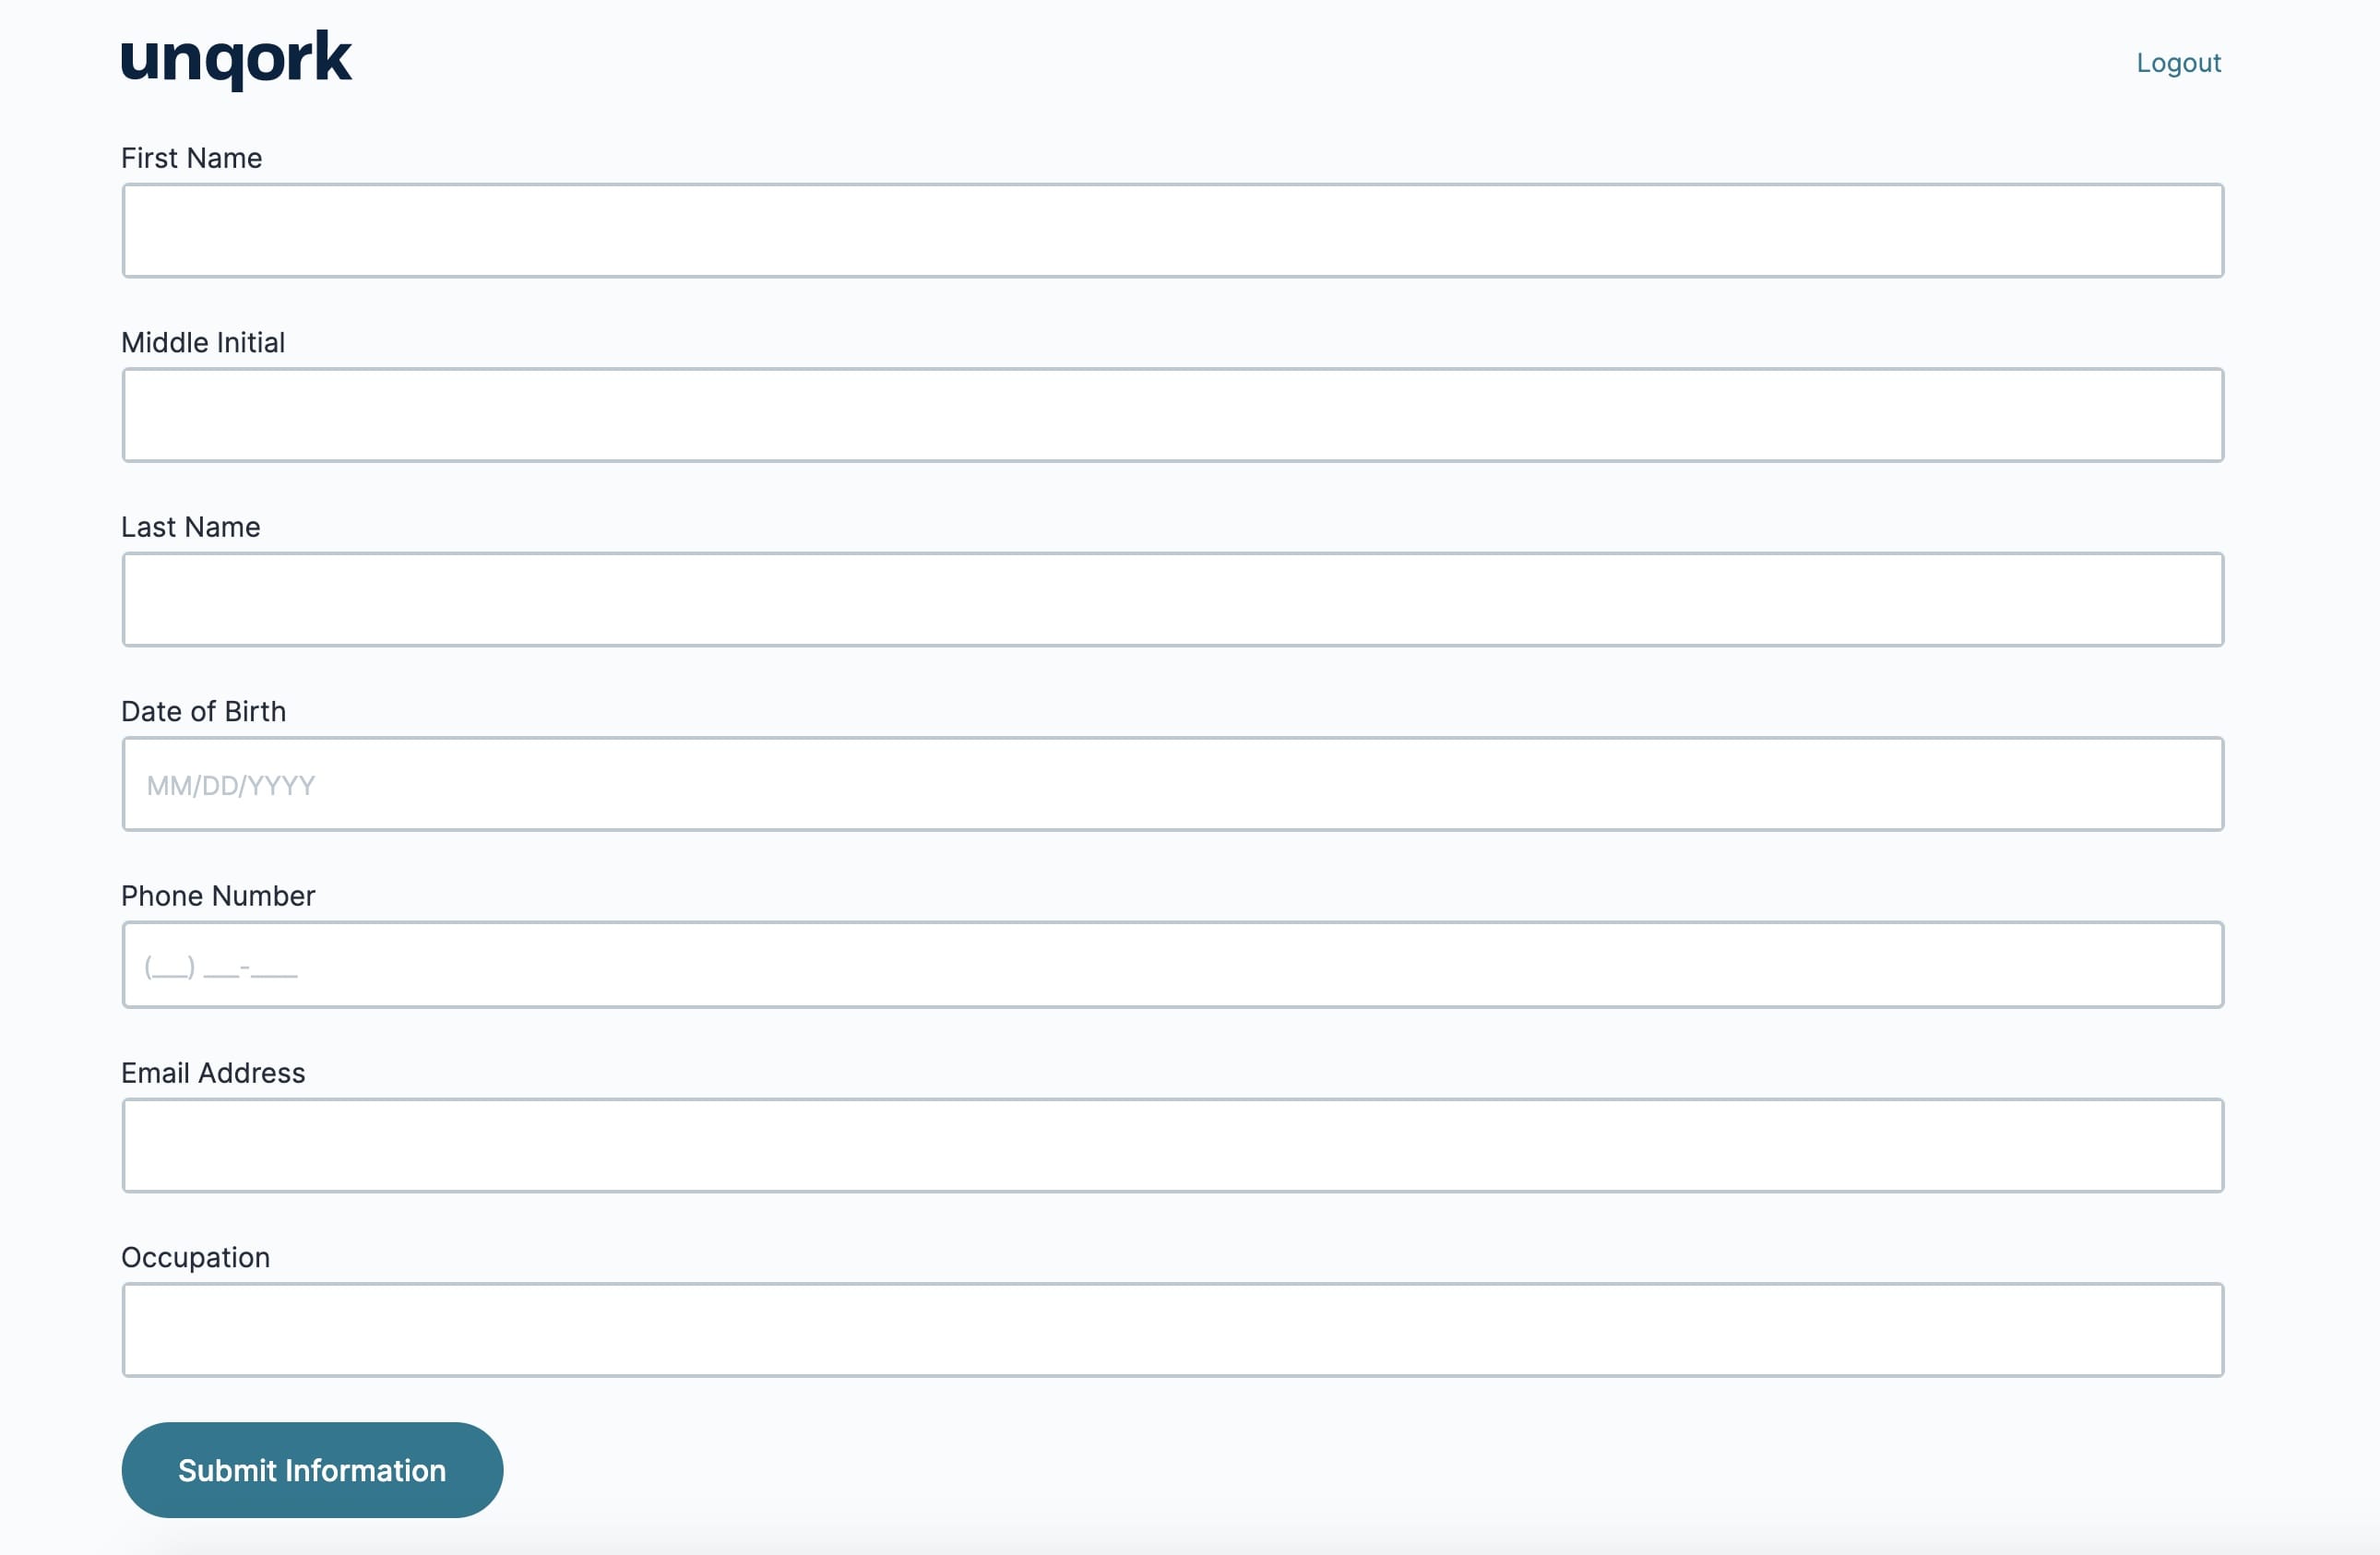
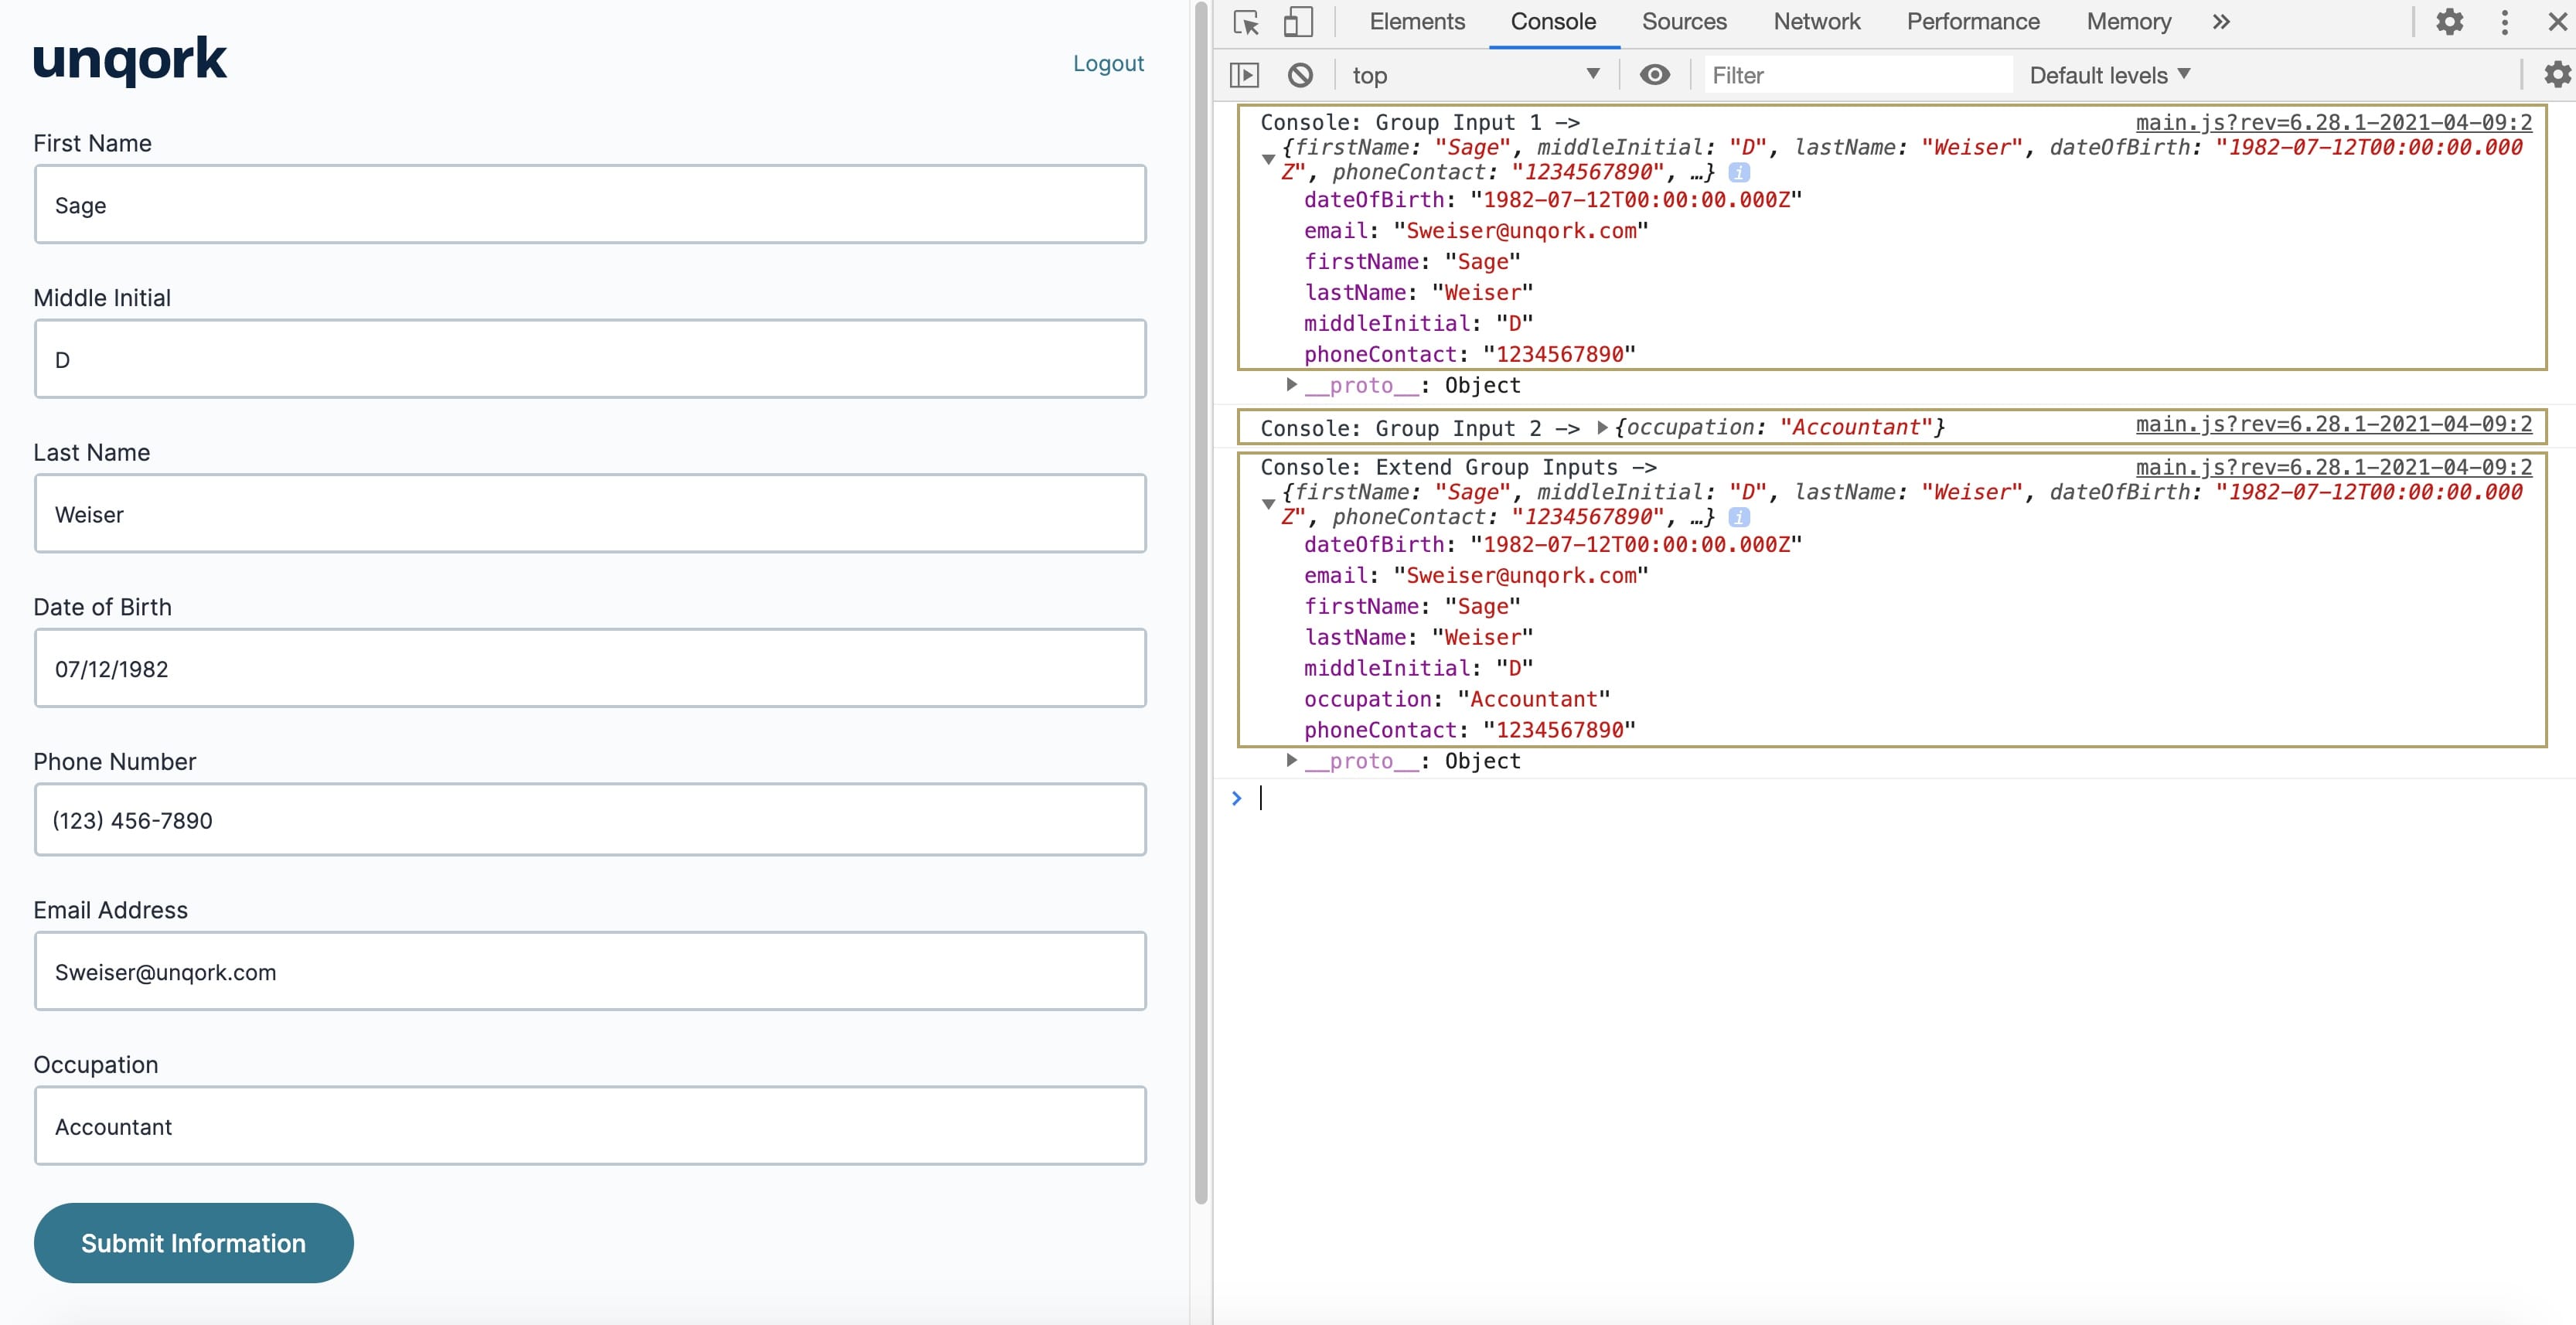
Preview your module and begin by entering information into all fields on your application. You'll want to ensure you complete all the fields, or the Extend operator will not work. Open the DevTools Console and click the Submit Information Button component. You'll see updates from your three Console operators. The Group Input 1 and Group Input 2 Console operators display your inputs as separate objects. In the Extend Group Inputs Console operator, you'll see the two inputs combined as a single object.
Overview
 The Extend operator lets you combine two objects into one. You'll often use the Extend operator in combination with the Group Input operator. The Group Input operator lets you create objects in the Data Workflow component. But the Group Input operator can only create an object with up to six fields. To create larger objects, use the Extend operator to combine the input from two Group Input operators.
Let's say you want to collect a lot of information from an end-user. When you create objects, there's a limit to the number of fields you can include. So, you'll have to store data in two objects. You can combine your objects into one using the Extend operator.
You’ll find the Extend operator under the Object Operators group to the left of the Data Workflow canvas.
Similar Data Workflow Operators
The Extend operator is similar to the Append operator. Here’s the comparison:
Extend operator: Combines two objects into a single object. Often used with Group Input operators to create objects with more than six fields.
Append operator: Combines strings or arrays. When appending strings, it acts as a concatenation. When appending arrays, it joins both arrays into one.
About the Info Window
Here's a breakdown of each setting in the Info window:
Setting | Description |
|---|---|
Category | Grayed out and non-adjustable setting indicating the operation type. |
Label | Sets the label for your operator, displaying below the operator on your Data Workflow canvas. This field is optional, but set a label if you use more than one of the same operator type. A label helps you identify your operators without opening any Info windows. |
Preserve Argument Type | When selected, this setting ensures the argument data type is respected when the operator executes. |
Adding an Extend Operator
In this example, an application has several components to collect your end-user's information. You'll convert the end-user's data into objects using Group Input operators. Because there’s a limit to the amount of data you can store in an object, you’ll use the Group Input operator. So, you'll need to create two objects to capture all of the end-user's data. You'll combine these two objects using the Extend operator.
Configure the Text Field Components
First, you'll add four Text Field components to collect your end-user's information.
Drag and drop four Text Field components onto your canvas, placing them one after the other.
Enter the Property ID and Label Text details as follows:
Property ID
Label Text
firstName
First Name
middleInitial
Middle Initial
lastName
Last Name
occupation
Occupation
Save & Close each component as you add it.
Configure the Date Input Component
Next, you'll add a Date Input component to collect the end-user's date of birth.
Drag and drop a Date Input component onto your canvas, placing it below the
lastNameText Field component.In the Property ID field, enter
dateOfBirth.In the Label Text field, enter
Date of Birth.In the Display (+/-) years from the current date field, enter
-100.Under the Advanced section, complete the following:
Set Disable Calendar View to
.png) (ON).
(ON).From the Restrict Date selection to: drop-down, select Past Only.
.jpg)
Click Save & Close.
Configure the Phone Number Component
Configure a Phone Number component to collect the end-user's phone number details.
Drag and drop a Phone Number component onto your canvas, placing it below the
dateOfBirthDate Input component.In the Property ID field, enter
phoneContact.In the Label Text field, enter
Phone Number.Click Save & Close.
Configure the Email Component
For the final input field, configure an Email component to collect the end-user’s email address.
Drag and drop an Email component onto your canvas, placing it below the
phoneContactPhone Number component.In the Property ID field, enter
email.In the Label Text field, enter
Email Address.Click Save & Close.
Configure the Hidden Component
You'll add a Hidden component to store the output of your Data Workflow.
Drag and drop a Hidden component onto your canvas, placing it below the
occupationText Field component.In the Property ID and Canvas Label Text fields, enter
userData.Click Save & Close.
Configure the Data Workflow Component
Add a Data Workflow component to create objects from the end-user's input data and combine them into one.
Drag and drop a Data Workflow component onto your canvas, placing it above the
userDataHidden component.In the Canvas Label Text and Property Name fields, enter
dwfExtend.
Configure the First Group Input Operators
Next, you'll add a Group Input operator to create objects from your end-user's input data.
Drag and drop a Group Input operator onto your Data Workflow canvas.
Configure the operator's Info window as follows:
Setting
Value
Category
Group Input
Component
firstName
Component 1
middleInitial
Component 2
lastName
Component 3
dateOfBirth
Component 4
phoneContact
Component 5
email
Required
Yes
You'll want every Component field in your first Group Input's Info window assigned. If any fields are left empty, the operator will not work.
Configure the First Console Operator
Add a Console operator to view the progress of the firstName Group Input operator.
Drag and drop a Console operator onto your Data Workflow canvas.
Configure the operator's Info window as follows:
Setting
Value
Category
Console
Label
Group Input 1
Connect the output port (right) of the
firstNameGroup Input operator to the input port (left) of theGroup Input 1Console operator.
Configure the Second Group Input Operator
Drag and drop another Group Input operator onto your Data Workflow canvas.
Configure the operator's Info window as follows:
Setting
Value
Category
Input
Component
occupation
Component 1
Component 2
Component 3
Component 4
Component 5
Required
Yes
Configure the Second Console Operator
Add another Console operator to view the progress of your occupation Group Input operator.
Drag and drop another Console operator onto your Data Workflow canvas.
Configure the operator's Info window as follows:
Setting
Value
Category
Console
Label
Group Input 2
Connect the output port (right) of the
occupationGroup Input operator to the input port (left) of theGroup Input 2Console operator.
Configure the Extend Operator
You'll add an Extend operator to combine the data from the two Group Input operators into a single object.
Drag and drop an Extend operator onto your Data Workflow canvas.
Configure the operator's Info window as follows:
Setting
Value
Category
Extend
Label
Combine Data
Connect the output port (right) of the
firstNameGroup Input operator to the upper input port (left) of theCombine DataExtend operator.Connect the output port (right) of the
occupationGroup Input operator to the lower input port (left) of theCombine DataExtend operator.
Configure the Third Console Operator
Add a final Console operator to view the progress of your Combine Data Extend operator.
Drag and drop another Console operator onto your Data Workflow canvas.
Configure the operator's Info window as follows:
Setting
Value
Category
Console
Label
Extend Group Inputs
Connect the output port (right) of the
Combine DataExtend operator to the input port (left) of theExtend Group InputsConsole operator.
Configure the Output Operator
Drag and drop an Output operator onto your Data Workflow canvas.
Configure the operator's Info window as follows:
Setting
Value
Category
Output
Component
userData
Action
value
Connect the output port (right) of the
Combine DataExtend operator to the input port (left) of theuserDataOutput operator.Click Save.
The image below is how your completed Data Workflow looks:
.png)
Configure the Button Component
Lastly, you'll add a Button component that end-users click to submit their information and trigger the Data Workflow.
Drag and drop a Button component onto your canvas, placing it above the
dwfExtendData Workflow operator.In the Property ID field, enter
btnCreateObject.In the Label Text field, enter
Submit Information.Under the Actions section, complete the following:
In the Action Type field, select Event.
Under Triggers, in the On Click field, enter
dwfExtend.
Click Save & Close.
Save your module.
Here's how the completed example looks in the Module Builder:
.png)
Here's how the completed example looks in the Express View:

Preview your module and begin by entering information into all fields on your application. You'll want to ensure you complete all the fields, or the Extend operator will not work. Open the DevTools Console and click the Submit Information Button component. You'll see updates from your three Console operators. The Group Input 1 and Group Input 2 Console operators display your inputs as separate objects. In the Extend Group Inputs Console operator, you'll see the two inputs combined as a single object.mai
