To add an external API service in Unqork, you need administrative access to the Unqork Services Administration page. You also need to set up an external API from another company or organization. Then, you can add the external API service to the Services Administration page.
Once you add a service, you can:
Reference services (external APIs) in logic components, like the Plug-In component.
Edit service details.
Delete services.
Check service statuses.
To learn how to set up external APIs in detail, visit our How to: Setup External APIs article.
Adding a Service
To add a service in Services Administration:
Click + Add a Service. The Create New Service modal displays.
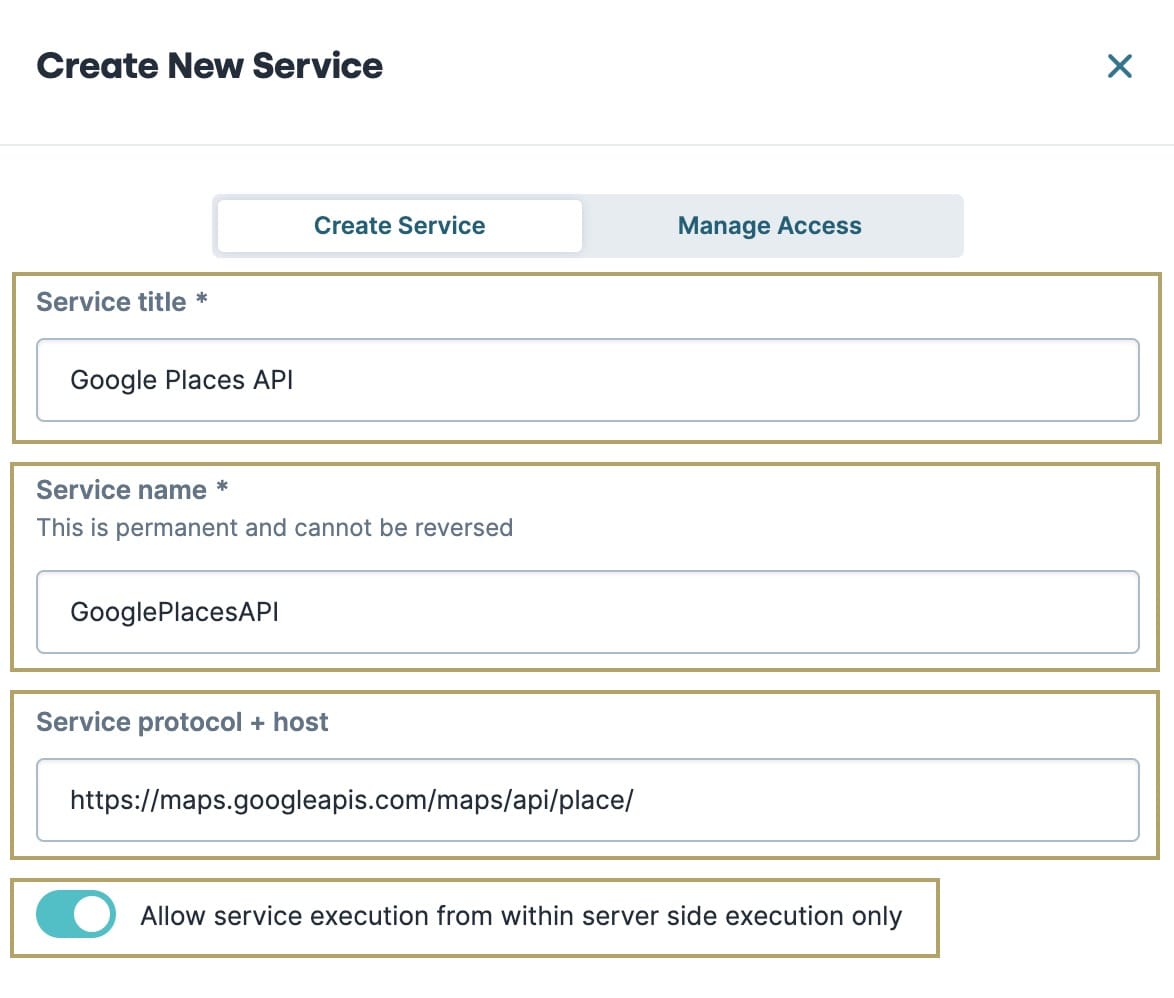
Enter a Service Title. This title is used when selecting the service in a Plug-In component.
Enter a Service Name. This name is permanent and should match the name given by the API provider.
Service Names are case-sensitive. For example, an API treats the Service Names sendGrid and SendGrid differently.
When creating a service name, you cannot use underscores or spaces.Enable Allow Service Execution From Within Server Side Execution Only. The checkbox controls whether a browser or server-side execution starts the service.
The service and the module using the service must have the same execution method set.

Click Next.
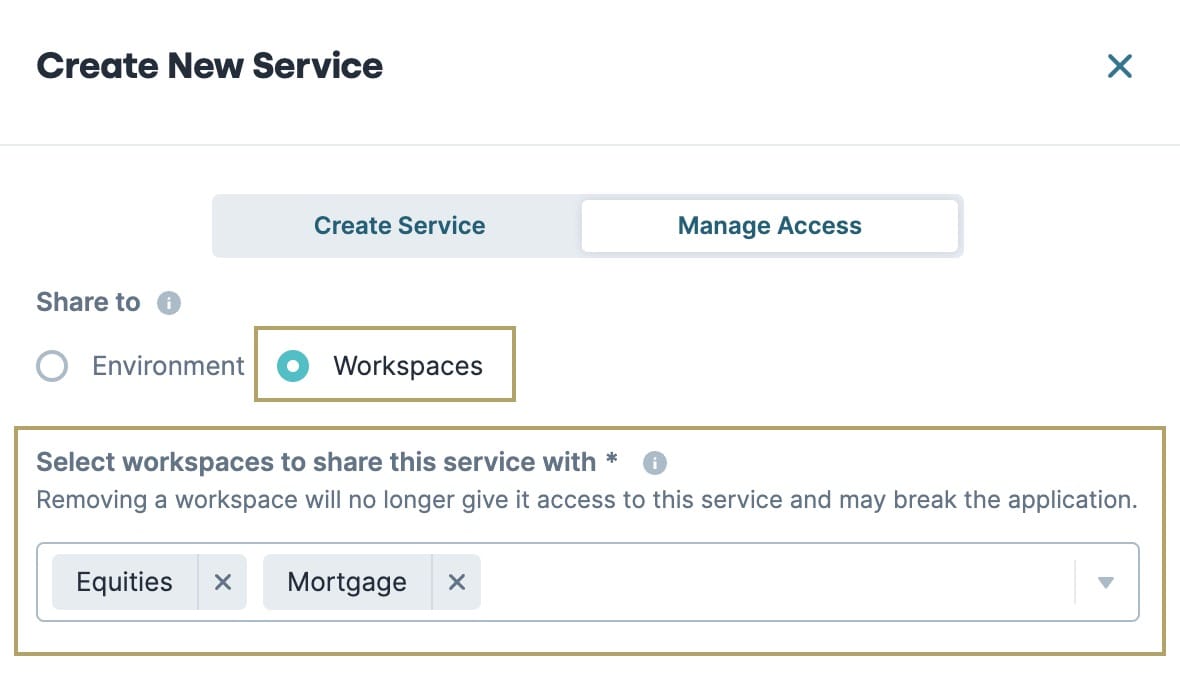
Selecting
.png) Environment makes the service available to all applications in the environment. Selecting Workspace lets you select one or more workspaces where the service will be available to its applications.
Environment makes the service available to all applications in the environment. Selecting Workspace lets you select one or more workspaces where the service will be available to its applications.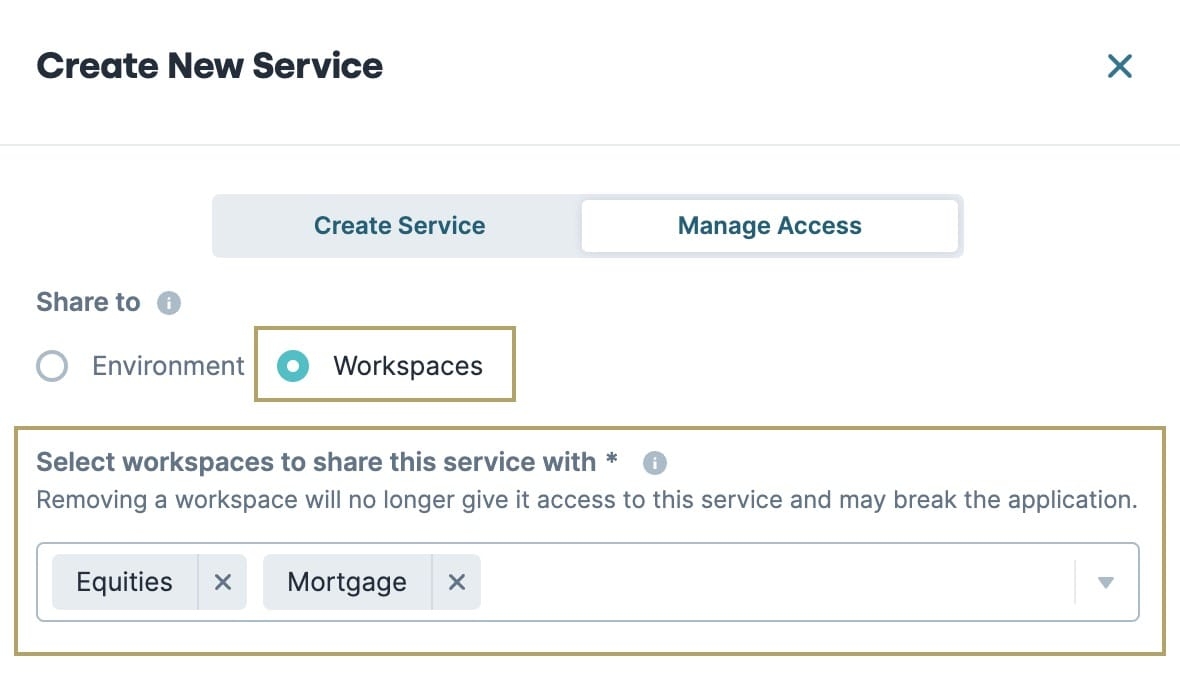
Click Create. The service page loads for the new service. The service can now be configured.
At the top right of the page, click
 Edit to configure the rest of your service.
Click Edit to unlock the service's information page.
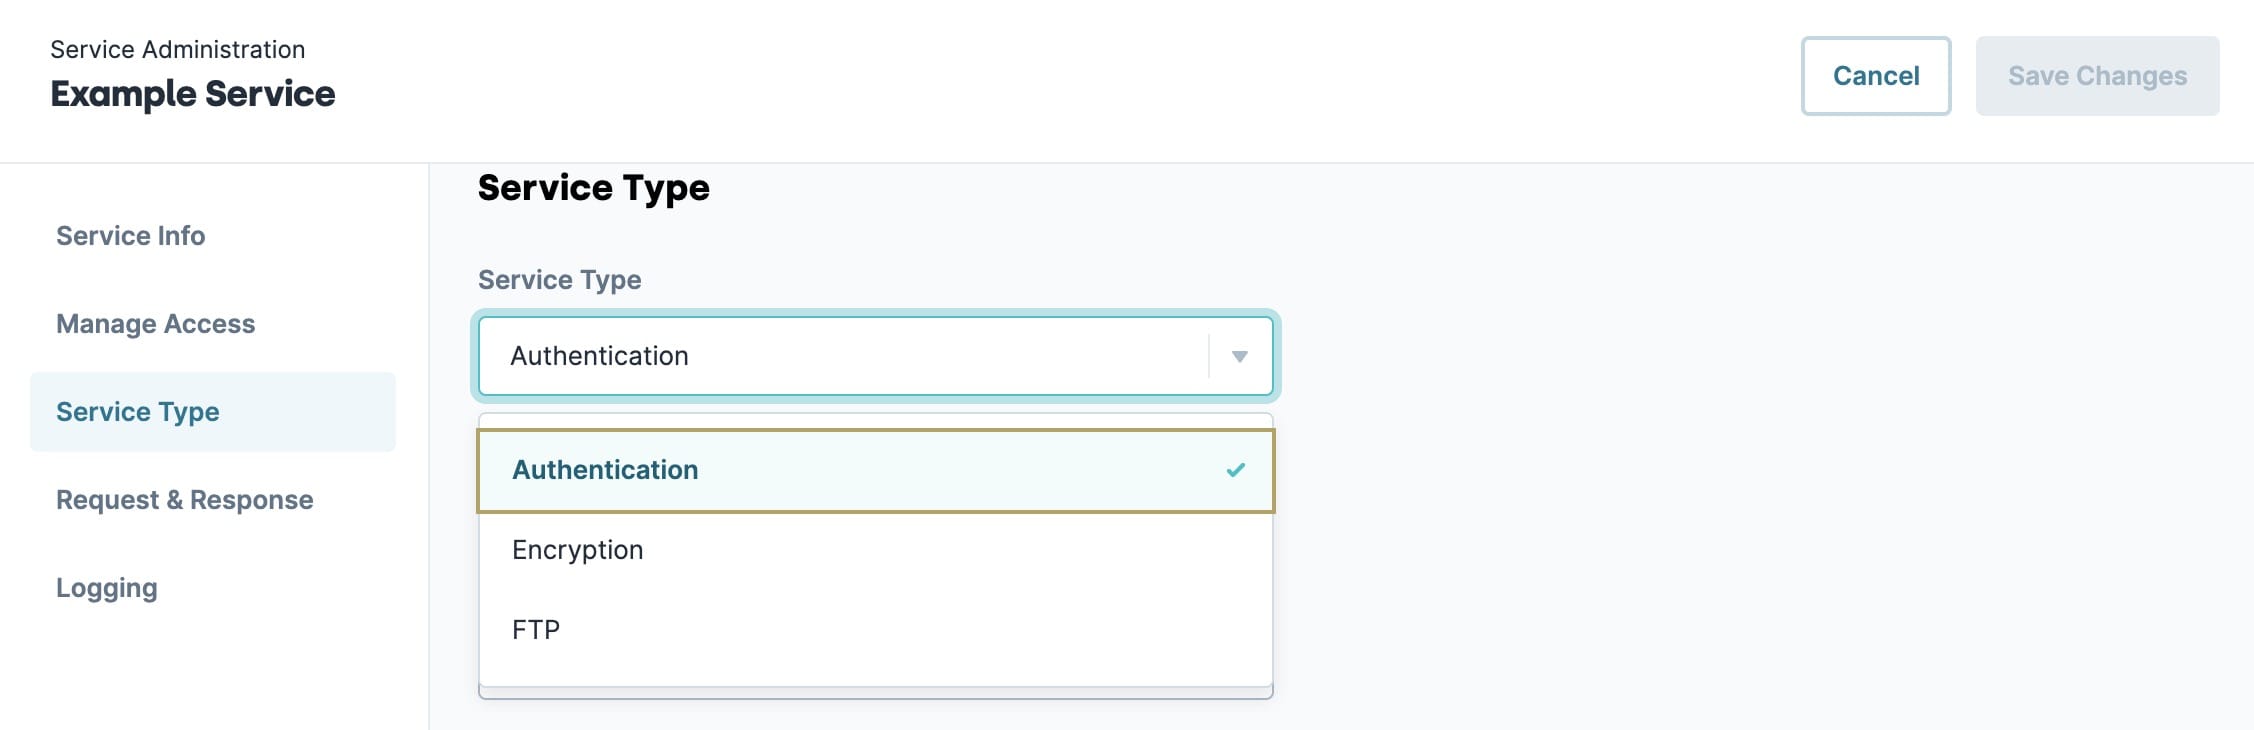
From the Service Type drop-down, verify Authentication is selected. Authentication proves your identity.

In the Type of Authentication drop-down, select an authentication method. Unqork supports all standard API authentication methods.
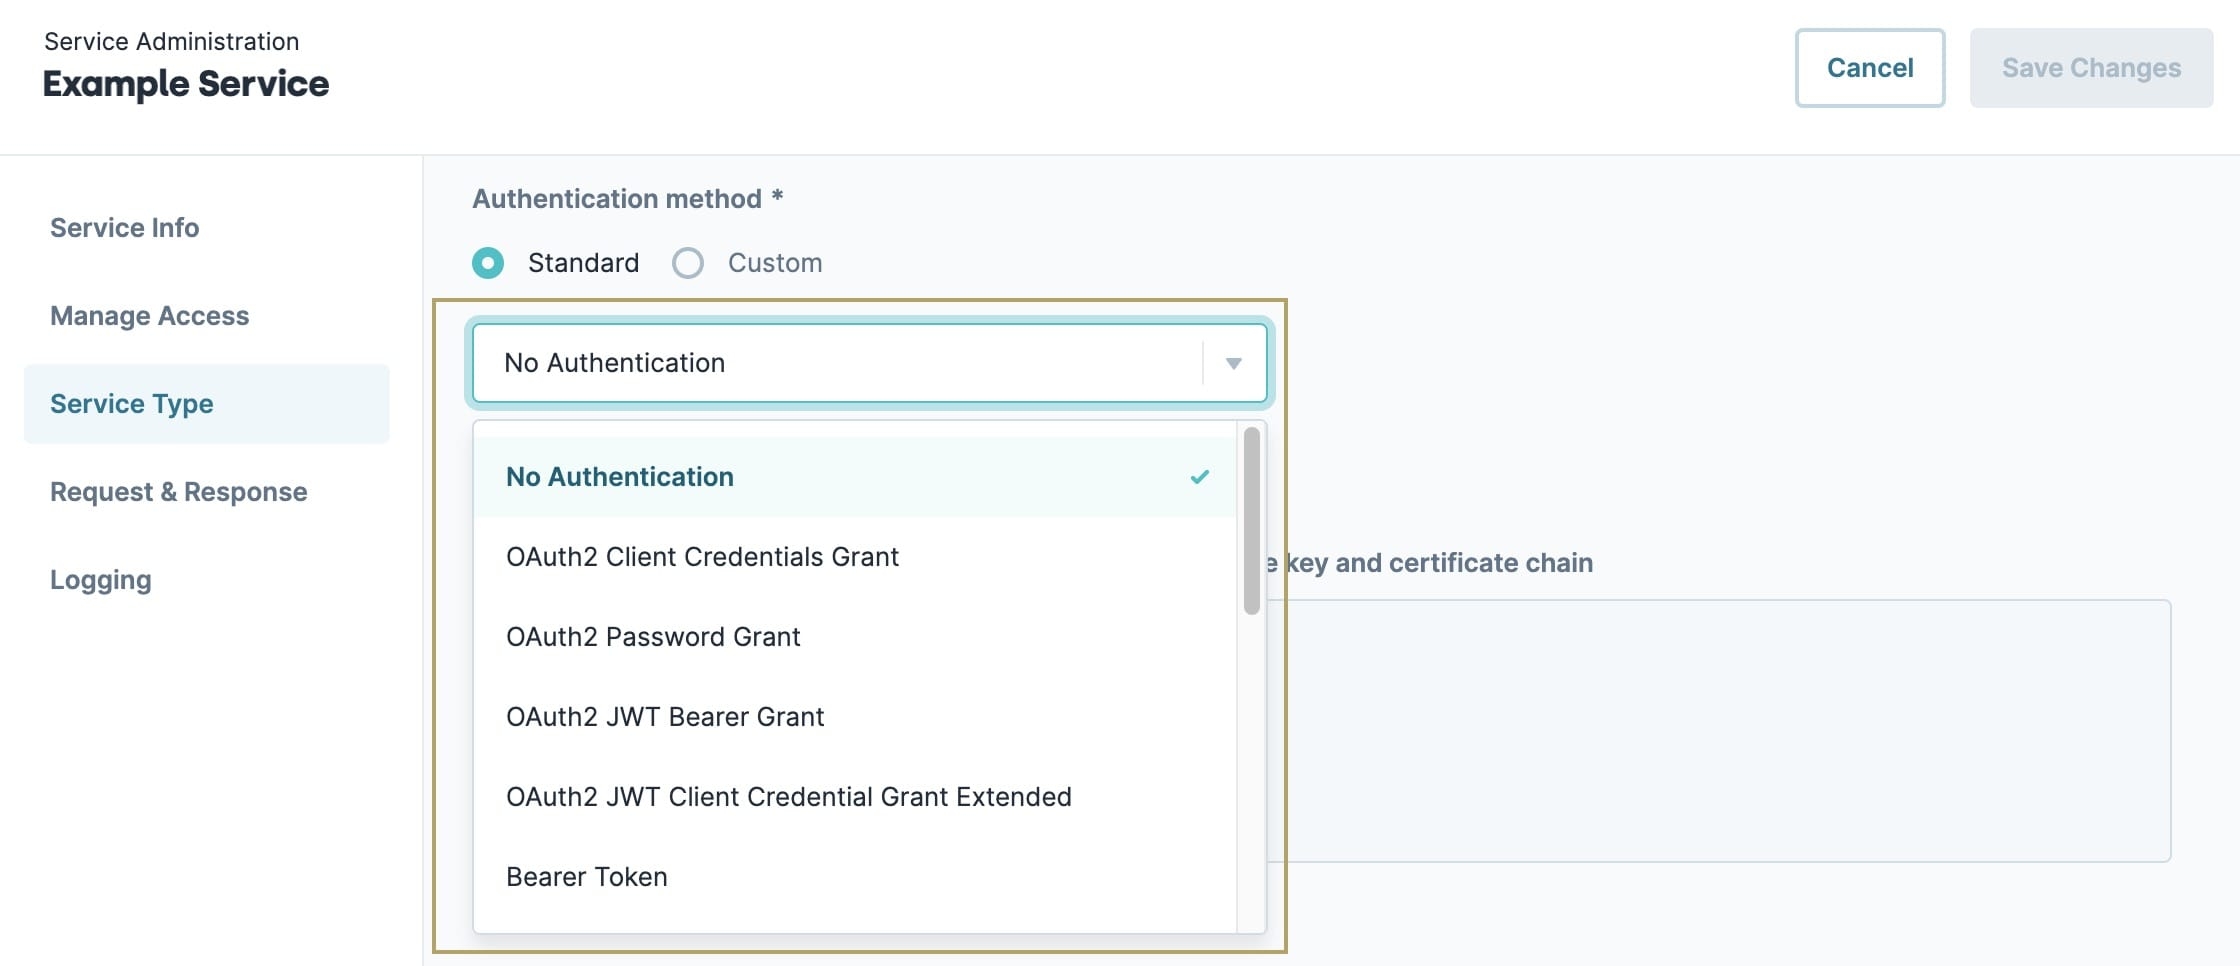
After selecting the authentication type, a prompt displays, asking for additional information. Different authentication types have different setup needs. For example, in the case of Basic Auth, you'll enter a username and password.
Enter the requested authentication information.
During authentication, these credentials are not exposed to users of the application. All interaction with the API occurs in the Unqork server using these credentials.

Request & Response Setup
Request and response headers are sent with each request. Headers allow the client (browser) and the server to understand each other. They also let you add fields not explicitly defined in the Plug-In component. This is useful when passing fields that contain sensitive information. For example, if you want to access an OIDC ID token on the server, enter {{ _id_token }} in the Request Header field.
To learn more about OIDC, visit our OpenID Connect (OIDC) article.
Enter a Header Name.
Enter the Header Value.
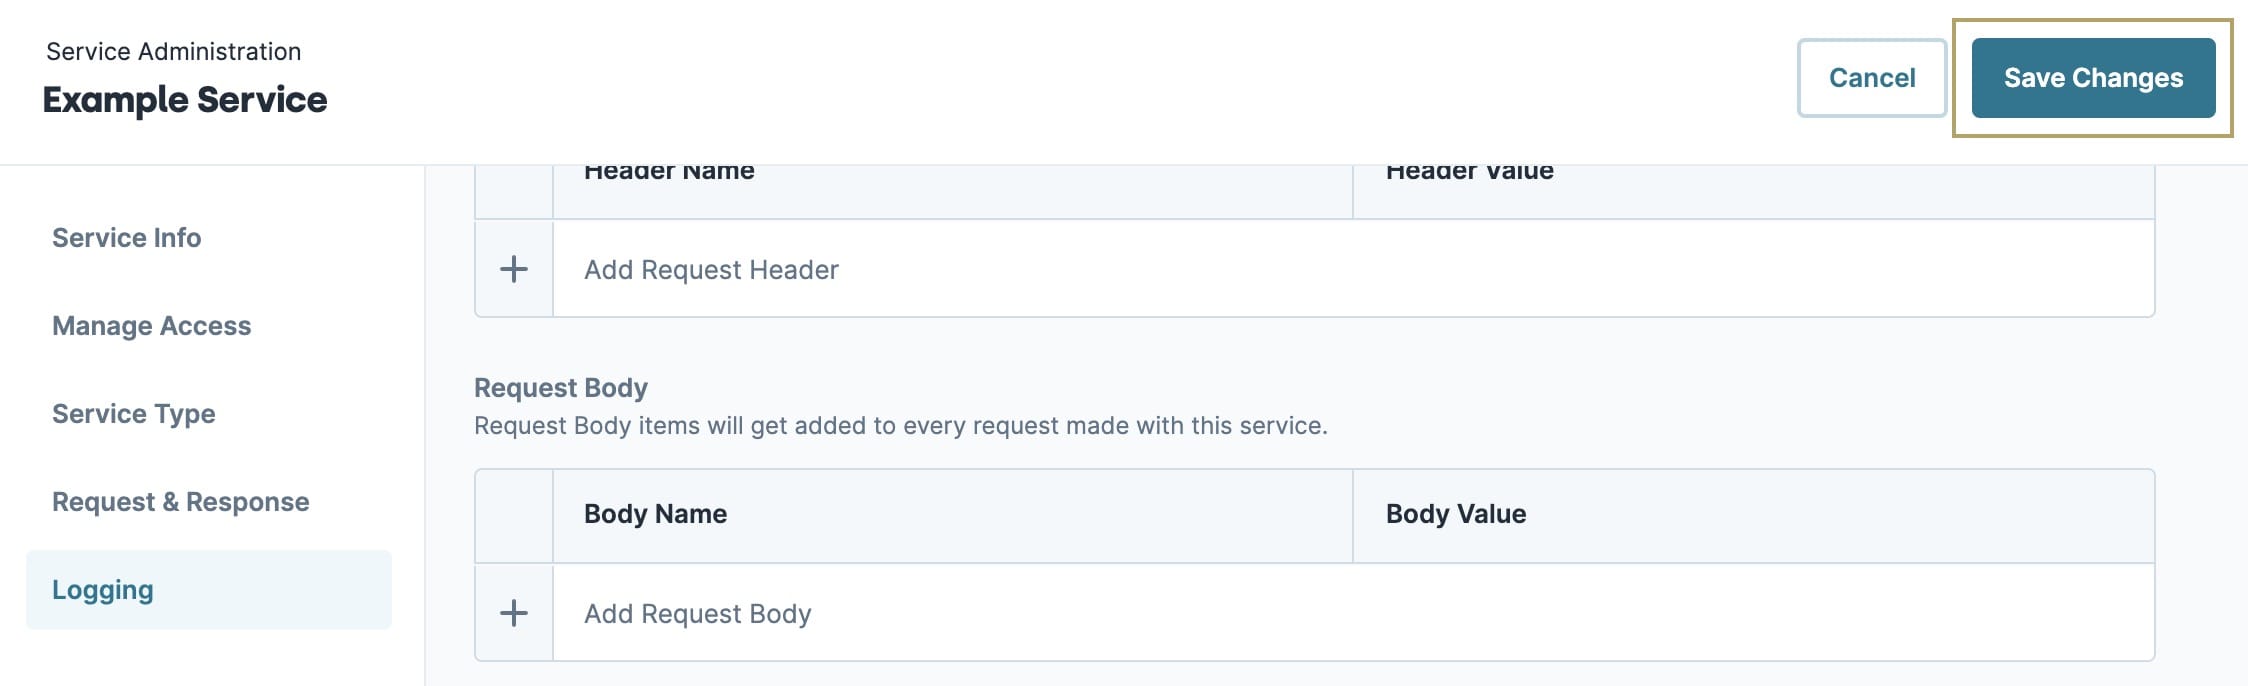
To add more headers, click + Add Request Header.
Request Body Setup
Request Bodies are sent with each request. Unlike headers, body data does not typically store metadata or security credentials that are used across an application.
Enter a Body Name.
Enter the Body Value.
To add more bodies, click + Add Body Header.
Allowed Response Header Setup
Allowed Response Headers attach to the response sent back from the service (external API). Headers allow the client (browser) and the server to understand each other. They allow the client and server to pass information that is not part of the request or response.
Enter a Header Name to attach to the response sent back from the service.
To add more headers, click + Add Response Header.
Logging Setup
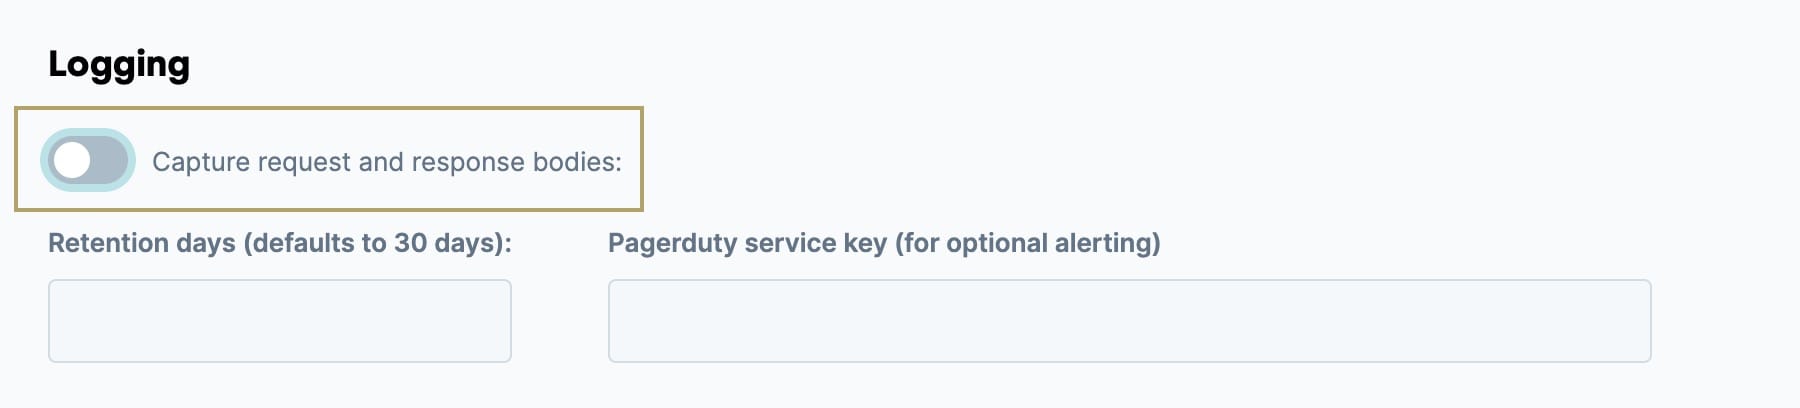
To store request and response bodies, use the Logging feature of Services Administration.
Use caution when enabling this feature and storing sensitive information.
To capture information transmitted in the body of the request and response, set the Capture Request & Response Bodies toggle to
 (ON).
(ON).The request body contains the information requested from the service. The response body contains information sent from the service.

In the Retention Days field, set the number of days to store the retention and request bodies.
If left blank, Retention Days default to 30 days.
Enter your Pagerduty Service Key if using this service.
Click Save Changes.

Your new service is now ready for integration into your applications.